
How Do You Refinish a Formal Dining Room Table. Your formal dining room table is more than just a piece of furniture—it’s where memories are made, celebrations happen, and stories are shared. But over time, its surface can lose its shine, get scratched, or look outdated.
You might think refinishing it is a big job, but with the right steps, you can bring your table back to life yourself. Imagine how satisfying it will feel to see your table glowing again, ready to impress your guests and make every meal special.
Keep reading, and you’ll discover simple, effective ways to refinish your formal dining room table like a pro.
Choosing The Right Finish
Choosing the right finish for your formal dining room table is more than just picking a color. It affects the table’s look, feel, and how well it stands up to everyday use. The finish you select can highlight the wood’s natural beauty or create a bold new style. Let’s break down how to make that choice wisely.
Types Of Finishes
There are several popular finishes you can use, each with its own character and benefits. Here are some common options:
- Polyurethane:Offers strong protection against scratches and spills, making it a practical choice for a busy dining table.
- Lacquer:Dries quickly and gives a smooth, glossy surface that feels sleek and modern.
- Shellac:Adds a warm, natural glow but is less resistant to heat and moisture.
- Oil finishes (like tung or linseed oil):Penetrate the wood for a rich, natural look but require periodic reapplication.
- Wax:Provides a soft sheen and smooth feel but offers minimal protection on its own.
Choosing a finish means balancing appearance with how much care you want to give your table.
Matching Finish To Style
Think about the style of your dining room and the existing furniture. Is your table traditional, rustic, or modern? The finish should complement this style.
For example, a high-gloss lacquer finish fits well with a contemporary look, while an oil finish enhances a rustic or farmhouse table’s natural charm.
Have you noticed how a glossy finish can make a table feel more formal and polished? Matching the finish to your room’s vibe helps create a cohesive space where everything feels intentional.
Durability Considerations
How often will your table be used? If you host large dinners or have kids, durability is crucial.
Polyurethane finishes are excellent for heavy use because they resist water, heat, and scratches. On the other hand, oil finishes might need more frequent maintenance but offer a beautiful, natural look.
Ask yourself: Do you prefer a finish that requires occasional care but looks authentic, or one that can take daily wear without much fuss?
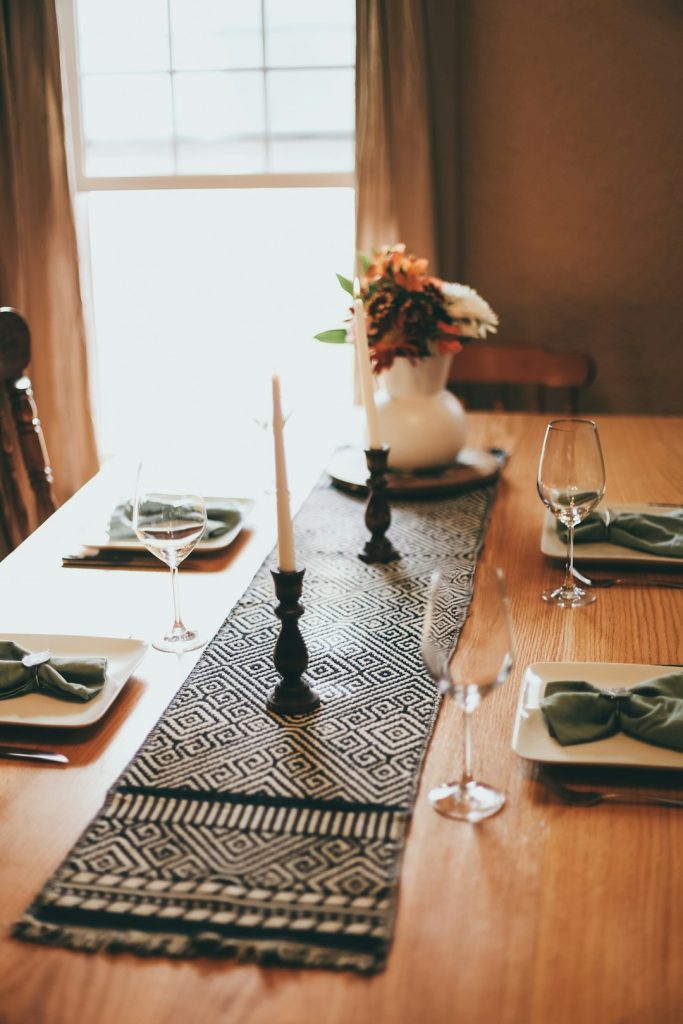
Credit: www.hgtv.com
Preparing The Table
Preparing your formal dining room table is the foundation for a beautiful refinish. Skipping or rushing through this stage can lead to uneven finishes or a surface that doesn’t hold the new stain or paint well. Taking time to clean, strip, sand, and repair the table ensures your work lasts and looks professional.
Cleaning And Stripping Old Finish
Start by wiping down your table with a gentle cleaner to remove dust, grease, and dirt. This step helps you see the real condition of the wood underneath. Next, use a chemical stripper to remove any old varnish or paint. Apply it evenly with a brush and let it sit for the recommended time—don’t rush this part.
After the finish softens, scrape it off carefully with a plastic scraper to avoid gouging the wood. You might need to repeat this process if the finish is thick or stubborn. Have you noticed how old finishes can hide scratches or stains? Stripping lets you address those problems upfront.
Sanding Techniques
Once the old finish is stripped, sanding smooths the surface and prepares it for staining or painting. Begin with a medium-grit sandpaper (around 120 grit) to remove remaining residue and imperfections. Then, switch to fine-grit sandpaper (220 grit) to create a smooth, even surface.
Sand in the direction of the wood grain to avoid scratches that show under the new finish. If your table has intricate details or carvings, use sanding sponges or small sanding blocks to get into tight spots. Remember, proper sanding helps the new finish stick better and look flawless.
Repairing Surface Imperfections
Take a close look at the table after sanding. Are there dents, scratches, or small cracks? Fill these imperfections with wood filler that matches your table’s wood color. Apply it with a putty knife and let it dry completely before sanding the patched areas smooth.
For deeper cracks or loose joints, wood glue and clamps might be necessary to restore stability. Don’t ignore these repairs—fixing them now prevents bigger problems after refinishing. Are you surprised how small repairs can dramatically improve the final appearance?
Applying The New Finish
Applying the new finish to your formal dining room table is where the transformation truly takes shape. This stage demands patience and attention to detail, as the right finish can enhance the wood’s natural beauty and protect it for years to come. Let’s dive into the essentials that will help you achieve a flawless result.
Selecting Brushes And Tools
Your choice of brushes and tools affects how smoothly the finish goes on. Use a high-quality natural bristle brush for oil-based finishes and a synthetic bristle brush for water-based finishes. Foam brushes are also an option for smaller surfaces or detailed areas, as they minimize streaks.
Keep a lint-free cloth handy for wiping off excess stain or finish. Avoid cheap brushes that shed bristles, because stuck bristles can ruin your finish. Have a small sanding block ready to smooth any rough patches between coats.
Staining Tips
Before you start staining, test your stain on a hidden part of the table to see how it interacts with the wood. Apply the stain evenly with a brush or cloth, working along the grain to avoid blotchy spots. Don’t rush—let the stain sit for a few minutes, then wipe off the excess with a clean cloth to control the depth of color.
If the color is too light, you can add a second coat, but make sure the first coat is dry. Avoid pooling or drips by applying thin layers. Wondering how to get that rich, even tone? Patience and consistent wiping are your best allies.
Sealing And Protecting
Sealing your table is crucial to protect the wood from spills and scratches. Polyurethane is a popular choice because it creates a tough, clear finish. Use thin coats and sand lightly between each layer with fine-grit sandpaper to maintain smoothness.
Consider the finish type—matte, satin, or glossy—based on your style preference. Applying multiple coats builds durability, but don’t skip the drying time between coats. How long are you willing to wait? The longer the drying, the stronger the protection.

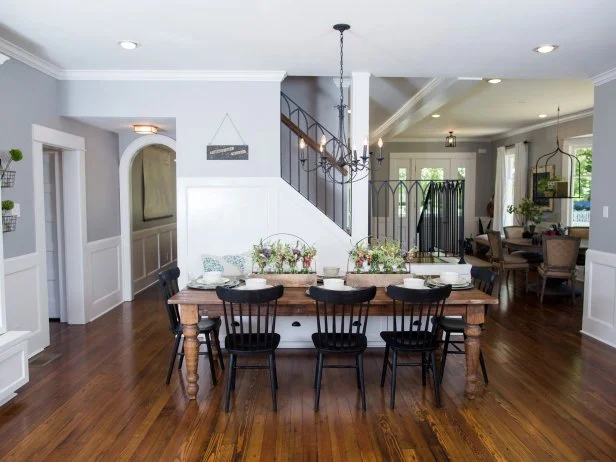
Credit: www.create-enjoy.com
Maintaining The Refinished Table
Maintaining a refinished formal dining room table keeps it looking fresh and elegant. Proper care extends the life of the new finish. Simple habits help preserve the wood’s beauty and protect the surface.
Cleaning Best Practices
Use a soft, dry cloth to dust the table regularly. For sticky spots, dampen the cloth slightly with water. Avoid harsh chemicals or abrasive cleaners that can damage the finish. Wipe spills immediately to prevent stains or water rings. Use coasters and placemats to reduce dirt and moisture on the surface.
Preventing Damage
Keep the table away from direct sunlight to avoid fading. Maintain stable room humidity to prevent wood from warping. Avoid placing hot dishes directly on the surface; use heat-resistant mats instead. Lift objects rather than dragging them across the table to prevent scratches. Use felt pads under decorative items and table legs to protect the finish.
Periodic Touch-ups
Check the table every few months for minor scratches or dull spots. Use a matching wood touch-up marker or wax stick for small blemishes. Apply a thin layer of furniture polish or wax to restore shine and protect the finish. Sand and refinish the surface only if the damage is extensive. Regular touch-ups keep the table looking smooth and polished.
Common Mistakes To Avoid
Refinishing a formal dining room table can transform its look and feel. Avoiding common mistakes ensures a smooth and successful project. Mistakes can cause damage or poor results. Pay close attention to each step and material choice.
Skipping Preparation Steps
Preparation is key to a good finish. Skipping sanding or cleaning leaves old stains and rough patches. These flaws show through the new finish. Proper preparation helps the finish stick well and last longer. Take time to remove old varnish or paint fully.
Using Incompatible Materials
Not all finishes and stains work well together. Using the wrong type can cause peeling or discoloration. Check the label to match products properly. Oil-based stains need oil-based finishes. Water-based products must be paired similarly. Test materials on a small hidden area first.
Rushing The Process
Patience improves every step of refinishing. Drying times are important and cannot be shortened. Rushing can cause smudges, bubbles, or uneven coats. Wait fully between sanding, staining, and sealing. Work in a dust-free space to avoid particles on the surface. Slow work creates a smooth, polished table.

Credit: www.rethunkjunkbylaura.com
Frequently Asked Questions
What Tools Are Needed For Refinishing A Table?
To refinish a table, you need sandpaper, a paintbrush, and wood stain. Use a dust mask and gloves for safety. A paint stripper and putty knife are helpful for removing old finishes. Ensure you have a clean cloth for applying stains and a sealant to protect the surface.
How Do You Prepare A Dining Table For Refinishing?
Start by cleaning the table with a damp cloth. Remove any hardware and old finish using a paint stripper. Sand the surface gently, ensuring it’s smooth and even. Wipe away any dust particles before applying a new finish. Ensure the area is well-ventilated for drying.
What Type Of Finish Is Best For Dining Tables?
Polyurethane is a durable and popular choice for dining tables. It provides excellent protection against spills and scratches. Water-based finishes are less toxic and dry quickly. Oil-based finishes offer a rich color but take longer to dry. Choose based on your table’s use and aesthetic preference.
How Long Does Refinishing A Table Take?
Refinishing a table typically takes about a weekend. Stripping and sanding can take several hours, depending on the table’s size. Allow time for each coat of stain and sealant to dry. Ensure proper ventilation to speed up the drying process.
Plan for at least two days to complete the project.
Conclusion
Refinishing a formal dining room table brings new life to your space. The process takes time but offers great rewards. Sand carefully to remove old finish and smooth the surface. Apply stain or paint to match your style. Finish with a protective coat for durability.
Your table will look fresh and inviting again. Enjoy the satisfaction of a renewed, beautiful centerpiece. Small steps lead to a big change in your dining room. Try it yourself and see the difference!