
How to Stain a Dining Table. Are you ready to give your dining table a fresh, stunning look without spending a fortune? Staining your table is one of the easiest and most rewarding ways to transform your space.
Imagine the warm glow of rich wood tones that match your style perfectly. In this guide, you’ll discover simple, step-by-step instructions that anyone can follow—even if you’ve never worked with wood before. By the end, your dining table will feel like new, inviting, and ready to impress every guest.
Let’s dive in and unlock the secret to a beautiful, long-lasting finish that you’ll be proud of.
Choosing The Right Stain
Choosing the right stain is key to a beautiful dining table. The stain affects color, texture, and wood protection. Picking the wrong one can hide the wood’s natural charm or cause uneven coloring. Understanding different stains and matching them with your wood type ensures a lasting, attractive finish.
Types Of Wood Stains
Wood stains come in several types. Each type offers unique benefits and effects on wood.
- Oil-Based Stains:Deep penetration and rich color. Dries slowly, allowing better control.
- Water-Based Stains:Fast drying and low odor. Easy cleanup with water.
- Gel Stains:Thick and easy to apply on vertical surfaces. Good for uneven woods.
- Lacquer Stains:Provide a smooth, glossy finish. Best for fine furniture.
Color Selection Tips
Choose a color that fits your room and style. Dark stains add drama and hide flaws. Light stains show the wood’s grain and brighten spaces.
- Test stains on a hidden spot before full application.
- Consider existing furniture colors for matching.
- Natural wood tones often blend well with many decors.
- Think about maintenance: dark colors may show dust more.
Considering Wood Type
Wood species affect how stains appear. Some woods absorb stain evenly, while others blotch.
- Oak:Open grain absorbs stain well, shows grain pattern.
- Pine:Soft wood prone to blotching, use pre-stain conditioner.
- Maple:Dense wood, may need special stain for even color.
- Cherry:Darkens naturally over time, choose lighter stains for brightness.
Preparing The Table Surface
Preparing the table surface is essential for a smooth and lasting stain finish. Proper preparation helps the stain soak evenly into the wood, highlighting its natural beauty. It also prevents blotches and uneven color.
Start by making sure the surface is clean, smooth, and free of old finishes or damage. Each step builds a solid base for the stain and ensures the best results for your dining table.
Cleaning And Sanding
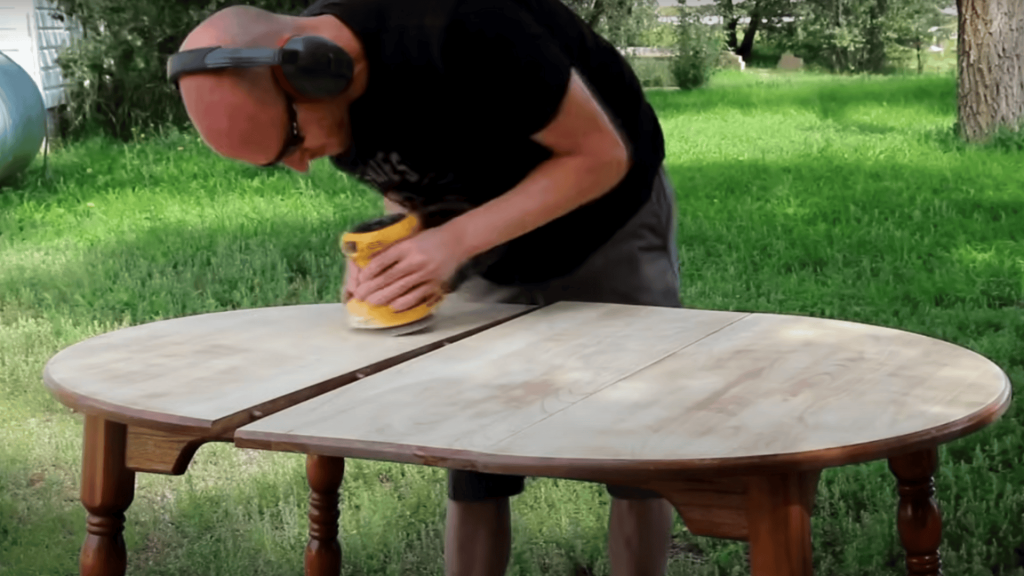
Remove dust, dirt, and grease from the table surface. Use a mild soap and water solution with a soft cloth. Let the table dry completely before sanding.
Sand the surface to create a smooth texture. Use medium-grit sandpaper (around 120 grit) first, then finish with fine-grit (220 grit). Sand in the wood grain direction to avoid scratches.
After sanding, wipe away dust with a tack cloth or damp rag. This step clears the surface for better stain absorption.
Repairing Imperfections
Check for cracks, holes, or dents on the table. Use wood filler to fix these spots. Apply it with a putty knife and let it dry fully.
Once dry, sand the filled areas smooth to match the rest of the table. This creates an even surface and avoids uneven stain patches.
Removing Old Finish
Old varnish or paint can block the stain from soaking in. Use a chemical stripper or sanding to remove the old finish.
Apply the stripper with a brush and wait as per instructions. Scrape off the softened finish gently with a plastic scraper.
Clean the surface thoroughly after stripping. If sanding, use coarse sandpaper first, then fine grit to smooth the wood.
Staining Techniques
Staining techniques shape the final look of your dining table. Proper methods bring out the wood’s natural beauty and protect it. A smooth, even stain avoids blotches and streaks. Controlling how much stain the wood absorbs affects color depth and uniformity.
Applying Stain Evenly
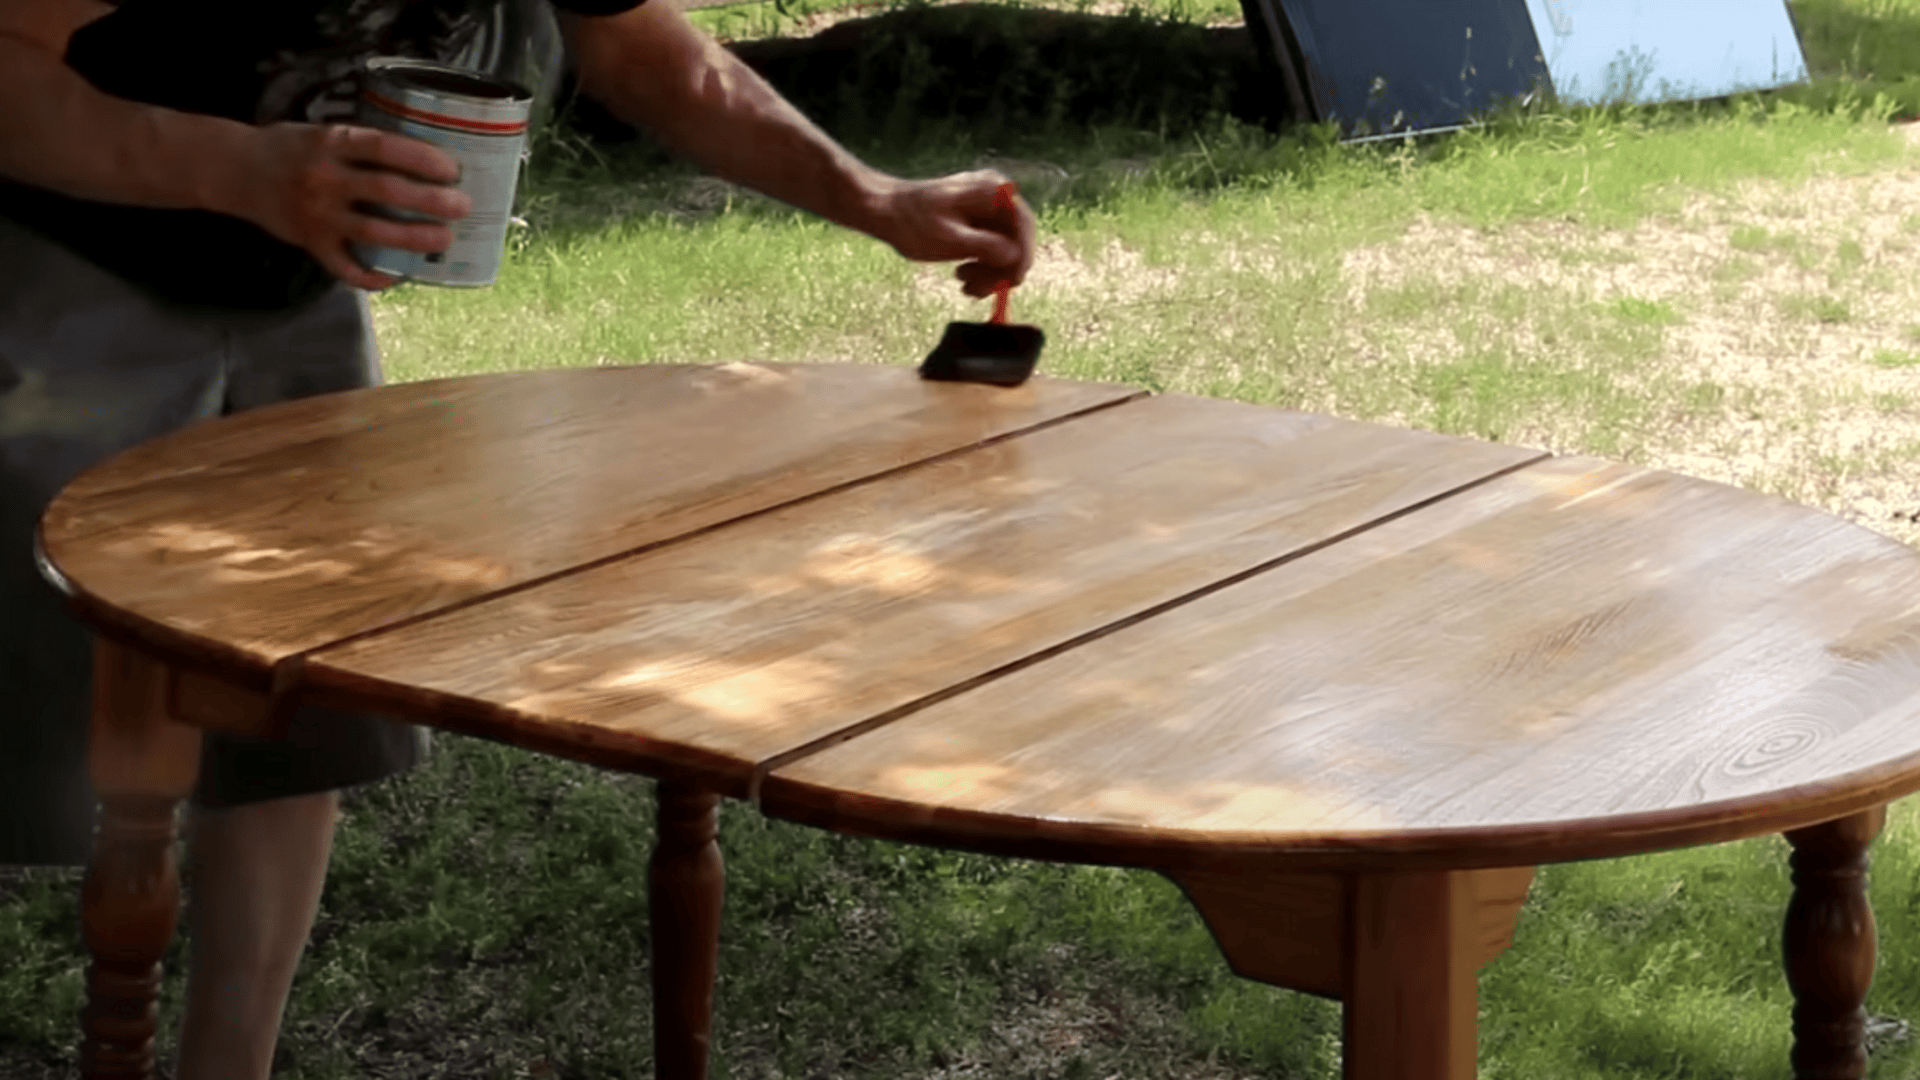
Start with clean, sanded wood for best results. Apply stain in small sections to keep it wet. Use long, smooth strokes following the wood grain. Work quickly but carefully to avoid lap marks. Wipe off extra stain after a few minutes to prevent dark spots.
Using Brushes And Cloths
Choose a natural-bristle brush or lint-free cloth. Brushes help reach corners and grooves easily. Cloths give more control over stain amount and spread. Dip the tool lightly in stain, avoiding drips. Use cloths for wiping away excess stain evenly.
Controlling Stain Absorption
Wood absorbs stain differently based on grain and type. Softwoods soak up more stain than hardwoods. Use a pre-stain conditioner on softwoods for even color. Test stain on a small hidden area first. Apply thin layers and build up color gradually.

Credit: www.1905farmhouse.com
Drying And Additional Coats
Drying and applying extra coats are key parts of staining a dining table. Proper drying ensures the stain sets well and lasts longer. Extra coats deepen the color and improve protection. Patience during this phase leads to a beautiful finish.
Drying Time Guidelines
Let the stain dry in a clean, dust-free place. Drying time depends on the stain type and room conditions. Usually, it takes 4 to 6 hours for the first coat to dry. Avoid touching the surface during this time. Good air circulation helps speed up drying. Cold or humid weather can slow drying. Use a fan or open windows for better airflow.
When To Apply Extra Coats
Apply extra coats only after the previous coat is fully dry. Check if the surface feels dry to touch and not sticky. More coats mean richer color and stronger protection. Lightly sand the table with fine-grit sandpaper before each new coat. This helps the stain stick better. Usually, two or three coats are enough for most tables. Avoid too many coats to prevent a thick, uneven finish.
Sealing And Protecting
Sealing and protecting your stained dining table is a crucial step that ensures its beauty lasts for years. Without a proper finish, your hard work can easily be damaged by spills, heat, and everyday wear. Let’s look at how to choose the best finish, apply the sealant correctly, and maintain your table to keep it looking fresh.
Choosing The Right Finish
Not all finishes offer the same level of protection or look the same. You’ll find options like polyurethane, varnish, shellac, and lacquer, each with unique qualities.
- Polyurethane:Durable and water-resistant, great for busy households.
- Varnish:Offers a hard finish with good UV protection, ideal if your table gets sunlight.
- Shellac:Gives a warm, natural look but isn’t as water-resistant.
- Lacquer:Dries quickly and provides a smooth, glossy finish but requires good ventilation during application.
Think about how you use your dining table daily. Would you prefer a glossy shine or a matte finish? Your choice impacts both the look and durability.
Applying Sealant
Applying sealant carefully makes all the difference between a smooth finish and a blotchy surface. Always apply thin, even coats with a high-quality brush or foam applicator.
Allow each coat to dry completely, and lightly sand with fine-grit sandpaper between coats to remove any imperfections. This helps the next layer stick better and creates a flawless surface.
Remember, rushing can lead to bubbles or uneven spots. How patient are you willing to be to get that perfect finish?
Maintenance Tips For Longevity
Even the best sealant needs care to protect your table’s finish over time. Use coasters and placemats to avoid heat marks and stains.
Clean spills immediately with a soft, damp cloth—avoid harsh chemicals that can wear down the sealant. Once or twice a year, inspect the surface for scratches or dull areas and consider applying a fresh coat of finish if needed.
As someone who once skipped maintenance, I learned the hard way how fast damage can show. Taking a few minutes now saves you from costly repairs later.

Credit: oakandgrainrefinishing.com
Common Mistakes To Avoid
Staining a dining table can transform its look, but a few common mistakes can turn your project into a frustrating experience. Avoiding these pitfalls will save you time, effort, and ensure a smooth finish that lasts.
Overlapping Stain Marks
Overlapping stain marks happen when you apply stain over an area that’s already drying. This causes uneven coloring and blotchy spots that are hard to fix later.
To prevent this, work on small sections and keep a wet edge while staining. Moving quickly and smoothly helps you avoid patchy overlaps.
Have you noticed uneven blotches on your furniture after staining? That’s usually a sign you didn’t keep the stain wet while spreading it.
Ignoring Safety Precautions
Stains often contain chemicals that can be harmful if inhaled or touched directly. Skipping gloves, masks, or working in poorly ventilated spaces can cause irritation or worse health issues.
Always wear protective gear and work in a well-ventilated area. Even if the stain looks safe, it’s better to be cautious.
Think about your safety first—would you want to risk headaches or skin rashes just to save a few minutes?
Rushing The Process
Staining takes patience. Rushing through steps like sanding, applying stain, or letting it dry properly can ruin the final look.
Take your time sanding to get a smooth surface. Apply stain evenly and give it enough time to soak in and dry before adding more coats or finishing.
Remember, a rushed job often means more work later. Would you rather spend a few extra hours now or redo the whole table?
Credit: www.thepaintedhinge.com
Frequently Asked Questions
How Do I Prepare A Dining Table For Staining?
Start by cleaning the table thoroughly. Sand the surface to remove old finish and smooth imperfections. Wipe off dust with a tack cloth before applying stain for best results.
What Type Of Stain Is Best For Dining Tables?
Oil-based stains are durable and enhance wood grain well. Water-based stains dry faster and have less odor. Choose based on your preference for finish and drying time.
How Many Coats Of Stain Should I Apply?
Typically, two coats of stain provide a rich, even color. Allow each coat to dry fully before applying the next for optimal absorption and finish.
Can I Stain A Dining Table Without Sanding?
Sanding is recommended to ensure stain absorption and smoothness. Without sanding, the stain may apply unevenly and peel over time, reducing durability and appearance.
Conclusion
Staining a dining table can refresh its look quickly. Choose the right stain for your wood type. Always prepare the surface well before applying stain. Use smooth, even strokes to avoid blotches. Let the stain dry completely for best results.
A well-stained table adds warmth to any room. Regular care keeps your table looking great longer. Simple steps lead to a beautiful finished piece. Enjoy your newly stained dining table every day.