
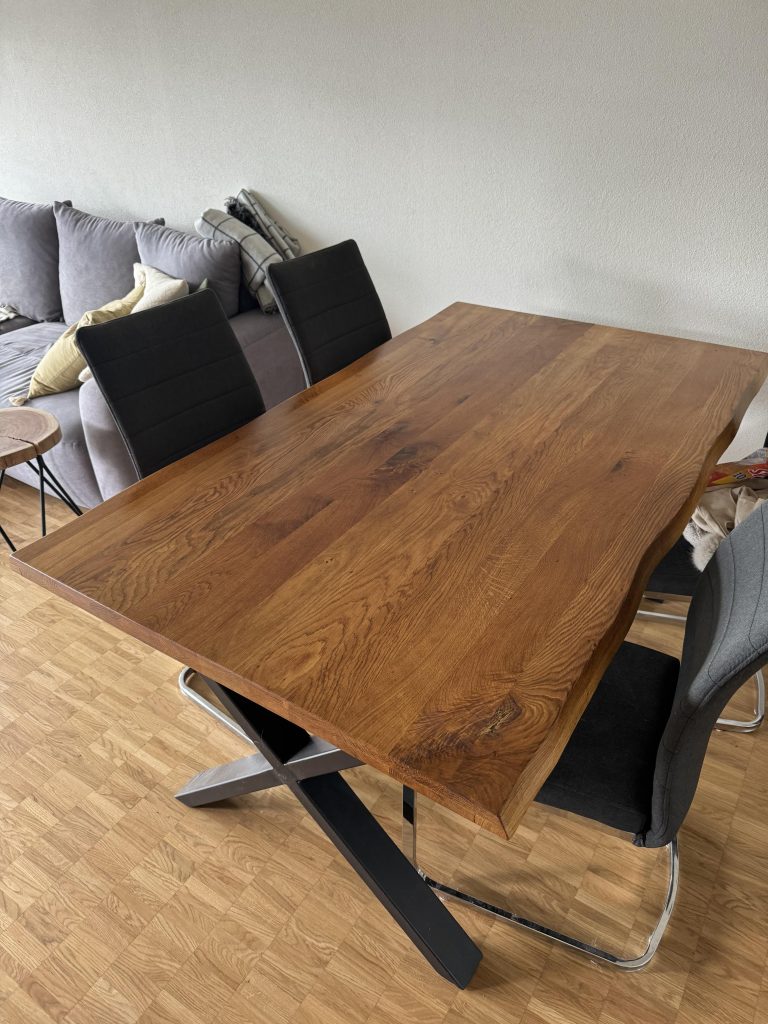
How to Dark Wood Stain Dining Room Table. Are you looking to give your dining room table a fresh, rich look with a dark wood stain? Staining your table can completely transform its appearance, adding warmth and elegance to your space.
But if you’ve never done it before, the process might seem tricky or even overwhelming. Don’t worry—this guide will walk you through every step, so you can achieve a beautiful, professional finish that lasts. Keep reading, and soon your dining table will become the stunning centerpiece your home deserves.

Credit: www.1905farmhouse.com
Choosing The Right Stain
Choosing the right stain is key to achieving that perfect dark finish on your dining room table. The stain you pick affects not only the color but also how the wood grain shows through and how long the finish lasts. Understanding your options helps you make a choice that fits both your style and the wood itself.
Types Of Wood Stains
There are several types of stains, each with unique qualities. Oil-based stains soak into the wood deeply, providing rich color and durability. Water-based stains dry faster and have less odor, making them a cleaner option for indoor projects.
Gel stains sit on the surface, which works well for woods that absorb unevenly. You might also find lacquer and varnish-based stains that offer a glossy finish. Picking the right type depends on your workspace, drying time, and the look you want.
Matching Stain To Wood Type
Different woods react differently to stains. Softwoods like pine can absorb stain unevenly, leading to blotchy spots. Hardwoods such as oak or maple usually take stain more uniformly, showing off the grain beautifully.
Test your stain on a hidden area to see how the wood reacts. Do you want the grain to stand out or be more subtle? This small test can save you from a costly mistake and frustration later.
Selecting The Desired Shade
Dark stains come in a range of shades, from deep espresso to warm walnut. Consider the lighting in your dining room and the existing decor. A very dark stain can make a small room feel cozy or even cramped.
Think about how your table will age over time—some dark stains can fade or change with sunlight exposure. Try applying multiple coats on a sample piece to find your perfect shade. What mood do you want your dining room to set?

Credit: www.create-enjoy.com
Preparing The Table Surface
Preparing the table surface is a vital part of staining your dark wood dining room table. The surface must be clean, smooth, and free of old finishes for the stain to absorb evenly. Proper preparation enhances the wood’s natural beauty and ensures a lasting finish.
Cleaning And Sanding
Start by wiping the table with a damp cloth to remove dust and dirt. Use a mild soap solution for sticky spots. Allow the table to dry completely before sanding.
Sand the surface with fine-grit sandpaper. Sand along the wood grain to avoid scratches. This step smooths the wood and opens pores for better stain absorption.
Repairing Imperfections
Inspect the table for dents, scratches, or cracks. Fill small holes with wood filler matching the table color. Let the filler dry fully, then sand it smooth.
This process creates an even surface and prevents uneven stain patches. Fixing flaws improves the table’s look and durability.
Removing Old Finish
Check for any old varnish or paint on the table. Use a chemical stripper or sandpaper to remove it completely. Follow safety instructions carefully when using chemical products.
Removing old finishes helps the new stain penetrate the wood deeply. It also prevents peeling or blotchy results later on.
Applying The Stain
Applying the stain to a dark wood dining room table is a careful process. It requires the right tools, steady hands, and patience. Proper application brings out the wood’s beauty and ensures the stain lasts long. Preparing well helps avoid blotches and uneven colors.
Tools And Materials Needed
- Clean, lint-free cloths or foam brushes
- Wood stain in your chosen dark shade
- Sandpaper (220-grit for smooth finish)
- Protective gloves
- Stir stick
- Drop cloth or newspaper to protect your workspace
- Mineral spirits or stain remover for cleanup
Techniques For Even Application
Start by stirring the stain thoroughly to mix the pigment. Avoid shaking, as it creates bubbles. Apply the stain in the direction of the wood grain. Use smooth, long strokes to cover the surface evenly. Wipe off extra stain quickly with a clean cloth to avoid blotches. Work on small sections at a time to keep a wet edge. Check for drips and smooth them immediately.
Managing Drying Times
Drying time depends on the stain type and room conditions. Allow at least 4 to 6 hours for the first coat to dry. Avoid touching or placing objects on the table during this time. Ensure good ventilation to speed up drying. If a second coat is needed, lightly sand the surface once dry. Apply the second coat following the same steps. Proper drying prevents sticky surfaces and uneven color.
Enhancing The Dark Finish
Enhancing the dark finish on your dining room table can transform it from simple to stunning. It’s about adding richness, depth, and protection that make the wood stand out and last longer. Small details in the finishing process create a big impact on the final look and feel.
Layering Stains For Depth
Applying multiple layers of stain builds a richer, more complex color. Start with a lighter base layer, then add darker coats gradually. This technique helps the wood grain show through beautifully, giving your table a natural yet striking appearance.
Between each layer, let the stain dry completely and lightly sand with fine-grit sandpaper. This smooths the surface and helps the next layer adhere better. Have you noticed how a single coat sometimes looks flat? Layering changes that by adding dimension and warmth.
Using Wood Conditioners
Wood conditioners prepare the surface to absorb stain evenly. Without conditioning, some areas might soak up too much stain and become blotchy. Applying a conditioner first makes the dark finish look uniform and professional.
Use a brush or cloth to apply the conditioner, and wait about 15 minutes before staining. This step is especially important with softwoods like pine or maple, which tend to absorb stain unevenly. Have you ever struggled with blotchy spots? Conditioners can save you time and frustration.
Adding Protective Coats
Once your stain looks perfect, protect it with a clear finish. A polyurethane or varnish coat guards against scratches, spills, and everyday wear. It also deepens the color and adds a soft sheen that highlights the wood’s texture.
Apply multiple thin coats, letting each dry fully before the next. Light sanding between coats creates a smooth surface and improves adhesion. Think of this step as armor for your beautiful dark finish, keeping your table stunning for years to come.
Maintaining The Stained Table
Maintaining your dark wood stained dining room table is essential to keep it looking rich and inviting for years. Proper care not only preserves the deep color but also protects the wood from everyday wear and tear. You’ll find that a little attention goes a long way in enhancing the beauty and longevity of your table.
Cleaning Tips For Dark Wood
Use a soft, dry cloth to dust your table regularly. Avoid harsh chemicals or abrasive cleaners, as they can strip the stain or dull the finish. Instead, opt for a gentle wood cleaner or a mixture of mild soap and water applied with a damp cloth.
Wipe spills immediately to prevent stains or water rings. Have you noticed how leaving even a small water mark can dull the dark stain? Quick action can save you from costly repairs later.
Preventing Damage And Fading
Protect your table from direct sunlight, which can cause the stain to fade unevenly. Consider using curtains or blinds in your dining area to control the light exposure throughout the day.
Use coasters, placemats, and tablecloths to shield the surface from heat, moisture, and scratches. Have you ever placed a hot dish directly on wood and regretted it? These small habits help maintain your table’s finish and color.
Periodic Refinishing
Over time, even the best care can’t prevent some wear on your table’s stain. Light sanding followed by a fresh coat of stain and finish can restore its original look. Choose a stain that matches your table’s color exactly to keep it consistent.
How often you refinish depends on use and exposure, but checking your table every year for dullness or scratches can guide you on the right timing. Refinishing doesn’t have to be a big project; small touch-ups can make a huge difference.

Credit: www.decorpad.com
Frequently Asked Questions
How To Choose The Right Dark Wood Stain?
Choosing the right dark wood stain depends on the wood type and desired finish. Test different stains on a hidden area. Consider the table’s existing color and your dining room’s decor. Water-based stains are eco-friendly, while oil-based options offer deeper penetration.
Always follow the manufacturer’s instructions for best results.
Can I Stain A Table Without Sanding?
Yes, you can stain without sanding, but results vary. Clean the table thoroughly to remove dust and grease. Use a liquid deglosser to prepare the surface. Applying a gel stain can also work well for a smoother finish. However, sanding ensures better adhesion and more even coverage.
How Many Coats Of Stain Are Needed?
Typically, one to two coats of stain are sufficient for most tables. The first coat usually provides the desired color. Apply a second coat for a darker or richer finish if needed. Allow the first coat to dry completely before applying the second.
Always follow the stain manufacturer’s recommendations.
What Is The Drying Time For Wood Stain?
Wood stain drying times vary based on the stain type and environmental conditions. Most stains dry within 24 hours. Oil-based stains may take longer than water-based ones. Ensure the area is well-ventilated to speed up drying. Always check the manufacturer’s guidelines for specific drying times.
Conclusion
Dark wood stain adds warmth and charm to your dining table. It brings out the natural grain and beauty of the wood. Always prepare the surface well for the best results. Apply the stain evenly and let it dry fully.
A clear finish protects the wood and keeps it looking great. With care, your table will last for years. Enjoy the rich color and classic look in your dining room. Staining wood is simple and rewarding. Try it yourself and see the difference!