

Are your kitchen cabinets looking dull or outdated? You don’t need to spend a fortune on a full remodel to give your kitchen a fresh, new look.
Painting your kitchen cabinets is a simple and affordable way to transform your space and make it feel brand new. In this guide, you’ll discover easy steps and expert tips that will help you achieve a smooth, professional finish. Whether you’re a beginner or have tried painting before, this article will give you the confidence and know-how to tackle the project yourself.
Keep reading to unlock the secrets to beautiful, lasting results that will make your kitchen the heart of your home.
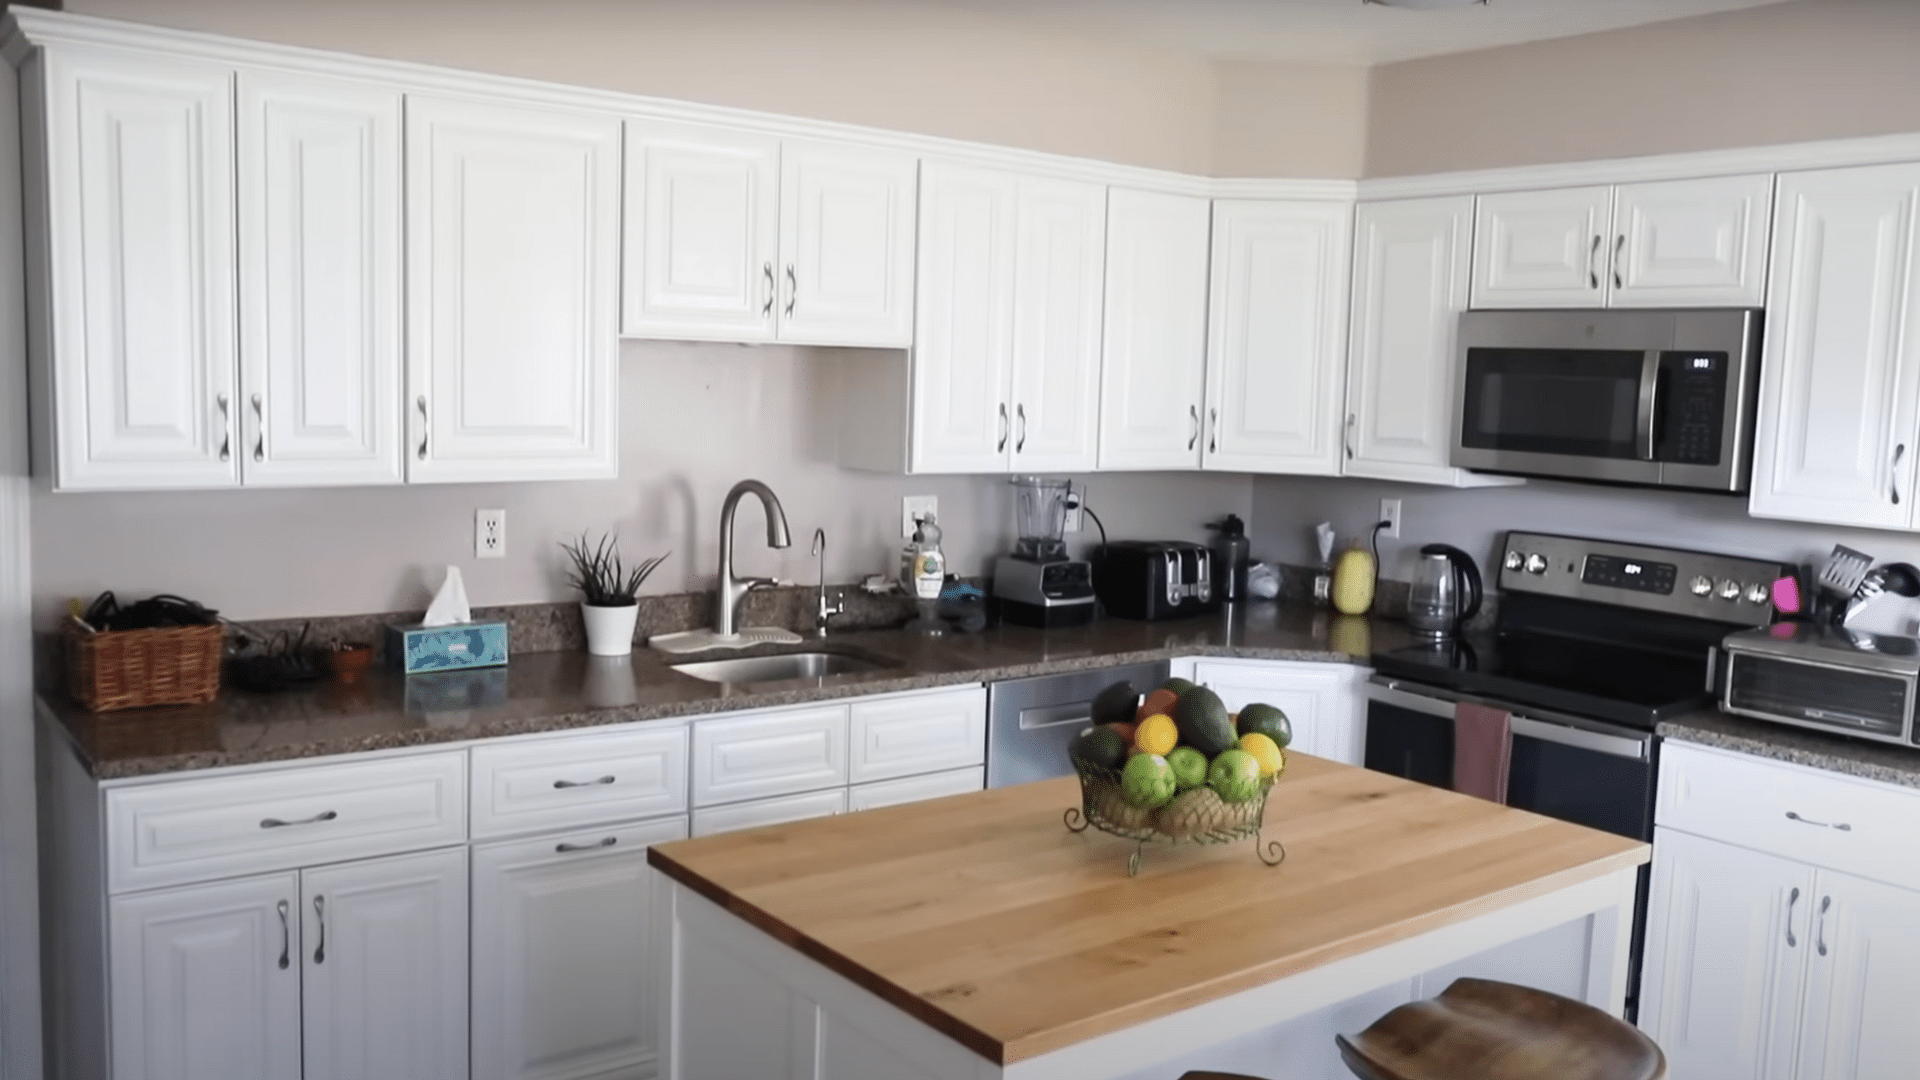
Credit: www.thepaintedhinge.com
Choosing The Right Paint
Choosing the right paint for your kitchen cabinets is more than just picking a pretty color. It affects durability, ease of cleaning, and the overall look of your kitchen. The right paint can make your cabinets shine and stand the test of time, while the wrong one might peel or chip quickly.
Types Of Paint For Cabinets
Not all paints are created equal when it comes to cabinets. You want a paint that can handle frequent use and cleaning without wearing down.
- Acrylic Latex Paint:This water-based paint is easy to clean up and dries quickly. It’s great for cabinets because it resists yellowing over time.
- Alkyd Paint:Oil-based and durable, alkyd paints offer a smooth, hard finish. They take longer to dry but are very resistant to scratches and stains.
- Chalk Paint:Popular for a matte, vintage look. It often requires a protective topcoat to handle kitchen wear and tear.
Think about how much use your cabinets get. Would you prefer a fast-drying paint or one with extra toughness?
Picking The Perfect Color
Color choice can change the entire mood of your kitchen. Lighter shades like white or cream open up the space, making it feel bigger and brighter.
Darker colors like navy or forest green add depth and sophistication but can make a small kitchen feel cramped. Consider your kitchen’s lighting and size before deciding.
Have you tested paint samples on your cabinets? Small patches can reveal how the color changes throughout the day with natural light.
Finish Options Explained
The finish affects both the appearance and functionality of your cabinets. Here’s a quick guide:
| Finish | Look | Durability | Cleaning |
|---|---|---|---|
| Matte | Flat, no shine | Less durable, shows marks easily | Harder to clean |
| Satin | Soft sheen | Moderate durability | Easy to clean |
| Semi-gloss | Shiny, reflective | Very durable | Very easy to clean |
| Gloss | High shine | Most durable | Very easy to clean but shows imperfections |
Which finish fits your lifestyle? If you have kids or cook often, a semi-gloss or gloss finish usually works best for durability and cleaning.
Gathering Supplies
Gathering the right supplies sets the foundation for a smooth kitchen cabinet painting project. Having everything ready saves time and reduces stress. Prepare carefully to ensure a professional-looking finish.
Essential Tools
Start by collecting the basic tools needed for painting cabinets. These tools help you achieve a clean and even coat.
- Sandpaper (medium and fine grit)
- Painter’s tape
- High-quality paintbrushes and foam rollers
- Primer and paint suitable for cabinets
- Clean rags or tack cloth
- Screwdriver for removing cabinet doors and hardware
- Drop cloths or plastic sheeting
Preparing Your Workspace
Clear and organize your workspace to protect surfaces and improve efficiency. A tidy area helps avoid accidents and paint spills.
- Remove all items from cabinets and countertops
- Use drop cloths to cover floors and appliances
- Ensure good ventilation by opening windows or using fans
- Set up a workbench or table for painting cabinet doors
- Keep all tools within easy reach
Preparing Cabinets For Painting
Preparing your kitchen cabinets before painting ensures a smooth and lasting finish. This phase removes dirt, grease, and old paint. It also creates a surface that helps the new paint stick better. Proper preparation saves time and effort during painting and reduces peeling or chipping later.
Removing Doors And Hardware
Start by taking off all cabinet doors carefully. Use a screwdriver to remove hinges and screws. Label each door and hardware for easy reassembly. Place screws and small parts in a container to avoid loss. Removing doors makes painting easier and prevents paint from sticking to other areas.
Cleaning And Degreasing
Clean all cabinet surfaces thoroughly to remove grease and grime. Use a mixture of warm water and mild detergent. For tough grease, try a degreasing cleaner or vinegar solution. Rinse with clean water and let dry completely. Clean surfaces help paint stick better and last longer.
Sanding Techniques
Sand cabinet surfaces to create a smooth base for paint. Use fine-grit sandpaper, around 120-150 grit, for best results. Lightly sand all areas, focusing on glossy or rough spots. Wipe off dust with a damp cloth after sanding. Proper sanding improves paint adhesion and gives a professional look.
Priming The Cabinets
Priming your kitchen cabinets is a crucial step that sets the stage for a smooth and lasting paint finish. Without proper priming, paint may peel or chip quickly, wasting your effort and money. Taking the time to choose and apply the right primer will ensure your cabinets look fresh and durable for years.
Choosing The Right Primer
Not all primers are created equal. You need one that matches your cabinet material and the type of paint you plan to use.
- Oil-based primerswork well on wood and can block stains, but they take longer to dry.
- Latex primersdry faster and clean up easily with water, making them good for most cabinet surfaces.
- Shellac primersare excellent at sealing knots and blocking odors but require careful ventilation.
Think about the condition of your cabinets too. Are they glossy or have previous paint layers? A bonding primer might be necessary to help paint stick better.
Applying Primer Correctly
How you apply primer can make or break your cabinet painting project.
Start by sanding your cabinets lightly to create a rough surface for the primer to grip. Wipe off the dust with a damp cloth before you begin.
Use a high-quality brush or foam roller to apply an even coat of primer. Avoid thick layers as they can drip or take too long to dry.
Allow the primer to dry fully—usually a few hours—before applying a second coat if needed. Skipping this can cause paint to peel later.
Have you noticed how skipping primer leads to patchy results? Taking this step seriously will save you frustration and give your kitchen a professional look.
Painting Process
Start by cleaning and sanding the cabinet surfaces for better paint grip. Apply primer evenly, then paint with smooth, even strokes for a fresh look. Allow each coat to dry fully before adding the next one.
The painting process is where your kitchen cabinets begin their transformation. It’s a stage that demands patience and precision, but the results can be truly rewarding. A well-executed paint job can refresh your kitchen’s look, making it feel brand new without the cost of a full remodel.
Brush Vs. Roller Vs. Spray
Choosing between a brush, roller, and spray is crucial. Each tool offers a unique finish and coverage. Brushes give you control for detailed work, but can leave streaks if not applied correctly. Rollers are ideal for flat surfaces, offering a smooth finish without the lines. Spraying can provide a flawless finish but requires preparation to protect surrounding areas from overspray. Consider the look you desire and the time you have. Spraying may be faster but demands more prep work.
Applying The First Coat
Start with a primer to ensure the paint adheres well. Once dry, apply your first coat of paint. Use even strokes and don’t rush—patience is key to avoiding drips. A light touch helps in achieving a smooth surface. Imagine the satisfaction when you see that first layer transform your cabinets.
Sanding Between Coats
Sanding between coats is vital for a smooth finish. Use fine-grit sandpaper to gently sand the surface once the first coat is dry. This step removes imperfections and prepares the surface for the next coat. Don’t skip this step; it’s the secret to a professional-looking finish. Have you ever noticed how some painted surfaces feel buttery smooth? That’s the magic of proper sanding.
Applying Additional Coats
After sanding, apply additional coats for full coverage. Typically, two to three coats are needed for a rich, even color. Allow each coat to dry completely before adding the next. This ensures durability and a lasting finish. Are you ready to see your kitchen’s transformation? Each layer brings you closer to a vibrant new space.
Finishing Touches
Finishing touches make your painted kitchen cabinets look complete. These details enhance durability and appearance. They ensure a lasting transformation.
Reinstalling Hardware
Once paint dries, reinstall cabinet hardware. Ensure each piece fits snugly. Tighten screws properly to prevent wobbling. Consider replacing old hardware for a fresh look.
Sealing For Durability
Apply a clear sealant to protect your paint. It guards against stains and scratches. Use a brush or roller for an even coat. Let it dry thoroughly before using the cabinets.
Cleaning Up
Remove all painting supplies and tools. Clean any spills or splatters promptly. Dispose of waste materials responsibly. Enjoy your refreshed kitchen space.
Tips For A Professional Look
Achieving a professional look when painting kitchen cabinets depends on attention to detail and proper technique. Small steps can make a big difference in the final result. Quality preparation and careful painting ensure a smooth, durable finish. Follow these tips to enhance the appearance and longevity of your cabinets.
Avoiding Common Mistakes
- Clean cabinets thoroughly to remove grease and dirt.
- Remove all hardware before painting for even coverage.
- Sand surfaces lightly to help paint stick well.
- Use a high-quality primer to prevent peeling and staining.
- Apply paint in thin, even coats to avoid drips and runs.
- Allow enough drying time between each coat.
- Work in a well-ventilated area with good lighting.
Maximizing Paint Durability
- Choose paint designed for cabinets or high-traffic areas.
- Use a brush for corners and a foam roller for flat surfaces.
- Seal the painted surface with a clear topcoat for protection.
- Avoid harsh cleaning products on painted cabinets.
- Handle cabinet doors and drawers gently after painting.
- Touch up chips or scratches promptly to maintain appearance.
.jpeg)
Credit: www.architecturaldigest.com

Credit: www.youtube.com
Frequently Asked Questions
How Do I Prep Kitchen Cabinets For Painting?
Start by removing cabinet doors and hardware. Clean surfaces with degreaser to remove grease. Sand lightly to smooth and improve paint adhesion. Wipe off dust with a damp cloth before priming. Proper prep ensures a smooth, long-lasting finish.
What Type Of Paint Is Best For Kitchen Cabinets?
Use a durable, water-based acrylic latex paint for easy cleanup. Semi-gloss or satin finishes resist moisture and stains. These paints provide a smooth, hard surface ideal for kitchen cabinets. Avoid flat paints as they wear quickly in kitchens.
How Long Should Kitchen Cabinet Paint Dry?
Allow paint to dry 4 to 6 hours between coats. For full curing, wait at least 24 to 48 hours before reinstalling doors. Avoid heavy use during this period to prevent smudges or damage. Drying time varies by paint brand and room conditions.
Can I Paint Kitchen Cabinets Without Sanding?
Light sanding is recommended for best results but not mandatory if cabinets are in good condition. Use a high-quality bonding primer to help paint adhere. Skipping sanding may reduce paint durability and smoothness. Sanding improves finish and longevity.
Conclusion
Painting kitchen cabinets can change your space quickly. Choose the right paint and tools for best results. Take time to prepare surfaces well before you start. Apply paint evenly and let it dry completely. Small steps make a big difference in the final look.
Enjoy the fresh, clean feel of your new cabinets. This project saves money and adds style to your kitchen. Start today, and see how easy it can be!