
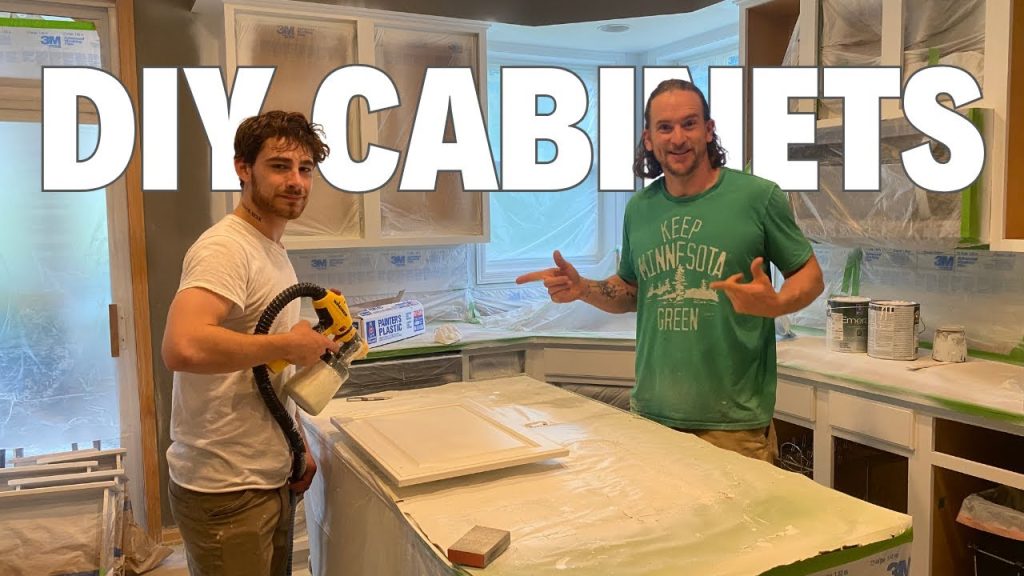
Do It Yourself Painting Kitchen Cabinets. Are your kitchen cabinets looking worn out or outdated? You don’t have to spend a fortune to give your kitchen a fresh, new look.
Painting your cabinets yourself is easier than you think—and the results can be stunning. Imagine transforming your entire kitchen with just a few simple steps, all done by your own hands. In this guide, you’ll discover how to tackle the project confidently, avoid common mistakes, and achieve a professional finish that will make your kitchen feel brand new.
Ready to take control and create the kitchen you’ve always wanted? Let’s get started!
Preparing Your Kitchen Cabinets
Preparing your kitchen cabinets is essential before applying any paint. Proper preparation helps the paint stick better and last longer. It also ensures a smooth, professional-looking finish. This stage involves clearing, cleaning, removing hardware, and sanding the surfaces.
Clearing And Cleaning Cabinets
Start by removing all items from inside the cabinets. Clean every surface carefully to remove grease and dirt. Use a mild detergent mixed with warm water. Wipe down with a sponge or cloth. Rinse with clean water and let dry completely. Clean cabinets help the paint adhere well and prevent peeling.
Removing Hardware And Doors
Take off all cabinet doors and drawers. Remove knobs, handles, and hinges carefully. Keep screws and hardware in a labeled container. This step makes painting easier and avoids paint on hardware. It also allows access to edges and corners for full coverage.
Sanding Surfaces Smooth
Lightly sand all cabinet surfaces to remove old finish and rough spots. Use fine-grit sandpaper for a smooth texture. Sand doors, drawers, and cabinet frames evenly. Wipe away dust with a damp cloth after sanding. Smooth surfaces help paint go on evenly and look neat.
.jpeg)
Credit: www.architecturaldigest.com
Choosing Paint And Tools
Choosing the right paint and tools is key to a smooth kitchen cabinet painting project. The paint affects the look and durability. Tools help apply paint evenly and cleanly. Good choices save time and effort. Poor choices cause frustration and extra work.
Selecting The Right Paint Type
Pick paint that stands up to kitchen use. Cabinets face heat, moisture, and frequent cleaning. Use paint with a hard finish for durability. Satin or semi-gloss finishes work well. They resist stains and wipe clean easily. Avoid flat or matte paints. They absorb dirt and are hard to clean. Water-based acrylic paints dry fast and have low odor. Oil-based paints last longer but take more time to dry and have strong fumes.
Picking Brushes And Rollers
Choose brushes and rollers made for smooth surfaces. Synthetic bristle brushes suit water-based paints. Natural bristle brushes fit oil-based paints better. Use angled brushes for corners and edges. Small foam rollers create a smooth finish on flat areas. Avoid cheap brushes that shed bristles. They leave marks and create extra work. Clean brushes well after use to keep them in good shape.
Gathering Necessary Supplies
Prepare all supplies before starting. This saves time and avoids interruptions. Essential items include:
- Sandpaper or sanding block for surface prep
- Painter’s tape to protect edges and hardware
- Drop cloths or old sheets to cover floors
- Primer to help paint stick and last longer
- Paint tray for easy roller use
- Clean rags for wiping dust and spills
- Screwdriver to remove cabinet doors and hardware
Having everything ready helps keep the project smooth and fast.
Priming Cabinets For Durability
Priming your kitchen cabinets is a crucial step that sets the foundation for a long-lasting paint job. Without a proper primer, paint can peel or chip quickly, especially in a kitchen where moisture and frequent use take a toll. Think of priming as building a strong base that helps your paint stick better and resist wear over time.
Applying Primer Evenly
Make sure to apply the primer in thin, even coats to avoid drips and uneven texture. Use a high-quality brush or a foam roller designed for smooth surfaces to get a consistent finish. Pay close attention to edges and corners, as these areas tend to absorb more primer and can become rough spots if not coated properly.
Have you ever painted something only to see patches where the paint looks thin or blotchy? That often happens because the primer wasn’t applied evenly. Take your time here; patience in priming saves you from frustration down the line.
Drying And Sanding Primer
Allow the primer to dry completely before you touch it—usually a few hours, but check the product instructions. Once dry, lightly sand the surface with fine-grit sandpaper (220 grit works well) to smooth out any imperfections. This step helps the paint adhere better and gives your cabinets a professional, flawless finish.
Skipping sanding after priming is a common mistake. It might feel like an extra chore, but it makes a huge difference in the durability and look of your cabinets. Ask yourself: do you want your cabinets to feel smooth and sturdy or rough and uneven under your fingertips?
Painting Techniques For Smooth Finish
Achieving a smooth finish on kitchen cabinets requires careful painting techniques. The right tools and methods help avoid brush marks and uneven surfaces. Patience and precision make a big difference in the final look.
Using Brush And Roller Effectively
Choose a high-quality brush with fine bristles for edges and corners. Use a small roller for flat surfaces to spread paint evenly. Work in one direction to keep the texture consistent. Avoid going back and forth too much to reduce brush strokes.
Applying Multiple Thin Coats
Thin coats dry faster and prevent drips or bubbles. Let each coat dry completely before applying the next. Multiple layers build a strong, smooth finish that lasts longer. Thin coats also reduce the chance of uneven color.
Avoiding Drips And Streaks
Do not overload the brush or roller with paint. Tap off excess paint before applying to the cabinet surface. Use slow, steady strokes for better control. Check your work often to catch and smooth out any drips or streaks quickly.
Reassembling Cabinets
Reassembling your kitchen cabinets after painting is a crucial step that brings your hard work to life. It requires patience and precision to ensure everything fits perfectly and looks polished. Taking your time here guarantees a smooth, professional finish that you’ll be proud to show off.
Reattaching Doors And Hardware
Start by carefully reattaching the cabinet doors. Align each door with its hinges to avoid any gaps or misalignment. Use a screwdriver to secure the screws firmly, but don’t overtighten them as this can strip the holes or damage the wood.
Next, focus on the hardware like handles and knobs. If you cleaned or replaced them, now is the time to put them back. Check that each piece feels sturdy and turns or pulls smoothly. Loose handles can be annoying and may scratch your fresh paint.
Inspecting For Touch-ups
After everything is back in place, stand back and look closely at your cabinets. Are there any spots where paint looks thin or uneven? Small chips or drips might have appeared during reassembly.
Keep a small brush and matching paint handy to fix these imperfections immediately. Touch-ups at this stage are easier and prevent bigger problems later. Have you noticed a spot that needs a quick fix? Don’t ignore it—your cabinets deserve a flawless finish.

Credit: fairfaxkitchenbath.com
Maintaining Painted Cabinets
Painting kitchen cabinets yourself can freshen up your space. Regular cleaning helps maintain the paint’s shine. Use mild soap and water for gentle cleaning. Avoid harsh chemicals and scrubbing tools to prevent damage. Keep moisture away to prevent peeling.
Painting your kitchen cabinets can breathe new life into your space, making it feel fresh and vibrant. However, to keep them looking their best, regular maintenance is key. Maintaining painted cabinets involves a blend of routine cleaning and proactive measures to prevent damage.
Cleaning Tips
Keep your painted cabinets spotless with regular cleaning. Use a soft cloth or sponge with mild dish soap and warm water. Avoid abrasive cleaners as they can scratch the surface. Wipe spills immediately to prevent stains. Regularly dust your cabinets with a microfiber cloth to keep them shining. A little effort goes a long way in preserving that brand-new look.
Preventing Damage Over Time
Preventing damage starts with a few smart habits. Always use cabinet handles or knobs to open doors, which minimizes wear on the paint. Consider adding felt pads to the insides of doors to soften the impact when closed. Avoid hanging damp towels on cabinet doors as moisture can cause paint to peel. Think about the humidity in your kitchen—consider using a dehumidifier if needed to maintain optimal conditions. What are some strategies you’ve found effective for keeping your cabinets looking new? Share in the comments below. Your experiences can provide valuable insights for others embarking on their DIY journey.
.jpg)
Credit: www.architecturaldigest.com
Frequently Asked Questions
How Do I Prepare Kitchen Cabinets For Painting?
Start by removing all cabinet doors and hardware. Clean surfaces thoroughly to remove grease. Sand the cabinets lightly to create a smooth base. Use a primer to ensure paint adheres well and lasts longer. Proper preparation is key for a professional finish.
What Type Of Paint Is Best For Kitchen Cabinets?
Use a durable, water-based acrylic or enamel paint. These types resist moisture and stains effectively. Semi-gloss or satin finishes provide easy cleaning and a smooth look. Avoid flat or matte paints as they are harder to clean in kitchens.
How Long Should I Wait Between Paint Coats?
Wait at least 4 hours between coats for water-based paints. This allows the paint to dry and prevents smudging. For oil-based paints, drying time may be longer, up to 24 hours. Always follow the manufacturer’s instructions for best results.
Can I Paint Kitchen Cabinets Without Removing Them?
Yes, but removing doors and hardware is recommended for better coverage. Painting cabinets in place requires careful taping and protection of surrounding areas. Removing parts allows for easier sanding, priming, and painting, resulting in a neater finish.
Conclusion
Painting your kitchen cabinets yourself saves money and adds personal style. The process takes patience but offers great satisfaction. Use the right tools and follow each step carefully. Clean, sand, and paint with attention to detail. Small efforts bring big changes.
Enjoy a fresh, bright kitchen without hiring help. This project suits many skill levels. Try it and see how easy it can be. Your kitchen will look new and inviting. A simple paint job can make a big difference. Give your cabinets a fresh start today.