
Are you looking to make your steel tools tougher and longer-lasting without spending a fortune? Learning how to case harden steel at home can transform your ordinary metal into something much stronger and more durable.
Imagine giving your knives, gears, or other steel items a hard outer layer that resists wear and tear, all with simple steps you can do yourself. In this guide, you’ll discover easy methods and tips to achieve professional-level results right in your own workspace.
Ready to unlock the secret to stronger steel? Keep reading, and you’ll be surprised how simple it can be.
Basics Of Case Hardening
Case hardening is a process to make steel surfaces very hard while keeping the inside soft. This method improves steel’s wear resistance without losing toughness. It is useful for tools and machine parts that face friction and impact. Understanding the basics helps you achieve the best results at home.
What Is Case Hardening
Case hardening adds a hard outer layer to steel. It changes only the surface, not the core. The process usually involves heating the steel with carbon or nitrogen. These elements penetrate the surface and make it harder. The core stays soft and flexible. This mix of hard outside and soft inside helps steel last longer.
Benefits For Steel Durability
- Improves wear resistance by making the surface tough.
- Prevents cracks by keeping the core soft and strong.
- Increases lifespan of tools and machine parts.
- Reduces the chance of surface damage.
- Keeps steel parts functional under heavy use.

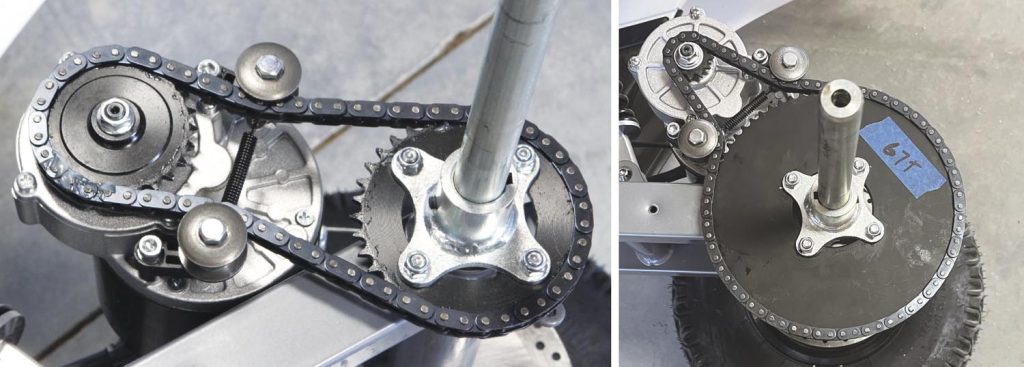
Credit: m.youtube.com
Materials And Tools Needed
Before you start case hardening steel at home, gathering the right materials and tools is crucial. The quality of your steel and the equipment you use directly affect the outcome of the hardening process. Understanding what you need will save time, prevent mistakes, and make the process safer and more effective.
Choosing The Right Steel
Not all steel is suitable for case hardening. You want to pick low-carbon steel, typically containing less than 0.3% carbon. These steels are soft enough to absorb carbon during the process, which creates a hard surface layer while keeping the core tough.
Common choices include AISI 1018 or 1020 steel. Avoid high-carbon steels since they already have a high carbon content, which can cause brittleness. Think about what you want your final piece to do—do you need a tough blade or a durable tool? This choice will guide your steel selection.
Essential Equipment
You’ll need a few basic tools to start. A heat source capable of reaching around 900°C (1650°F) is essential. This could be a propane torch, a homemade forge, or a kiln. Alongside this, a container for your carbon-rich material like charcoal or bone charcoal is required.
Other helpful tools include:
- Tongs or pliers for handling hot steel
- A steel container for packing the steel
- A quenching medium like oil or water
- A file or grinder to check hardness
- Protective gloves and goggles (more on safety below)
Safety Precautions
Handling hot metal and open flames poses real risks. Always wear heat-resistant gloves and safety goggles to protect your hands and eyes. A fire extinguisher nearby is non-negotiable for emergencies.
Work in a well-ventilated area to avoid inhaling harmful fumes from burning charcoal or oils. Never leave your heating setup unattended, and keep flammable materials far from your workspace. Have you set up your safety zone before you start heating the steel?
Preparing Steel For Hardening
Preparing steel correctly before hardening is crucial for achieving the best results in your case hardening project. The steel’s surface condition directly affects how well the hardening process works. Taking the time to clean and shape your steel can make a big difference in hardness and durability.
Cleaning And Shaping
Start by removing any rust, grease, or dirt from the steel. Use a wire brush, sandpaper, or a chemical cleaner to get a clean surface. Even small bits of grime can block the carbon from penetrating during hardening.
Next, shape the steel to your desired form. This might involve grinding or filing rough edges and smoothing surfaces. A well-shaped piece heats more evenly and hardens more consistently.
Think about the steel’s final use. Will any sharp edges cause stress points? Taking a moment to smooth these out now can prevent cracks later.
Surface Preparation Tips
- Use a degreaser:Oil or grease prevents carbon absorption, so clean thoroughly with a degreaser before hardening.
- Remove scale:Scale forms during heating and can block the hardening effect. Scrape or sandblast it off if present.
- Dry completely:Moisture causes steam during heating, which can create surface defects. Ensure the steel is fully dry before proceeding.
- Mark your work:Use a marker or scribe to note areas that need more attention or shaping.
Have you ever skipped thorough cleaning and ended up with uneven hardness? Taking time with these steps saves frustration and improves your final product’s strength. What small detail will you focus on in your next project?
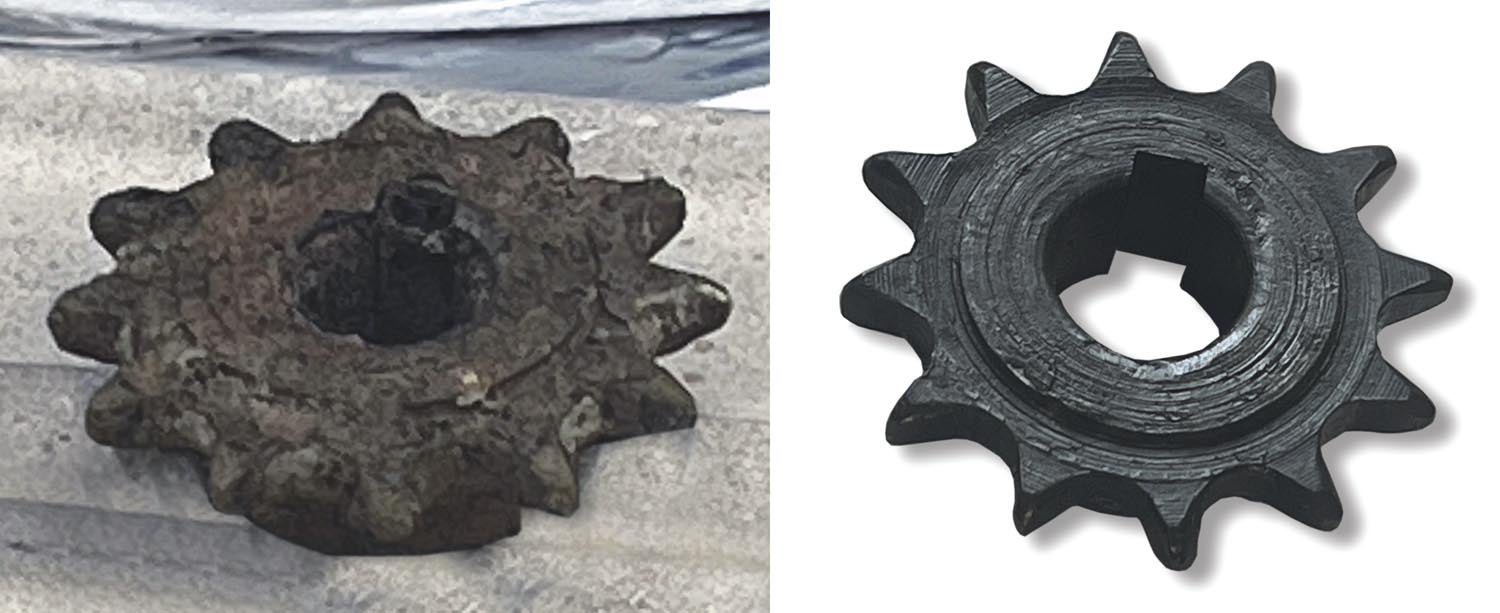
Credit: www.kitplanes.com
Applying The Case Hardening Process
Applying the case hardening process involves adding carbon to the surface of low-carbon steel. This strengthens the outer layer while keeping the core tough and flexible. The process requires careful control of temperature and carbon sources to achieve good results. You can perform this treatment at home using simple materials and tools.
Carburizing Techniques At Home
Carburizing means adding carbon to the steel surface. At home, this is done by heating steel in a carbon-rich environment. You can use a sealed container to trap carbon gases or pack the steel in carbon materials. The steel absorbs carbon during heating, which changes its surface properties.
Common ways to carburize at home include packing steel in charcoal or other carbon sources. Keeping the steel hot enough and long enough lets carbon penetrate the surface deeply. This creates a hard, wear-resistant layer.
Using Charcoal And Carbon Sources
Charcoal is the most common carbon source for case hardening at home. It releases carbon when heated, which the steel absorbs. You can also mix charcoal with other carbon-rich materials like bone or leather scraps.
- Clean the steel surface before packing it in charcoal.
- Use a tight container to hold the charcoal and steel together.
- Avoid moisture to prevent rust or uneven carbon absorption.
This mix creates a solid carbon environment for the steel to carburize evenly.
Heating Methods And Temperature Control
Heat is essential for carbon to bond with steel. Keep the steel between 900°C and 950°C (1650°F to 1750°F). Use a propane forge, charcoal fire, or kiln as heating sources.
Maintain steady heat for 1 to 3 hours depending on steel thickness. Use a thermometer or temperature test methods to check heat levels. Avoid overheating or rapid cooling, which can cause cracks.
After heating, quench the steel in oil or water to lock in the hard surface layer. Proper temperature control ensures a strong, durable case hardening effect.
Quenching And Cooling
Quenching and cooling are crucial steps in case hardening steel at home. How you cool the steel after heating affects its hardness and durability. Getting this process right can mean the difference between a strong, wear-resistant tool and one that breaks under pressure.
Best Quenching Materials
Choosing the right quenching material depends on the type of steel and the desired hardness. Common materials include water, oil, and brine, each offering different cooling speeds.
- Water:Cools steel very fast, often resulting in maximum hardness but higher risk of cracking.
- Oil:Provides slower, more controlled cooling, reducing the chance of cracks while still hardening well.
- Brine (saltwater):Cools faster than oil but slower than water, offering a balance between hardness and toughness.
For home use, oil is often the safest bet. I once tried water quenching on a knife blade, and it cracked immediately. Switching to oil saved me from wasting steel and time.
Timing And Temperature Considerations
Timing is everything when quenching steel. You want to move the steel from the heat source into the quenching material quickly but carefully.
The steel must be heated to the right temperature—usually between 1400°F and 1600°F—before quenching. If it’s too cool, the hardening won’t take effect; too hot, and you risk warping.
Once in the quenching medium, the cooling happens rapidly. Don’t leave the steel submerged longer than necessary. Usually, a few minutes suffice before you can remove and cool it in air.
Have you ever wondered how different cooling times affect the final hardness? Experimentation with small pieces can teach you a lot without risking your main project.
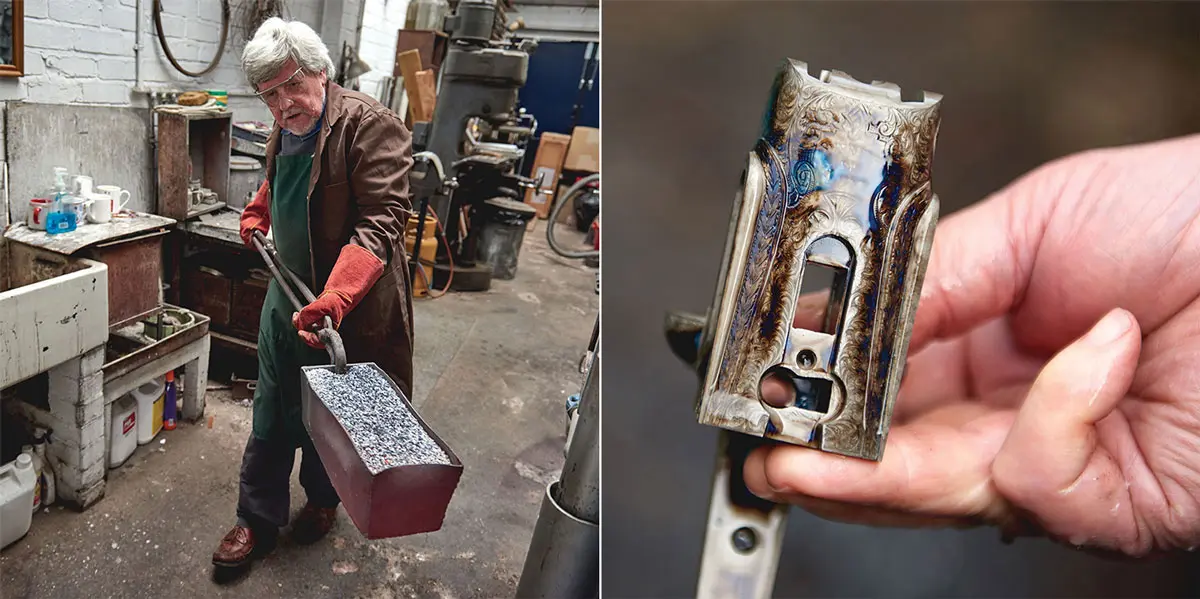
Credit: shootingsportsman.com
Testing Hardness And Durability
Testing hardness and durability is key after case hardening steel at home. It shows if the steel surface has become tougher. Checking these properties helps confirm your process worked well. You can perform simple tests with basic tools to see the steel’s strength and resistance.
Simple Hardness Tests
Scratch tests are easy and effective for checking hardness. Use a file or a nail to scratch the hardened surface. If the steel resists scratching, it means the surface is hard. Another test is the spark test. Grind a small area and observe sparks. Different spark patterns suggest different hardness levels.
Tap the steel lightly with a hammer. Listen to the sound. A clear, sharp sound means a hard surface. A dull sound shows softer steel. These tests do not need expensive tools and give quick feedback.
Assessing Results For Quality
Compare test results with untreated steel samples. Notice the difference in hardness and durability. A well-hardened steel piece will be more scratch-resistant and stronger. Look for uniform hardness across the surface for best quality.
Check for cracks or warping after hardening. These flaws reduce durability. Proper case hardening produces a tough outer layer without damaging the steel inside. If tests show poor results, repeat the process or adjust heating time and temperature.
Troubleshooting Common Issues
Troubleshooting is key when case hardening steel at home. Small mistakes can cause big problems like warping, cracks, or uneven hardening. Understanding common issues helps you fix them quickly. This saves material and time. Below are tips to avoid and fix these problems.
Avoiding Warping And Cracks
Warps and cracks happen due to fast heating or cooling. Steel expands and contracts unevenly, causing stress. Follow these tips to prevent damage:
- Heat steel slowly and evenly to avoid stress points.
- Use a controlled cooling method, like quenching in oil instead of water.
- Keep the steel size and shape consistent to reduce uneven cooling.
- Allow steel to cool gradually at room temperature before final quench.
- Avoid overheating; use a temperature gauge for accuracy.
Fixing Uneven Hardening
Uneven hardening occurs when heat or carbon does not spread properly. This leaves soft spots and weak areas. Try these steps to fix it:
- Reheat the steel evenly, focusing on soft spots.
- Ensure the carbon source covers the entire surface uniformly.
- Adjust the case hardening time to let carbon diffuse fully.
- Rotate steel during heating for uniform exposure.
- Test hardness with a file or hardness tester to find uneven zones.
Maintenance And Care For Hardened Steel
Maintaining and caring for hardened steel is key to keeping it strong and durable. Proper care extends the life of steel and keeps it working well. Neglect can cause rust and wear, which weakens the steel and reduces its usefulness. Simple habits protect your steel and keep it looking good for a long time.
Preventing Rust And Wear
Rust forms when steel meets moisture and air. Avoid leaving hardened steel in damp places. Clean steel parts regularly to remove dirt and sweat. Use light oil or rust inhibitor to coat the steel surface. This creates a barrier that stops moisture from touching the metal. Check steel often for signs of rust or damage. Fix small rust spots quickly with fine sandpaper or steel wool. Wear can also harm steel. Avoid hitting or scraping the steel unnecessarily. Handle steel tools with care to prevent chips and cracks.
Proper Storage Tips
Store hardened steel in a dry, cool place. Avoid areas with high humidity or temperature changes. Use silica gel packs or moisture absorbers in storage boxes. Wrap steel items in cloth or paper to protect from dust and scratches. Keep steel away from chemicals that cause corrosion. Organize tools and parts to avoid rubbing or banging against each other. Regularly inspect stored steel and reapply protective coatings as needed. Proper storage keeps steel safe and ready for use.
Frequently Asked Questions
What Is Case Hardening In Steel?
Case hardening is a heat treatment process that hardens the surface of steel while maintaining a softer core. This enhances wear resistance and durability, making it ideal for components that experience high friction. This process is commonly used for gears, camshafts, and other mechanical parts that require a hard exterior and tough interior.
Can You Case Harden Steel At Home?
Yes, you can case harden steel at home using simple tools and materials. The process involves heating the steel and applying a carbon-rich compound. This allows carbon to penetrate the surface, hardening it. Ensure you follow safety precautions and detailed instructions for effective results.
What Materials Are Needed For Case Hardening?
To case harden steel at home, you’ll need a heat source, a carbon-rich compound, and safety gear. Common compounds include charcoal or case hardening compounds. A forge or torch can serve as a heat source. Safety gear like gloves and goggles is essential to protect from heat and debris.
How Long Does Case Hardening Take?
Case hardening duration varies based on the desired hardness and steel type. Typically, it takes a few hours, including heating and cooling. The heating process usually lasts between 30 minutes to an hour. Cooling time depends on the chosen method, like air cooling or quenching.
Conclusion
Case hardening steel at home is a useful skill to learn. It makes steel harder and lasts longer. You only need some basic tools and safety steps. Follow the process carefully to get good results. Practice helps you improve each time.
You can fix or create strong metal parts yourself. This method saves money and adds value to your projects. Keep your workspace clean and safe always. Try it out and see the difference in your steel work. Simple steps lead to better metal strength.