
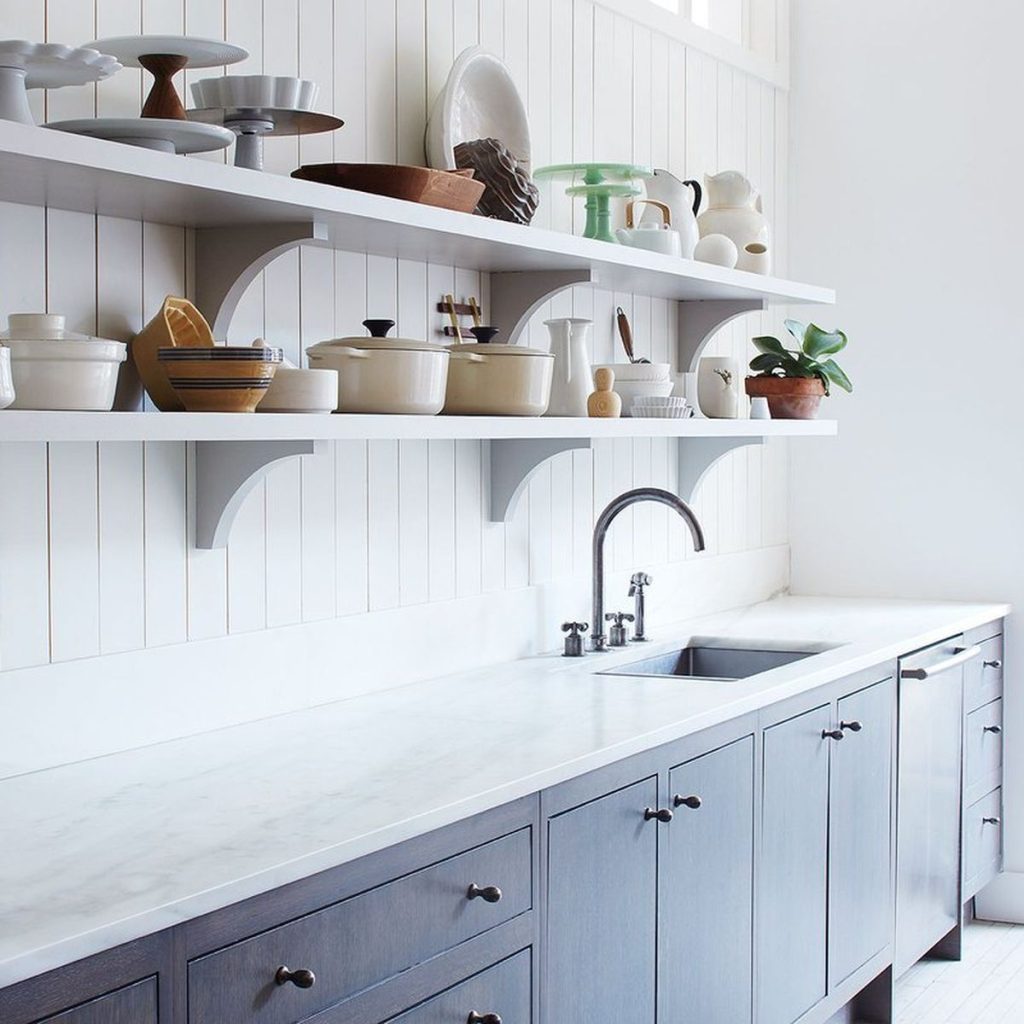
Are your kitchen cabinets looking tired or outdated? Repainting them can give your entire kitchen a fresh, new look without the cost of a full remodel.
You might think it’s a big job, but with the right steps, you can transform your cabinets yourself and save money. In this guide, you’ll discover easy-to-follow tips that make repainting your kitchen cabinets simple and even enjoyable. Ready to give your kitchen a makeover that impresses everyone?
Let’s get started!
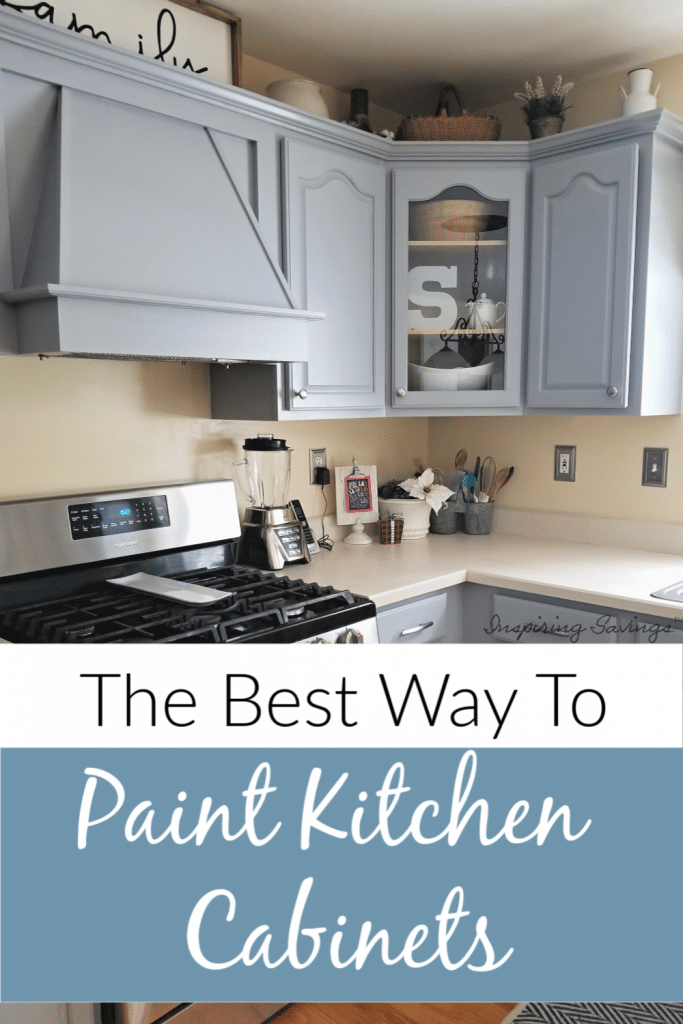
Credit: www.inspiringsavings.com
Tools And Materials Needed
Gathering the right tools and materials sets the foundation for a smooth kitchen cabinet repainting project. Having everything ready before you start saves time and prevents frustration. Let’s look at what you’ll need to get the job done well.
Essential Tools For Repainting Cabinets
- Screwdriver:Remove cabinet doors and hardware easily.
- Sandpaper or Electric Sander:Smooth old paint and rough surfaces for better adhesion.
- Paintbrushes and Rollers:Use angled brushes for edges and small rollers for flat surfaces.
- Painter’s Tape:Protect areas you don’t want to paint.
- Drop Cloths:Keep floors and countertops clean from dust and paint splatters.
- Putty Knife:Apply wood filler to dents or holes before sanding.
- Respirator Mask and Gloves:Stay safe from fumes and chemicals.
Choosing The Right Paint And Primer
Picking the correct primer and paint can make or break your cabinet makeover. A high-quality primer designed for wood or laminate ensures the paint sticks well and lasts longer.
For the paint, opt for semi-gloss or satin finishes. These finishes resist stains and are easier to clean—ideal for kitchen use. Have you considered how different finishes affect durability and appearance?
Additional Supplies To Make The Job Easier
- Wood Filler:Fix scratches and holes for a smooth surface.
- Cleaning Solution:Degrease your cabinets before painting to avoid peeling.
- Paint Tray and Stir Sticks:Keep your paint mixed and ready for use.
- Extension Poles:Reach high or awkward spots without strain.
Having these materials on hand helped me avoid multiple trips to the store and kept my momentum going. What tools or supplies do you think might be easy to overlook but critical for your project?
Preparing The Cabinets
Preparing your kitchen cabinets is the foundation of a successful repaint job. Taking the time to carefully prep ensures the paint will stick well and look flawless. Skipping these steps might save time now but can lead to peeling and chipping down the line.
Removing Doors And Hardware
Start by taking off the cabinet doors and all hardware like knobs, handles, and hinges. Use a screwdriver to carefully remove screws without stripping them.
Label each door and its matching hardware with painter’s tape or a marker. This keeps things organized and makes reassembly easier. Trust me—trying to match doors later is frustrating and wastes time.
Cleaning Surfaces
After removal, clean every cabinet surface thoroughly. Use a degreaser or a mix of warm water and dish soap to remove grease, dirt, and grime.
Don’t rush this step; even small amounts of residue will prevent paint from adhering properly. Rinse with clean water and allow cabinets to dry completely. Have you noticed how a clean surface changes the feel of a space? It’s the same with paint.
Sanding For Smooth Finish
Lightly sand all cabinet surfaces using fine-grit sandpaper (around 220 grit). This roughens the surface just enough for primer and paint to grip effectively.
Focus on edges and any chipped or glossy spots. Wipe away dust with a tack cloth or damp rag before moving on. Skipping sanding can lead to uneven paint that peels quickly—do you want to redo this project sooner than necessary?
Choosing The Right Paint
Choosing the right paint for your kitchen cabinets is more important than you might think. The paint you select affects not just the look, but also the durability and ease of cleaning. Picking the wrong type can lead to peeling, chipping, or a finish that doesn’t hold up to daily wear and tear.
Types Of Paint
Not all paints are created equal, especially for kitchen cabinets. You want a paint that can stand up to moisture, grease, and frequent cleaning.
- Latex Paint:Easy to work with and cleans up with water. However, it might not be as durable for cabinets exposed to heavy use.
- Oil-Based Paint:Offers a smooth, hard finish that resists wear and stains. It takes longer to dry and requires mineral spirits for cleanup.
- Acrylic Paint:A hybrid option that combines durability and easier cleanup, often used in cabinet-specific paints.
- Chalk Paint:Popular for a matte, vintage look but usually needs a protective topcoat for kitchens.
Ask yourself: Do you want a glossy finish that’s easy to wipe clean, or a soft matte look that shows character? Your choice will guide the paint type.
Color Selection Tips
Picking the right color is more than just personal preference. It influences your kitchen’s mood and how spacious or cozy it feels.
- Test Samples:Paint small patches on your cabinet doors to see how the color looks in different lighting throughout the day.
- Consider Your Kitchen’s Style:Bright whites and light grays can open up small spaces, while darker colors add drama and sophistication.
- Think About Coordination:Match or complement your countertops, backsplash, and flooring for a cohesive look.
- Be Bold Carefully:A vibrant color can add personality but may limit future changes or resale appeal.
Have you thought about how the paint color will make you feel every day? Your kitchen is a space you use constantly, so choose a color that makes you happy and comfortable.
Priming The Cabinets
Priming your kitchen cabinets is a crucial step that sets the foundation for a smooth, long-lasting paint job. It helps the paint adhere better and hides imperfections on the surface. Skipping or rushing through priming can lead to peeling paint and uneven color, so take your time here.
Selecting Primer
Choosing the right primer depends on the material of your cabinets and the type of paint you’ll use. For wooden cabinets, an oil-based or shellac primer works well to block stains and prevent tannin bleed-through. If your cabinets are laminate or have a glossy finish, look for a bonding primer designed specifically for slick surfaces.
Consider the environment where you’ll be painting. If your kitchen tends to get humid, pick a primer with mildew resistance to protect your cabinets over time. Have you checked the primer’s compatibility with your paint? Using incompatible products can cause peeling or cracking later.
Applying Primer Correctly
Start by cleaning your cabinets thoroughly—any grease or dust will affect how the primer sticks. Use a high-quality brush or foam roller to apply primer evenly. Avoid thick layers; thin, multiple coats dry better and reduce drips.
Allow each coat to dry completely before adding the next. Sand lightly between coats with fine-grit sandpaper to smooth out any bumps. This step might seem tedious, but it makes a huge difference in the final finish. Would you rather spend an extra hour priming or redo your entire cabinet later?
Painting Techniques
Choosing the right painting technique can make a big difference in how your kitchen cabinets turn out. Your choice affects the finish, the time you spend, and the tools you’ll need. Let’s look at two popular ways to apply paint and the pros and cons of each.
Brush Vs. Roller
Using a brush gives you great control, especially in tight spots and detailed areas like cabinet edges and paneling. It’s ideal for smaller projects or touch-ups.
Rollers cover large flat surfaces quickly and give a smooth finish without brush marks. However, they might struggle with intricate details and corners.
- Brush:Best for precision and small areas.
- Roller:Faster on big, flat panels.
I once tried using only a roller on my cabinets and ended up having to fix paint drips around the edges with a brush. Combining both tools often leads to the best finish. Have you considered how much detail your cabinets have before choosing your tools?
Using A Paint Sprayer
A paint sprayer can save you a lot of time and deliver a very smooth, professional-looking finish. It’s perfect if you’re repainting many cabinets or want a flawless surface.
Keep in mind, sprayers require more prep work to cover floors, walls, and hardware. They can also create a mess if you’re not careful with your technique.
- Use thin, even coats to avoid runs.
- Practice spraying on cardboard first.
- Wear protective gear and ventilate well.
During my last kitchen makeover, the sprayer made the job faster but took extra time taping and cleaning up. Are you ready to invest time in prep to save time on painting?
Drying And Curing Time
Allow enough time for drying between coats to avoid smudges or peeling. Curing takes several days, ensuring the paint hardens fully for long-lasting cabinets. Patience during this process guarantees a smooth and durable finish.
Repainting your kitchen cabinets can breathe new life into your space, but understanding the drying and curing time is crucial for achieving a professional finish. The process involves more than just waiting for paint to dry. It’s about allowing the paint to properly adhere to the surface, ensuring durability and longevity. Patience during this phase can make all the difference between a smooth finish and a patchy, uneven one.Understanding Drying Vs. Curing
Drying and curing might sound interchangeable, but they aren’t. Drying is when the paint feels dry to the touch. This can take anywhere from a few hours to a day, depending on the paint type and environmental conditions. Curing, on the other hand, is the process through which paint reaches its maximum hardness and durability. This often takes several weeks, so it’s important to be gentle with your cabinets during this time.Optimal Conditions For Drying
Creating the right environment is key to proper drying. Consider factors like temperature and humidity. A warm, dry room with good airflow speeds up the drying process. Use fans or open windows to enhance ventilation. Avoid painting on particularly humid or rainy days as this can extend drying time significantly.Why Curing Time Matters
Curing isn’t just about patience; it’s about protecting your hard work. Rushing the curing process can result in smudges, scratches, and a lackluster finish. Allowing your cabinets to cure properly ensures the paint adheres well, resisting chips and stains. This means your kitchen will not only look great but will remain durable through daily wear and tear.How To Test If Paint Is Cured
Wondering if your paint is fully cured? There’s a simple test. Press a fingernail gently into an inconspicuous area. If it leaves an impression, the paint needs more time. If not, you’re good to go. This test helps you avoid unnecessary damage from prematurely handling your cabinets.Patience Pays Off
Sure, waiting might not be your favorite part of the process. But patience during drying and curing times can mean the difference between a stunning transformation and a disappointing redo. Remember the excitement of picking out those perfect paint colors? Let that excitement guide you as you give your cabinets the time they need to look their best.Reassembling Cabinets
Carefully align cabinet doors and frames before securing screws to avoid damage. Tighten all hinges and handles for a smooth, finished look. Reassembling cabinets properly ensures your freshly painted kitchen looks neat and lasts longer.
Reassembling your kitchen cabinets is a crucial final step. This phase brings the entire project together. You’ll see the results of your hard work. Take your time to ensure each piece fits perfectly. The reassembly process involves careful attention to detail.Reattaching Doors And Hardware
Start by attaching the doors back to the cabinets. Align the hinges with the pre-drilled holes. Use a screwdriver to secure them firmly. Check that each door opens and closes smoothly. Next, reattach the handles and knobs. Use the same screws removed earlier. Make sure each handle is tight and aligned. This ensures a polished look.Final Touch-ups
Once the doors and hardware are in place, inspect for any paint touch-ups. Look for small chips or uneven areas. Use a fine brush for precise corrections. Let the paint dry completely before using the cabinets. Finally, wipe down all surfaces with a clean cloth. This removes dust and fingerprints. Your kitchen will look fresh and inviting.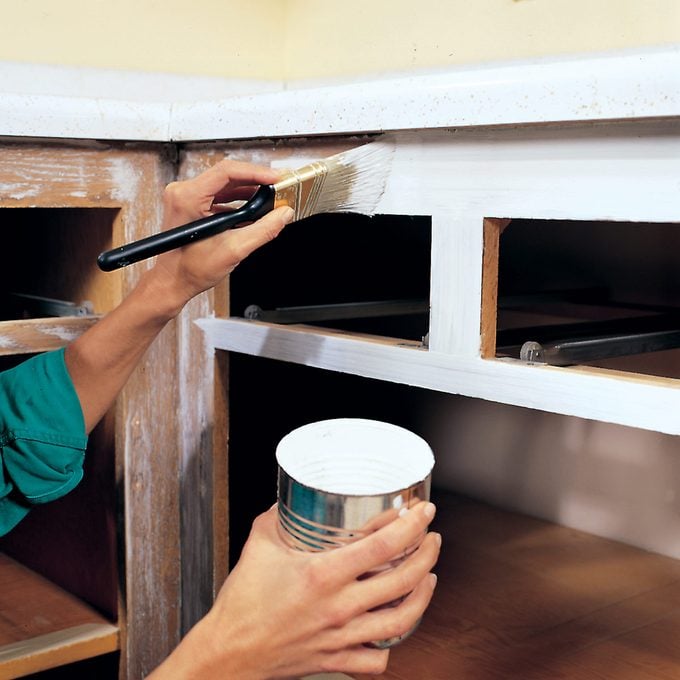
Credit: www.familyhandyman.com
Maintenance Tips
Keeping your freshly painted kitchen cabinets looking great requires some simple maintenance habits. Small actions can make a big difference in preserving the smooth finish and vibrant color of your cabinets. Let’s look at some practical tips you can use every day to protect your hard work.
Regular Cleaning With Gentle Products
Use a soft cloth or sponge and mild soap to clean your cabinets. Avoid harsh chemicals or abrasive scrubbers that can damage the paint. A quick wipe down every week helps prevent grease buildup and stains.
Address Spills And Stains Immediately
Don’t let spills sit on your cabinets for long. Wipe them off promptly with a damp cloth to stop stains from setting in. This habit keeps your cabinets looking fresh without extra effort.
Use Cabinet Liners And Protective Pads
Inside your cabinets, lining shelves with protective paper or mats can reduce wear and tear. Adding pads under heavy items prevents scratches and dents. These small additions extend the life of your paint job.
Control Kitchen Humidity And Temperature
High humidity or sudden temperature changes can cause paint to peel or bubble. Use your kitchen’s exhaust fan during cooking to reduce moisture. Keeping the environment stable protects your cabinets’ finish.
Inspect And Touch Up Paint As Needed
Check your cabinets regularly for chips or scratches. Touching up small spots promptly prevents damage from spreading. Keeping some leftover paint handy makes this quick fix easy.
Have you noticed how small daily habits can keep your kitchen cabinets looking new for years? What maintenance tip will you try first to protect your paint job?
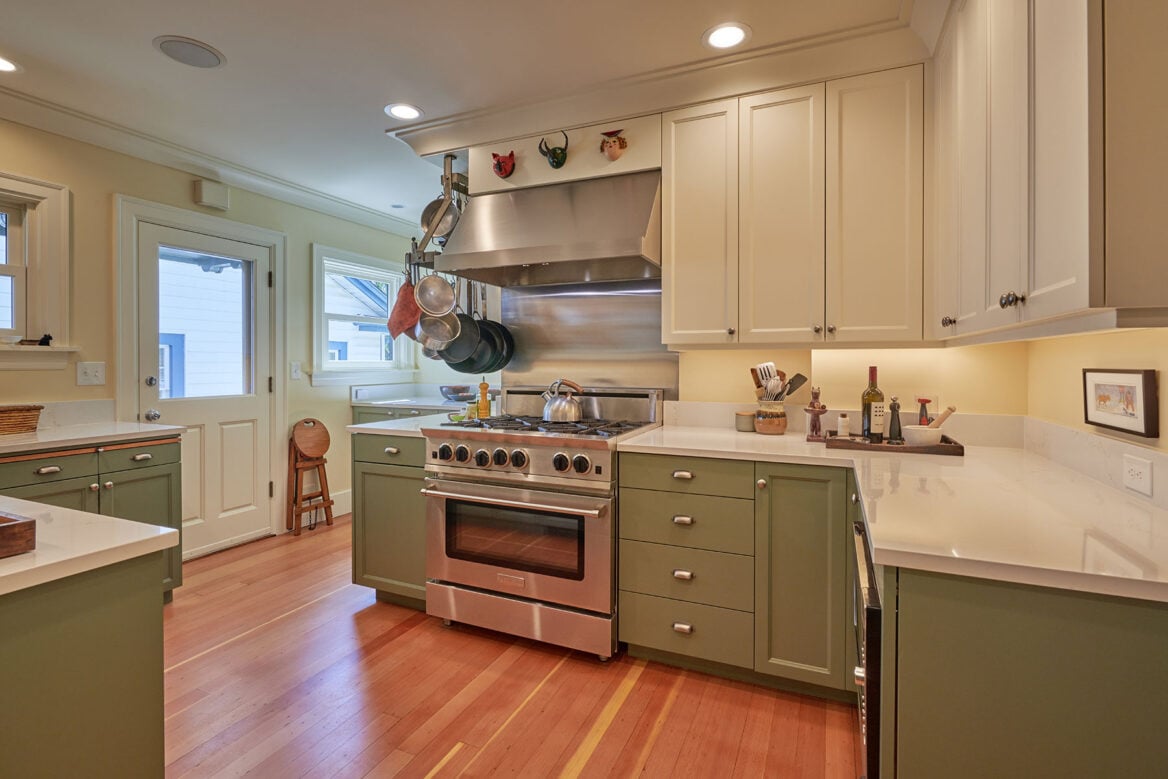
Credit: www.crddesignbuild.com
Frequently Asked Questions
How Do I Prepare Kitchen Cabinets For Repainting?
Start by removing cabinet doors and hardware. Clean surfaces thoroughly. Sand lightly to create a smooth base. Wipe off dust before painting. Proper prep ensures paint adheres well and lasts longer.
What Type Of Paint Is Best For Cabinets?
Use durable, semi-gloss or satin finish paint. These resist moisture and stains. Acrylic latex or oil-based paints work well. Choose paint designed for wood or laminate surfaces. This ensures a smooth, long-lasting finish.
How Long Does Kitchen Cabinet Repainting Take?
Repainting usually takes 2-4 days. Prep and sanding require 1 day. Painting with drying time takes 1-3 days. Drying times vary by paint type and humidity. Plan accordingly for best results.
Should I Remove Cabinet Doors Before Painting?
Yes, removing doors allows better access. It prevents paint drips on frames and ensures even coverage. Label doors and hardware for easy reassembly. This step improves the overall finish quality.
Conclusion
Repainting kitchen cabinets can change your space quickly. It saves money and gives your kitchen a fresh look. Take time to prepare and use good paint for best results. Small steps make a big difference. Enjoy the process and the new feel of your kitchen.
Your effort will surely pay off with a cleaner, brighter room. Simple changes can create a big impact. Start your project with confidence and see the results yourself.