
You’ve just noticed an unsightly smear of paint on your car, a reminder of that minor mishap in the parking lot. It’s frustrating, isn’t it?
But before you consider expensive professional help, take a deep breath. You can tackle this issue right at home with a few simple steps. Imagine the satisfaction of seeing your car’s finish restored to its former glory without breaking the bank.
In this guide, you’ll discover effective methods to remove paint transfer from your vehicle. We’ll walk you through each step, ensuring that you feel confident and equipped to handle the task. Let’s get your car looking spotless again. Ready to dive in?

Credit: www.youtube.com
Assess Damage
Assess the damage by examining the extent of the paint transfer on your car. Look for scratches and scuffs. Understanding the severity helps in choosing the right removal method.
Assessing the damage on your car after a paint transfer incident is crucial before diving into any DIY solutions. Understanding the extent of the damage helps you choose the right tools and methods for the job, saving you time and effort. Plus, it allows you to avoid making the situation worse by applying an incorrect solution.Examine The Affected Area
Start by examining the affected area closely. Use a flashlight to get a better view of the damage, especially if you’re in a poorly lit space. Look for any scratches or dents that might have accompanied the paint transfer.Determine The Severity
Feel the surface with your fingers to determine how severe the paint transfer is. If the surface feels smooth, the damage may be superficial and easier to fix. If it’s rough, you might be dealing with deeper damage that requires more attention.Identify The Type Of Paint
Try to identify the type of paint that has transferred onto your car. If you can still see the original color of your car beneath the transferred paint, you’re likely dealing with a surface-level issue. This can often be removed with common household items.Check For Underlying Damage
It’s vital to check for any underlying damage that might not be immediately visible. Use a magnifying glass if necessary to inspect for tiny scratches or chips. These could require professional attention if they’re beyond your DIY skills.Record The Damage
Take photos of the damage from different angles. This not only helps you track your progress as you work on it, but also provides evidence for insurance purposes if needed. Keeping a record can be surprisingly useful.Consider Your Diy Skills
Before deciding on your approach, honestly assess your DIY skills. Are you comfortable using the necessary tools and products? If you’re unsure, it might be worth practicing on a less visible area first. By thoroughly assessing the damage, you empower yourself to tackle the paint transfer confidently. Have you faced a similar issue before? How did you handle it?
Credit: www.turtlewax.com
Gather Necessary Tools
Begin by gathering essential tools like microfiber cloths, car polish, and a bucket. Ensure the area is well-lit for better visibility.
Removing paint transfer from your car at home can seem daunting, but with the right tools, it becomes a manageable task. Gather the necessary equipment to ensure smooth and effective removal. This process requires a few specific items that will help you achieve a clean, polished finish.Cleaning Supplies
Begin with basic cleaning supplies to prepare the surface. A bucket of warm water and mild soap works well. Microfiber cloths are essential; they are gentle and won’t scratch the paint. Consider using a sponge for larger areas. These supplies help in removing dirt and grime before tackling the paint transfer.Scratch Removal Products
Scratch removal products are crucial for eliminating paint marks. Choose a quality scratch remover that matches your car’s finish. These products usually come in liquid or paste form. Check the label for compatibility with your vehicle’s paint. You might also need a soft applicator pad to evenly spread the product.Polishing Equipment
Polishing equipment restores the car’s shine after removing paint transfer. A car polish helps to blend the repaired area with the surrounding paint. Use a polishing pad for application. A rotary buffer can be useful if the area is large. Manual polishing pads work for smaller sections. Ensure the polish is suitable for your vehicle’s paint type.Pre-clean The Area
Start by cleaning the area with soap and water to remove dirt and debris. This helps you see the paint transfer clearly and prevents scratching during the removal process.
Pre-cleaning the area is crucial when removing paint transfer from your car. It sets the stage for successful paint transfer removal. By removing dirt and debris first, you prevent scratches. This process also allows you to assess the extent of the paint transfer. Here’s how you can pre-clean the area effectively:Wash The Car
Start by washing the car with a mild automotive soap. Use a soft sponge or microfiber cloth. This helps to lift off dirt and grime gently. Focus on the affected area but don’t neglect surrounding spots. This ensures no dirt interferes with later steps.Dry Thoroughly
After washing, dry the car completely with a clean towel. Ensure no moisture remains on the surface. This prepares the area for further treatment. A dry surface allows for better inspection. It also helps any products applied later to adhere properly.Remove Paint Transfer
Paint transfer on your car can be frustrating. It often happens during minor scrapes or parking mishaps. Fortunately, you can remove paint transfer at home with simple methods. These techniques restore your car’s appearance without professional help. Follow the steps below to effectively remove paint transfer from your car.
Use Rubbing Alcohol
Rubbing alcohol works wonders on paint transfer. Start by applying a small amount to a clean cloth. Gently rub the affected area in circular motions. Alcohol breaks down the transferred paint without harming your car’s finish. Repeat this process until the paint transfer disappears.
Apply Scratch Remover
Scratch remover helps with stubborn paint transfer. Choose a product suitable for your car’s paint type. Apply a small amount to the area using a clean cloth. Follow the instructions on the product’s label. This step reduces visible scratches and restores your car’s shine.
Buff With A Microfiber Cloth
Buffing is crucial for a smooth finish. Use a microfiber cloth for the best results. Buff the area gently to blend any remaining marks. Microfiber cloths are soft and prevent further scratches. Buff until the surface feels smooth and looks uniform.
Polish And Protect
Polish and protect your car by removing paint transfer at home. Use gentle rubbing compounds to erase marks safely. Finish with a wax coating to restore shine and shield the surface.
Polishing and protecting your car is crucial after removing paint transfer. It restores the shine and offers a protective layer. This process ensures your car looks great and remains safeguarded from future damage.Apply Car Polish
Car polish enhances the car’s shine and smoothens the surface. First, choose a quality car polish suitable for your car’s paint. Apply a small amount to a microfiber cloth or applicator pad. Begin polishing in small, circular motions. Work on one section at a time for even coverage. This helps remove minor scratches and imperfections. After application, allow the polish to set for a few minutes. Then, buff the surface with a clean cloth until it shines.Seal With Wax
Waxing adds a protective layer over the polish. It guards against environmental factors like UV rays and dirt. Choose a car wax that matches your car’s finish. Apply a small amount onto a clean cloth or applicator. Spread the wax evenly in thin layers, using circular motions. Let it dry to a haze, usually for a few minutes. Then, use a separate clean cloth to buff the waxed surface. This step locks in the shine and provides lasting protection. Regular waxing keeps the car’s paint vibrant and well-protected.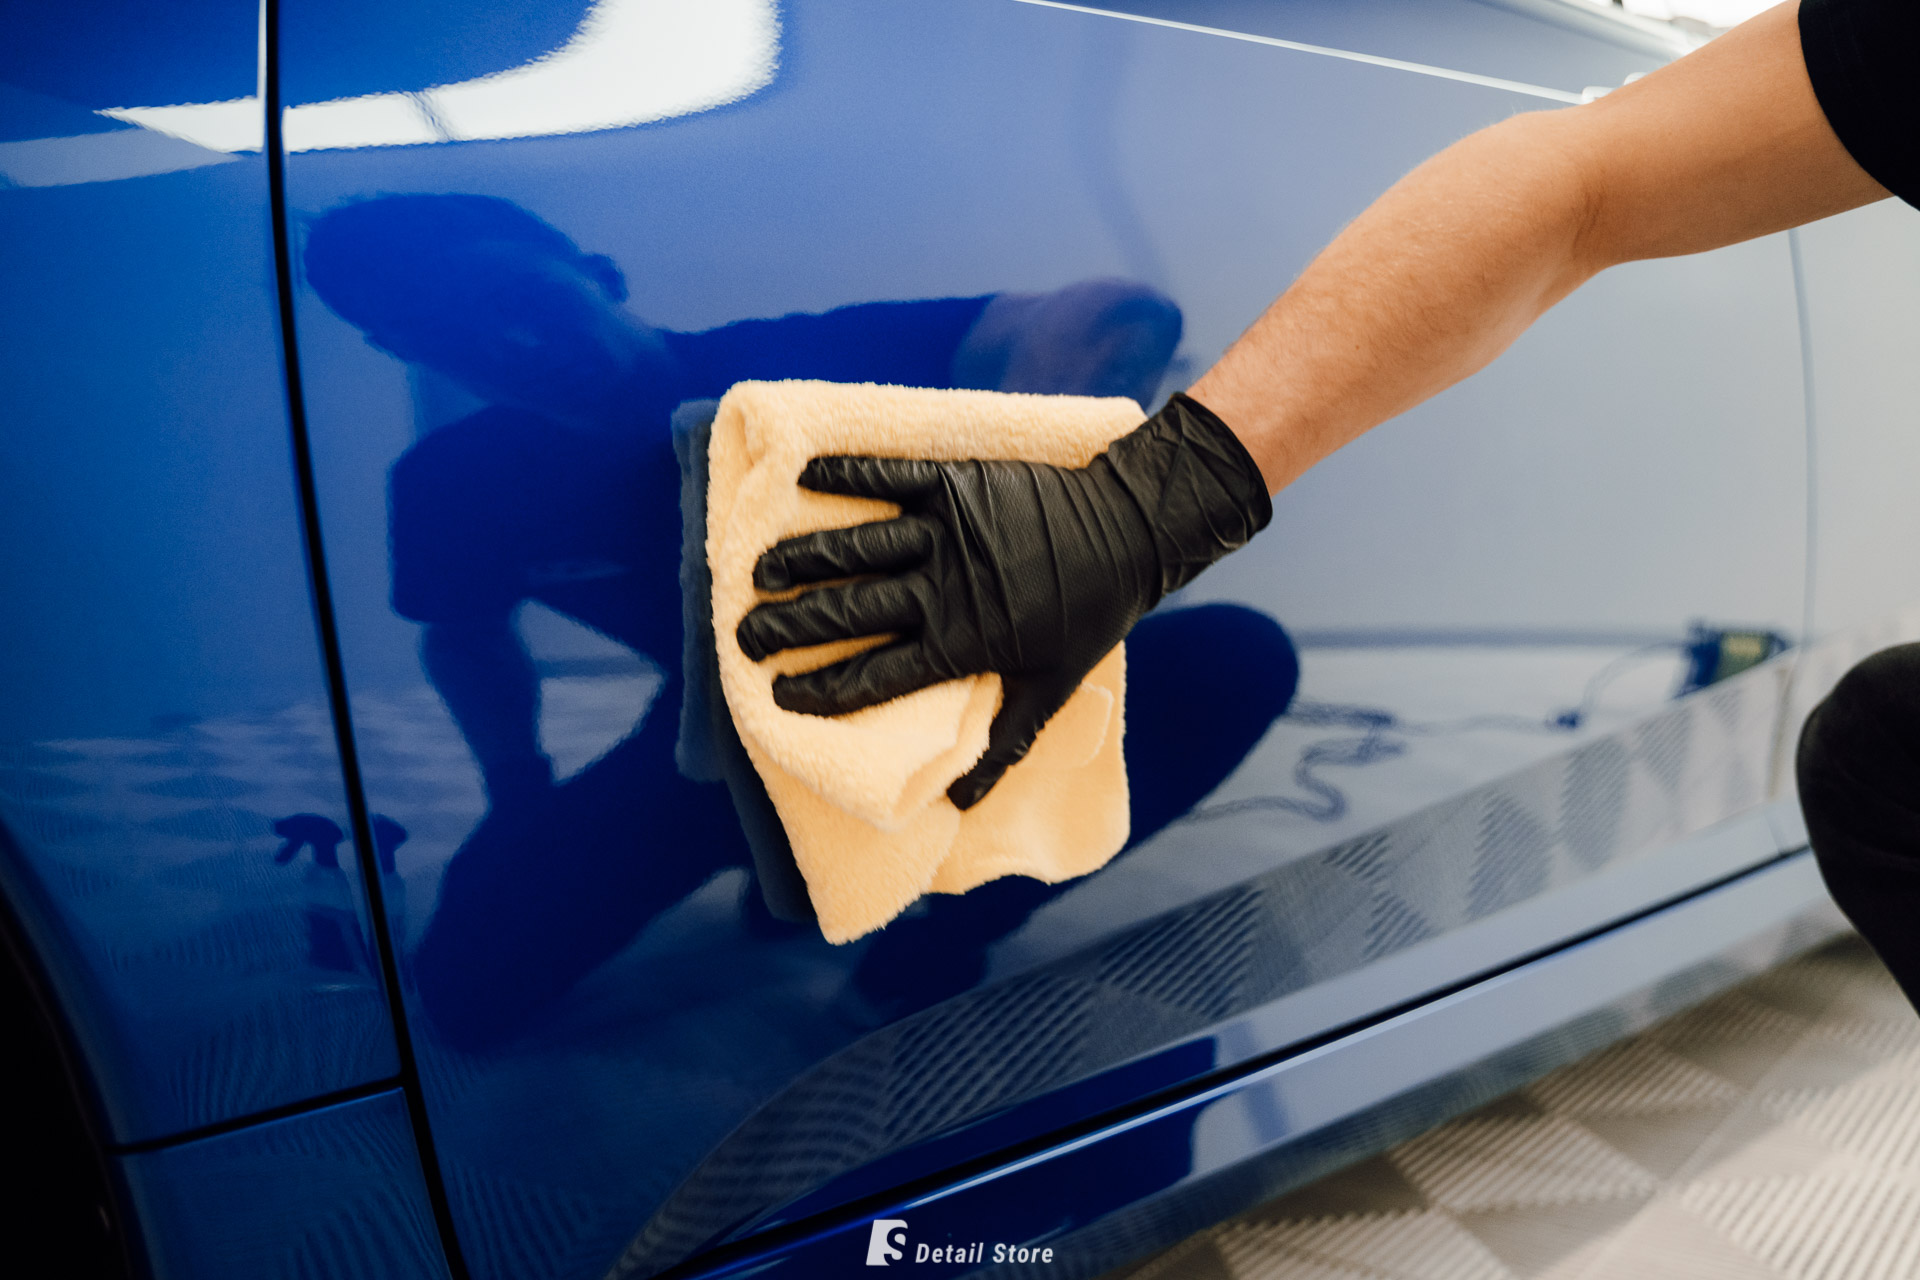
Credit: blog.detailstore.com.au
Check Final Results
You’ve spent time and effort removing paint transfer from your car, and now it’s the moment of truth: checking the final results. This step is crucial to ensure your car’s surface looks flawless and the paint transfer is completely gone. By carefully inspecting your work, you can identify any areas that may need a little more attention. It’s a satisfying feeling when you see the sparkle of your car’s true color shining through. But what if you spot some residual marks?
Inspect For Residual Marks
Take a close look at the affected area. Use natural light to your advantage as it can help you spot any lingering paint transfer or imperfections. You might notice some subtle streaks or patches that weren’t visible before. These could be residues that need further removal.
Don’t rush this process. Sometimes, a second look can reveal details that weren’t clear initially. Consider running your fingers gently over the surface. Do you feel any rough patches? If so, these might be areas that still have paint transfer. Addressing these spots now will save you trouble later.
Repeat Process If Necessary
If you do find residual marks, don’t worry. It’s not uncommon to need a second round of cleaning. Gather your materials again and focus on the stubborn spots. Apply the cleaning solution and use your cloth or sponge to gently buff the area.
Be patient and take your time. Each swipe gets you closer to restoring your car’s pristine look. Remember, persistence pays off. You might need to repeat the process a few times, but the results will be worth it.
And here’s a thought: do you feel confident in your technique? Sometimes revisiting your method can make all the difference. Adjust your approach slightly, if needed, to get the best results.
Prevent Future Damage
Removing paint transfer from your car can prevent future damage. Use mild rubbing compound or toothpaste to gently buff the affected area, restoring your car’s finish. Finish by applying car wax for added protection and shine.
Preventing future damage to your car is essential for maintaining its appearance. Paint transfer can be frustrating, but with the right care, you can avoid it. Regular maintenance and protective measures are key. Let’s explore how these practices can safeguard your vehicle.Regular Car Maintenance
Regular maintenance keeps your car in top condition. Wash your car weekly to remove grime and dirt. Use a gentle car shampoo to protect the paint. Check for minor scratches and address them promptly. Wax your car monthly to add a protective layer. Waxing helps prevent paint transfer and keeps your car shiny.Use Of Protective Coatings
Protective coatings offer an extra shield for your car’s paint. Consider ceramic coatings for long-lasting protection. These coatings resist scratches and reduce paint transfer. They form a hard layer over your car’s paint. Another option is paint sealants, which are easier to apply. Sealants provide a glossy finish and protect against environmental damage. Regular application ensures lasting results and keeps your car looking new.Frequently Asked Questions
How Can I Remove Paint Transfer From My Car?
To remove paint transfer from your car, use a microfiber cloth and rubbing compound. Gently rub the affected area in circular motions. For stubborn spots, try a magic eraser. Always finish by washing the area and applying a car wax to protect the paint.
What Household Items Remove Paint Transfer?
Household items like baking soda, toothpaste, or a magic eraser can remove paint transfer. Apply them with a soft cloth, rubbing gently in circular motions. Rinse thoroughly afterward and apply car wax to maintain the car’s finish.
Is It Safe To Use Wd-40 On Car Paint?
Yes, WD-40 can safely remove paint transfer. Spray a small amount on a microfiber cloth, then gently rub the affected area. Clean with soap and water afterward to avoid residue and apply wax to protect your car’s paint.
Can Toothpaste Remove Paint Transfer From A Car?
Yes, toothpaste can remove paint transfer from a car. Use a non-gel toothpaste and a microfiber cloth. Apply a small amount, rubbing in circular motions. Clean the area with water and apply car wax for protection afterward.
Conclusion
Removing paint transfer from your car at home is simple. Start with basic tools. Work patiently. Follow each step closely. These methods save money and time. You protect your car’s look. Always test products first. Avoid damage to the paint.
Regular care keeps your car shining. Maintain your car for longer life. Share this guide with friends. Encourage them to try these steps. Your car deserves the best care. Now you’re ready to tackle paint issues. Keep your car looking great.
You got this!