

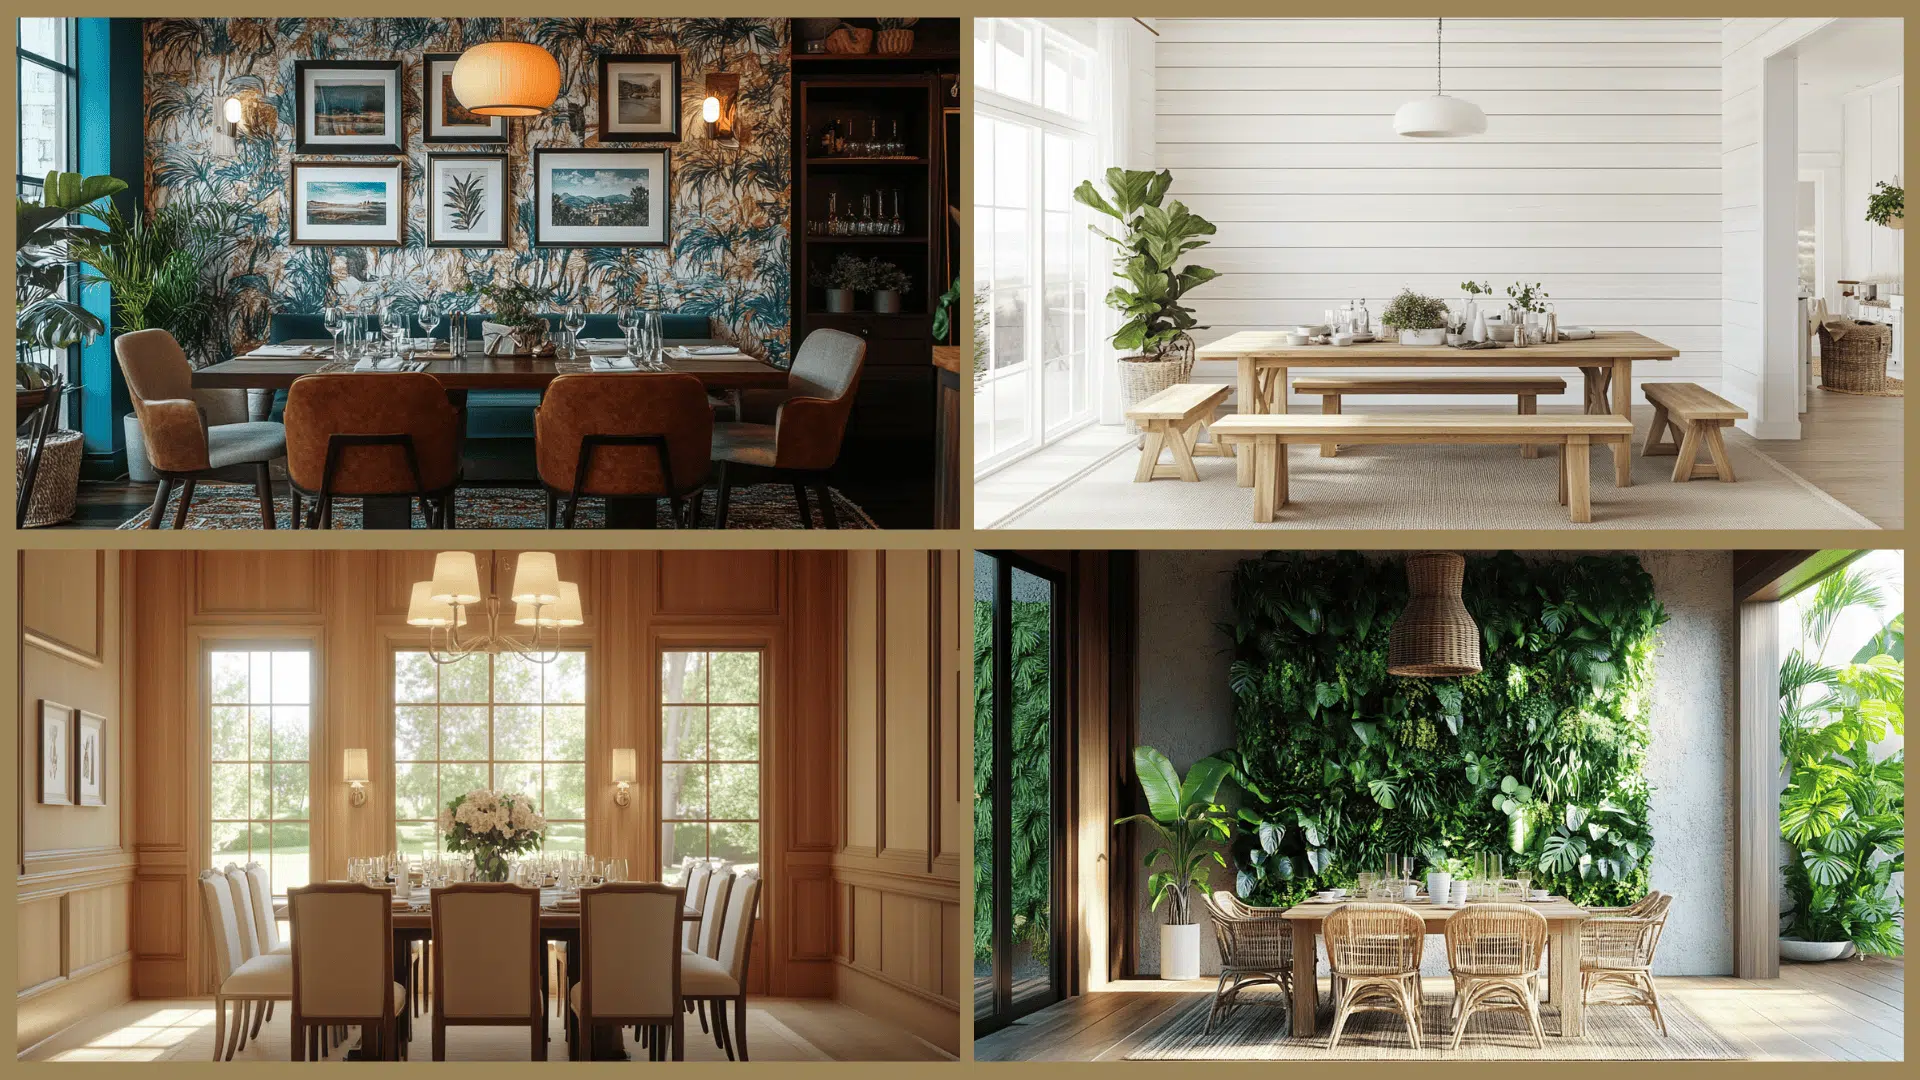
Are you ready to transform your dining room with a touch of classic elegance? Making raised panels for your dining room is a simple way to add depth, style, and a custom look that will impress every guest.
Whether you’re a beginner or have some woodworking experience, this guide will walk you through each step clearly and confidently. By the end, you’ll have the skills to create beautiful raised panels that bring warmth and character to your space.
Let’s dive in and make your dining room truly stand out!
Materials And Tools Needed
Gathering the right materials and tools sets the foundation for making raised panels that look professional and last for years. Choosing quality wood and having reliable tools not only simplifies your work but also improves the final outcome. Don’t overlook safety gear—it protects you while you bring your dining room vision to life.
Wood Selection
Pick wood that matches the style and durability you want for your dining room. Hardwoods like oak, cherry, or maple offer strength and a beautiful finish, but softwoods like pine can be easier to work with for beginners. Think about the wood’s grain and how it will complement your room’s decor.
Have you considered how moisture levels in your wood might affect your panels? Wood with too much moisture can warp over time, so aim for wood that has been properly dried.
Essential Tools
You’ll need a few key tools to shape and assemble your raised panels accurately. A table saw or router with a raised panel bit is essential for creating the panel profile. Clamps, a chisel set, and sandpaper will help you fine-tune and smooth the edges.
Don’t forget measuring tools like a tape measure and a square to ensure precise cuts. Using sharp blades and bits makes your job easier and gives cleaner results.
Safety Gear
Protect your eyes with safety glasses and your ears with ear protection whenever you’re cutting or sanding wood. A dust mask or respirator is crucial, especially when working with fine wood dust that can irritate your lungs.
Gloves can protect your hands, but make sure they don’t interfere with your grip or control of tools. Have you checked that your workspace is well-ventilated before you start?
Designing Raised Panels
Designing raised panels for your dining room adds charm and character. It shapes the room’s style and feel. Careful design ensures panels fit perfectly and look balanced. Focus on size, shape, and detail for a striking effect.
Choosing Panel Dimensions
Measure the frame where the panel will fit. Keep proportions balanced with surrounding woodwork. Typical panel thickness ranges from 1/4 inch to 3/4 inch. Wider panels suit large doors or walls. Smaller panels work well for cabinet doors or trims.
Consider the panel’s height and width carefully. Too large can feel heavy; too small may look weak. Aim for a size that enhances the dining room’s overall design.
Selecting Panel Profiles
Profiles add depth and interest to panels. Common profiles include flat, raised, and beveled edges. Raised edges create a classic look with shadow lines. Beveled edges offer a modern, clean feel.
Choose a profile that matches your dining room style. Simple profiles suit modern spaces. More detailed profiles fit traditional or rustic decor. Test samples to see how light and shadow play on each profile.
Sketching Your Design
Start with a rough sketch on paper or software. Draw the panel outline and add profile details. Mark dimensions clearly for easy reference. Visual sketches help spot design issues early.
Use color or shading to show raised areas. Share sketches with family or contractors for feedback. Adjust your design to match room style and personal taste before building.
Cutting The Panel Components
Cutting the panel components is a crucial part of making raised panels for a dining room. Accuracy during this stage ensures the pieces fit perfectly. Precise cuts create clean lines and strong joints. Take your time to measure and cut carefully for the best results.
Measuring And Marking
Measure each piece twice to avoid mistakes. Use a tape measure and a pencil for marking. Mark the wood clearly but lightly so the marks can be removed later. Check the dimensions of stiles, rails, and the panel itself. Remember to account for the thickness of your saw blade to keep measurements accurate.
Cutting Stiles And Rails
Stiles and rails form the frame around the panel. Use a table saw or miter saw for straight, clean cuts. Cut the pieces to the exact length marked earlier. Keep your cuts square and smooth for tight joints. Use clamps to hold the wood steady while cutting to prevent shifting.
Cutting The Panel
The panel fits inside the frame made by stiles and rails. Cut the panel slightly smaller than the frame opening. This allows for wood expansion and contraction. Use a table saw or a router with a straight bit for smooth edges. Sand the edges gently to remove any rough spots before assembly.
Credit: enthrallinggumption.com
Shaping The Panel Edges
Shaping the panel edges is a key part of making raised panels for your dining room. The edges give the panel its style and depth. Proper shaping creates a smooth transition between the panel and the frame. It also adds a professional look to your woodworking project.
Focus on clean, precise edges. Use the right tools and techniques. A well-shaped edge enhances the overall design and durability of the panel.
Routing Panel Profiles
Routing is the best way to shape panel edges. Use a router with a suitable bit to create decorative profiles. Common profiles include ogee, bevel, and round-over.
Choose bits that match your design style. Secure the panel firmly to avoid movement. Move the router steadily along the edge for an even cut.
Practice on scrap wood before routing the panel. This helps you get comfortable with the tool and profile.
Sanding And Smoothing Edges
After routing, the edges need sanding for a smooth finish. Sand by hand or with an orbital sander using fine-grit sandpaper.
Focus on removing any rough spots or tool marks. Sand evenly to keep the profile crisp and clean.
Check the edges with your hand to feel for smoothness. A well-sanded edge improves paint or stain absorption.
Assembling The Raised Panel
Assembling the raised panel is a key phase in crafting your dining room piece. This step brings together all the parts, ensuring a sturdy and attractive panel. Careful assembly guarantees the panel fits perfectly and holds strong over time.
Fitting The Panel Into Frame
Start by placing the raised panel gently into the frame grooves. Check that the panel slides in smoothly without forcing. The fit should be snug but not tight. Allow room for wood movement due to changes in humidity. Test the panel all around to confirm even spacing.
Gluing And Clamping
Apply wood glue sparingly on the frame edges where the panel fits. Avoid excess glue to prevent messy squeeze-out. Insert the panel into the frame quickly after gluing. Use clamps to hold the frame and panel firmly together. Place clamps evenly to distribute pressure. Wipe off any glue that escapes immediately with a damp cloth.
Checking For Squareness
After clamping, verify the frame is perfectly square. Use a carpenter’s square or measure diagonals. Both diagonals should be equal in length. Adjust clamps slightly if the frame is off-square. Squareness ensures the panel will fit well in the dining room setting. Let the glue dry fully before removing clamps or handling the panel.

Credit: enthrallinggumption.com
Finishing Touches
Finishing touches can make or break the look of your raised panels for the dining room. This is where your project transforms from good to stunning. Paying attention to small details like smoothness, color, and protection ensures your panels last and impress.
Sanding The Assembly
Start by sanding the entire panel assembly with medium-grit sandpaper to even out joints and surfaces. Then switch to fine-grit paper for a silky smooth finish. Take your time here—rough spots or uneven edges will show up clearly once stained or painted.
Use a sanding block or an orbital sander to keep the surface flat. Don’t forget to sand along the edges and corners carefully to avoid rounding them off too much. Have you noticed how a perfectly smooth panel instantly feels more professional and inviting?
Applying Stain Or Paint
Choose a stain or paint that complements your dining room’s style. Before applying, test your color on a scrap piece of wood to see how it looks once dry. Apply thin, even coats with a brush or cloth, following the wood grain for the best result.
Allow each coat to dry completely before adding another to build depth and richness. Remember, less is often more—thick layers can drip or peel later. Are you aiming for a natural wood look or a bold statement color? Your choice will set the entire room’s mood.
Sealing And Protecting
Once your stain or paint is dry, seal the panels with a clear protective finish like polyurethane or lacquer. This shields your work from moisture, scratches, and everyday wear. Apply at least two coats, sanding lightly between each for a flawless surface.
Consider a satin or semi-gloss finish to highlight the wood’s texture without too much shine. Protecting your panels means your dining room will stay beautiful for years, even with frequent use. What’s your experience with finishes—do you prefer fast-drying or more durable options?
Installing Panels In Dining Room
Installing raised panels in your dining room adds charm and depth to the space. Proper installation ensures panels stay secure and look polished. Careful preparation and precise mounting create a lasting finish that enhances your room’s style.
Preparing Wall Surface
Start by cleaning the wall to remove dust and grease. Smooth any bumps or holes with spackle and sand the surface lightly. Ensure the wall is dry and flat for better panel adhesion. Mark panel positions with a pencil for accurate placement.
Mounting Panels Securely
Use a level to align each panel perfectly. Apply construction adhesive to the back of the panel for strong bonding. Press the panel firmly against the wall. Secure with finishing nails or screws, placing them in hidden areas. Check each panel’s position before the adhesive sets.
Final Adjustments
Fill nail holes with wood filler and sand smooth. Touch up paint or stain to match the panel finish. Clean any excess adhesive or dust. Inspect the entire wall to ensure panels are even and well fixed. Step back and admire your work.
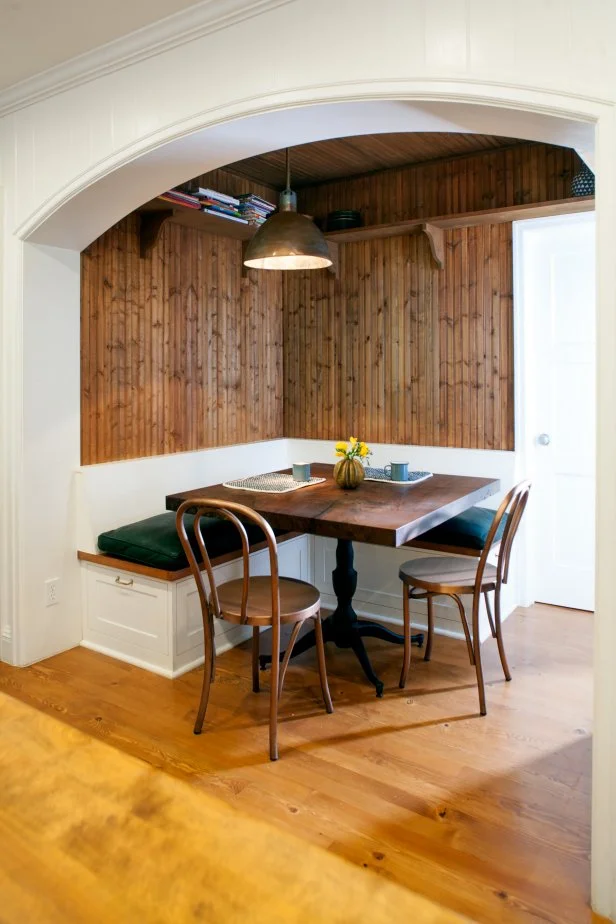
Credit: www.hgtv.com
Frequently Asked Questions
What Tools Are Needed For Raised Panels?
To make raised panels, you’ll need a table saw, a router, and a panel-raising bit. Additionally, use clamps, sandpaper, and a measuring tape for precision. Safety gear like goggles and ear protection are also essential.
How Thick Should Raised Panels Be?
Raised panels are typically 3/4 inch thick. This thickness provides stability and a balanced appearance. Ensure the material is suitable for your design and matches the surrounding framework.
Can Beginners Make Raised Panels?
Yes, beginners can make raised panels with patience and practice. Start with simple designs and follow detailed guides. Ensure you have the right tools and safety precautions in place.
What Wood Is Best For Raised Panels?
Hardwoods like oak, maple, and cherry are ideal for raised panels. These woods offer durability and a classic look. Consider the existing décor and desired finish when choosing your wood type.
Conclusion
Making raised panels for your dining room adds charm and style. The steps are simple and clear. Choose the right wood and tools first. Cut, shape, and fit the panels carefully. Take your time to ensure a good finish. Raised panels can change the room’s look easily.
You will enjoy the process and the result. Try this project to add a personal touch. It brings warmth and character to your space. A little effort creates a big difference.