

Are you looking to add a spooky touch to your entryway this Halloween? Creating a standing child ghost decor is easier than you think—and it will instantly grab the attention of everyone who walks through your door.
Imagine your guests’ surprise as they spot a charming, eerie ghost greeting them right at the entrance. In this post, you’ll discover simple steps to make your own standing child ghost that looks both fun and spooky. Ready to impress your visitors and boost your Halloween vibe?
Let’s get started!
Materials Needed
Gathering the right materials is the first step toward creating an eye-catching standing child ghost decor for your entryway. Having everything on hand makes the process smooth and enjoyable. Plus, it helps you avoid last-minute trips to the store, saving time and keeping your creative flow uninterrupted.
Basic Supplies
- White fabric or old sheet:Choose something lightweight and slightly translucent for that ghostly effect.
- Wire hanger or PVC pipe:This will form the frame to help your ghost stand tall and sturdy.
- Stuffing material:Use cotton, newspaper, or plastic bags to give the ghost a filled-out shape.
- Black felt or construction paper:Perfect for cutting out spooky eyes and mouth shapes.
- Glue or fabric adhesive:To attach facial features securely to the fabric.
- Scissors:Sharp scissors make cutting fabric and paper much easier.
Tools And Extras
- Hot glue gun:Provides a quick-drying bond, especially useful for attaching the frame and fabric.
- Markers or fabric paint:Allows you to add personalized touches or shading to the ghost’s face.
- String or fishing line:Use this to hang your ghost or secure parts of the frame if needed.
- Safety pins or sewing kit:Handy if you want to make adjustments or reinforce fabric sections.
Optional Decorative Items
- LED tea lights:Place inside the ghost for a gentle glow that catches attention at night.
- Fake spider webs or glow-in-the-dark paint:Add these for extra spooky vibes that make your decor stand out.
- Hat or scarf:Give your ghost some personality with small accessories.
Have you ever noticed how having the right tools can make a craft project feel less like work and more like fun? With these materials ready, you can focus on making your ghost uniquely yours. Ready to start assembling?
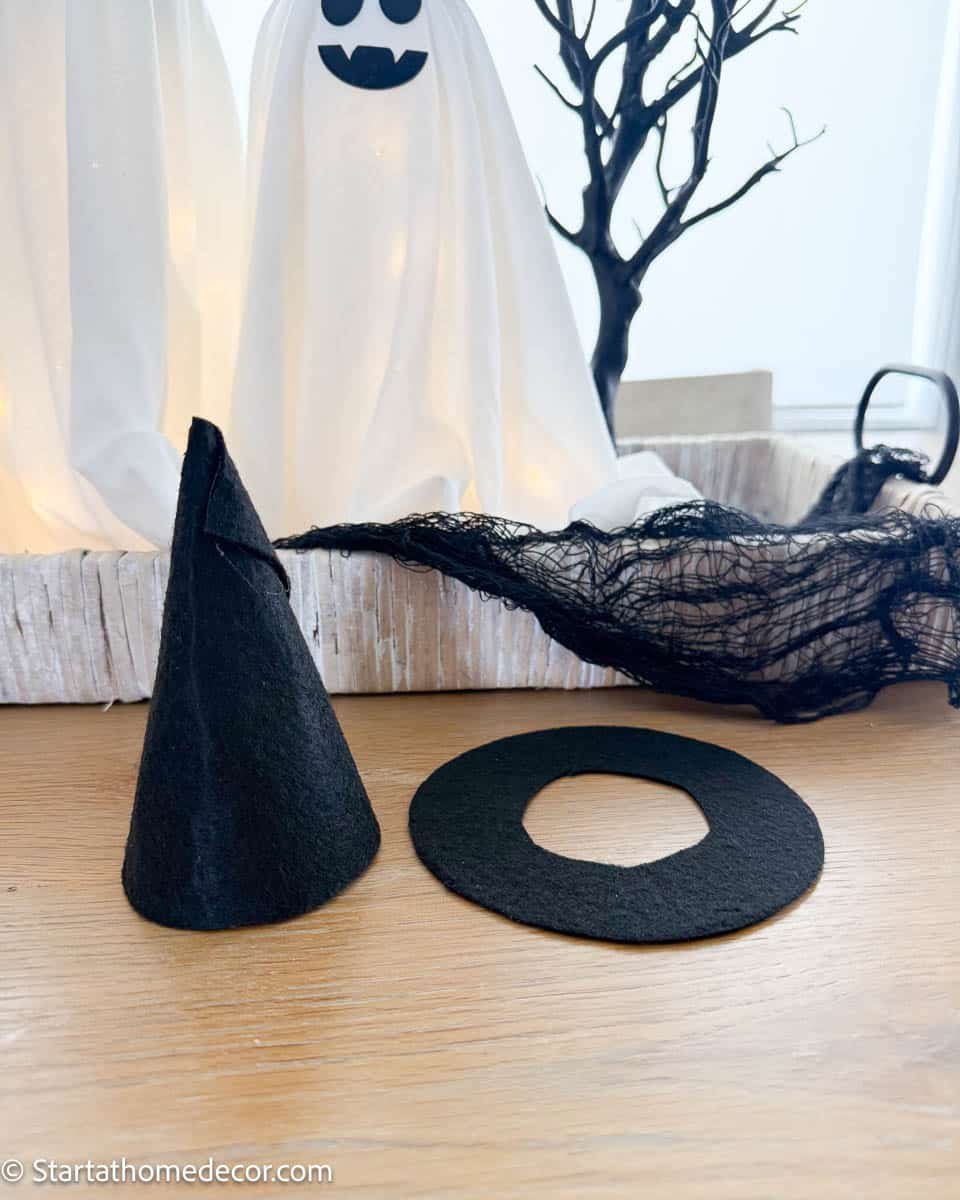
Credit: startathomedecor.com
Crafting The Ghost Body
Crafting the ghost body is the heart of your standing child ghost decor. This part sets the shape and character of your ghost, making it look both spooky and inviting. Paying attention to the fabric choice and how you cut it can make a big difference in the final look.
Choosing The Fabric
Pick a fabric that drapes well but also holds some shape. White cotton or lightweight muslin works perfectly because it’s easy to cut and sew. Avoid materials that are too stiff or too thin—they won’t create the soft, flowing ghost effect you want.
Think about the texture too. A slightly textured fabric can add visual interest when the light hits it. Have you ever noticed how some fabrics catch shadows differently? That subtle play of light can make your ghost look more lifelike.
Cutting And Shaping
Once you have your fabric, lay it flat on a clean surface. Cut out a large square or rectangle that will cover the frame you’re using for your ghost. The size depends on how tall your ghost is, but usually, a 3 to 4-foot square works well for a standing decoration.
To shape the ghost, cut a simple rounded or pointed edge at the bottom. This adds a natural, flowing look instead of a harsh straight line. You can also snip small triangles or curves along the edges to create a tattered, ghostly effect—just don’t overdo it.
Have you considered how the fabric will fall when placed on the frame? Try draping the fabric loosely and adjust your cuts based on how it hangs. This hands-on approach helps you avoid surprises and ensures the ghost looks just right in your entryway.
Creating The Ghost Head
Creating the ghost head is a fun and simple part of making your standing child ghost decor. This step shapes the spooky face that will greet guests at your entryway. Use basic materials to form a round, lightweight head that holds fabric well. A smooth, even base helps the ghost look neat and friendly.
Forming The Base
Start with a lightweight ball or balloon as the ghost’s head. A foam ball works best because it is easy to shape and light. If you use a balloon, blow it up to the size you want. Wrap newspaper or tissue paper around the balloon to make it firm. Use tape or glue to hold the layers in place. Let it dry completely before moving on. This solid base will give the ghost a good shape.
Attaching The Fabric
Choose a white sheet or cheesecloth for the ghost’s fabric. Cut a piece large enough to cover the head and hang down for the ghost’s body. Place the fabric over the base, centering it carefully. Gather the fabric under the head to create a neck shape. Use string or rubber bands to tie the fabric tightly under the head. This keeps the fabric from slipping. Adjust the fabric so it falls evenly and looks ghostly. Add a few gentle folds to give the ghost character.
Credit: www.amazon.ca
Adding The Ghostly Details
Adding the ghostly details is what brings your standing child ghost decor to life. This stage lets you inject personality and a spooky charm that will catch every visitor’s eye. It’s where your creativity shines through and transforms simple materials into a hauntingly delightful figure.
Painting The Face
Start by selecting the right paint colors—white for the base, black for the eyes and mouth, and maybe a hint of gray for shading. Use a small brush to carefully paint a friendly or eerie expression. Think about the mood you want to create: Should the ghost look playful or mysterious?
Try adding subtle shading around the eyes and mouth to give the face depth. You don’t need to be an artist to make it look great; simple shapes often have the strongest impact. Remember, the face is the focal point, so take your time and enjoy the process.
Adding Accents
Once the face is dry, consider adding accents to enhance the ghost’s character. You might glue on some lightweight fabric for a tattered effect or use glow-in-the-dark paint to make it pop at night. Small accessories like a mini hat or a paper bow tie can add unexpected charm.
- Use cotton or batting to create a soft, cloud-like texture around the base.
- Attach tiny LED lights inside the ghost for a spooky glow.
- Sprinkle some fake spider webs for an eerie, abandoned look.
What kind of vibe do you want your ghost to give off? Adding personal touches not only makes your decor unique but also creates a conversation starter when guests arrive. Don’t be afraid to experiment with different materials until it feels just right for your entryway.
Constructing The Stand
Constructing the stand is a vital part of making a standing child ghost decor. It supports the entire figure, keeping it upright and visible. The stand must be strong and steady to hold the ghost safely in the entryway. This section guides you through choosing the right base and making sure it stays stable.
Selecting The Base
Choose a base that matches the size of your ghost. A wooden board or a sturdy piece of foam works well. The base should be flat and wide enough to balance the ghost’s height. Consider the material’s weight—heavier bases offer better support. Make sure the base is easy to decorate or paint to match your theme.
Ensuring Stability
Fix the stand securely to the base. Use strong glue, screws, or nails depending on the materials. Add extra support by attaching small wooden blocks or brackets at the base corners. Check the stand’s balance by gently pushing it from different sides. Adjust the base or supports until the ghost stands firm without wobbling.
Assembling The Ghost
Assembling the ghost is where your decoration begins to take real shape. This stage brings together all the elements you’ve prepared and transforms them into a spooky figure ready to greet visitors. Paying attention to how each part fits will make your ghost stand sturdy and look more lifelike.
Attaching To The Stand
Start by securing the ghost’s body to the stand. Use a wooden dowel or metal rod as the stand—something strong enough to hold the fabric and structure upright. Push the dowel through the center of the ghost’s base or into a small foam block if you are using one inside the ghost.
Make sure the stand is stable on the floor or ground. You can add a heavy base or use a wide wooden platform to prevent the ghost from tipping over. Have you tried twisting the fabric tightly around the stand? This helps keep it from slipping down.
Adjusting The Shape
Once the ghost is attached, adjust the fabric and stuffing to create the shape you want. If you’ve used a pillow or stuffing inside, fluff it out so the ghost looks full and rounded. Pinch and fold the fabric to form arms or a head, using safety pins or glue to hold these shapes in place.
Think about the expression your ghost should have—should it be tall and skinny or short and wide? Small tweaks here can make a big difference. Don’t be afraid to step back and look at your ghost from different angles to spot any uneven spots or sagging fabric.
Placing In The Entryway
Placing your standing child ghost decor in the entryway sets the first spooky tone for anyone who walks through your door. The right spot can make the decoration feel welcoming and eerie without overwhelming the space. Think about how the ghost interacts with the natural flow of traffic and the overall look of your entryway.
Positioning Tips
Place the ghost where it catches the eye immediately but doesn’t block the walkway. Corners near the door or beside a console table work well. You want it to be noticeable without making guests duck around it.
Try standing the ghost near a mirror or window to create interesting reflections that add depth. If your entryway is small, lean the ghost slightly against the wall to save space while still showcasing it.
- Keep it at child’s eye level for a fun and slightly unsettling effect.
- Use rugs or mats under the ghost to anchor it visually.
- Avoid placing it where it can get knocked over easily.
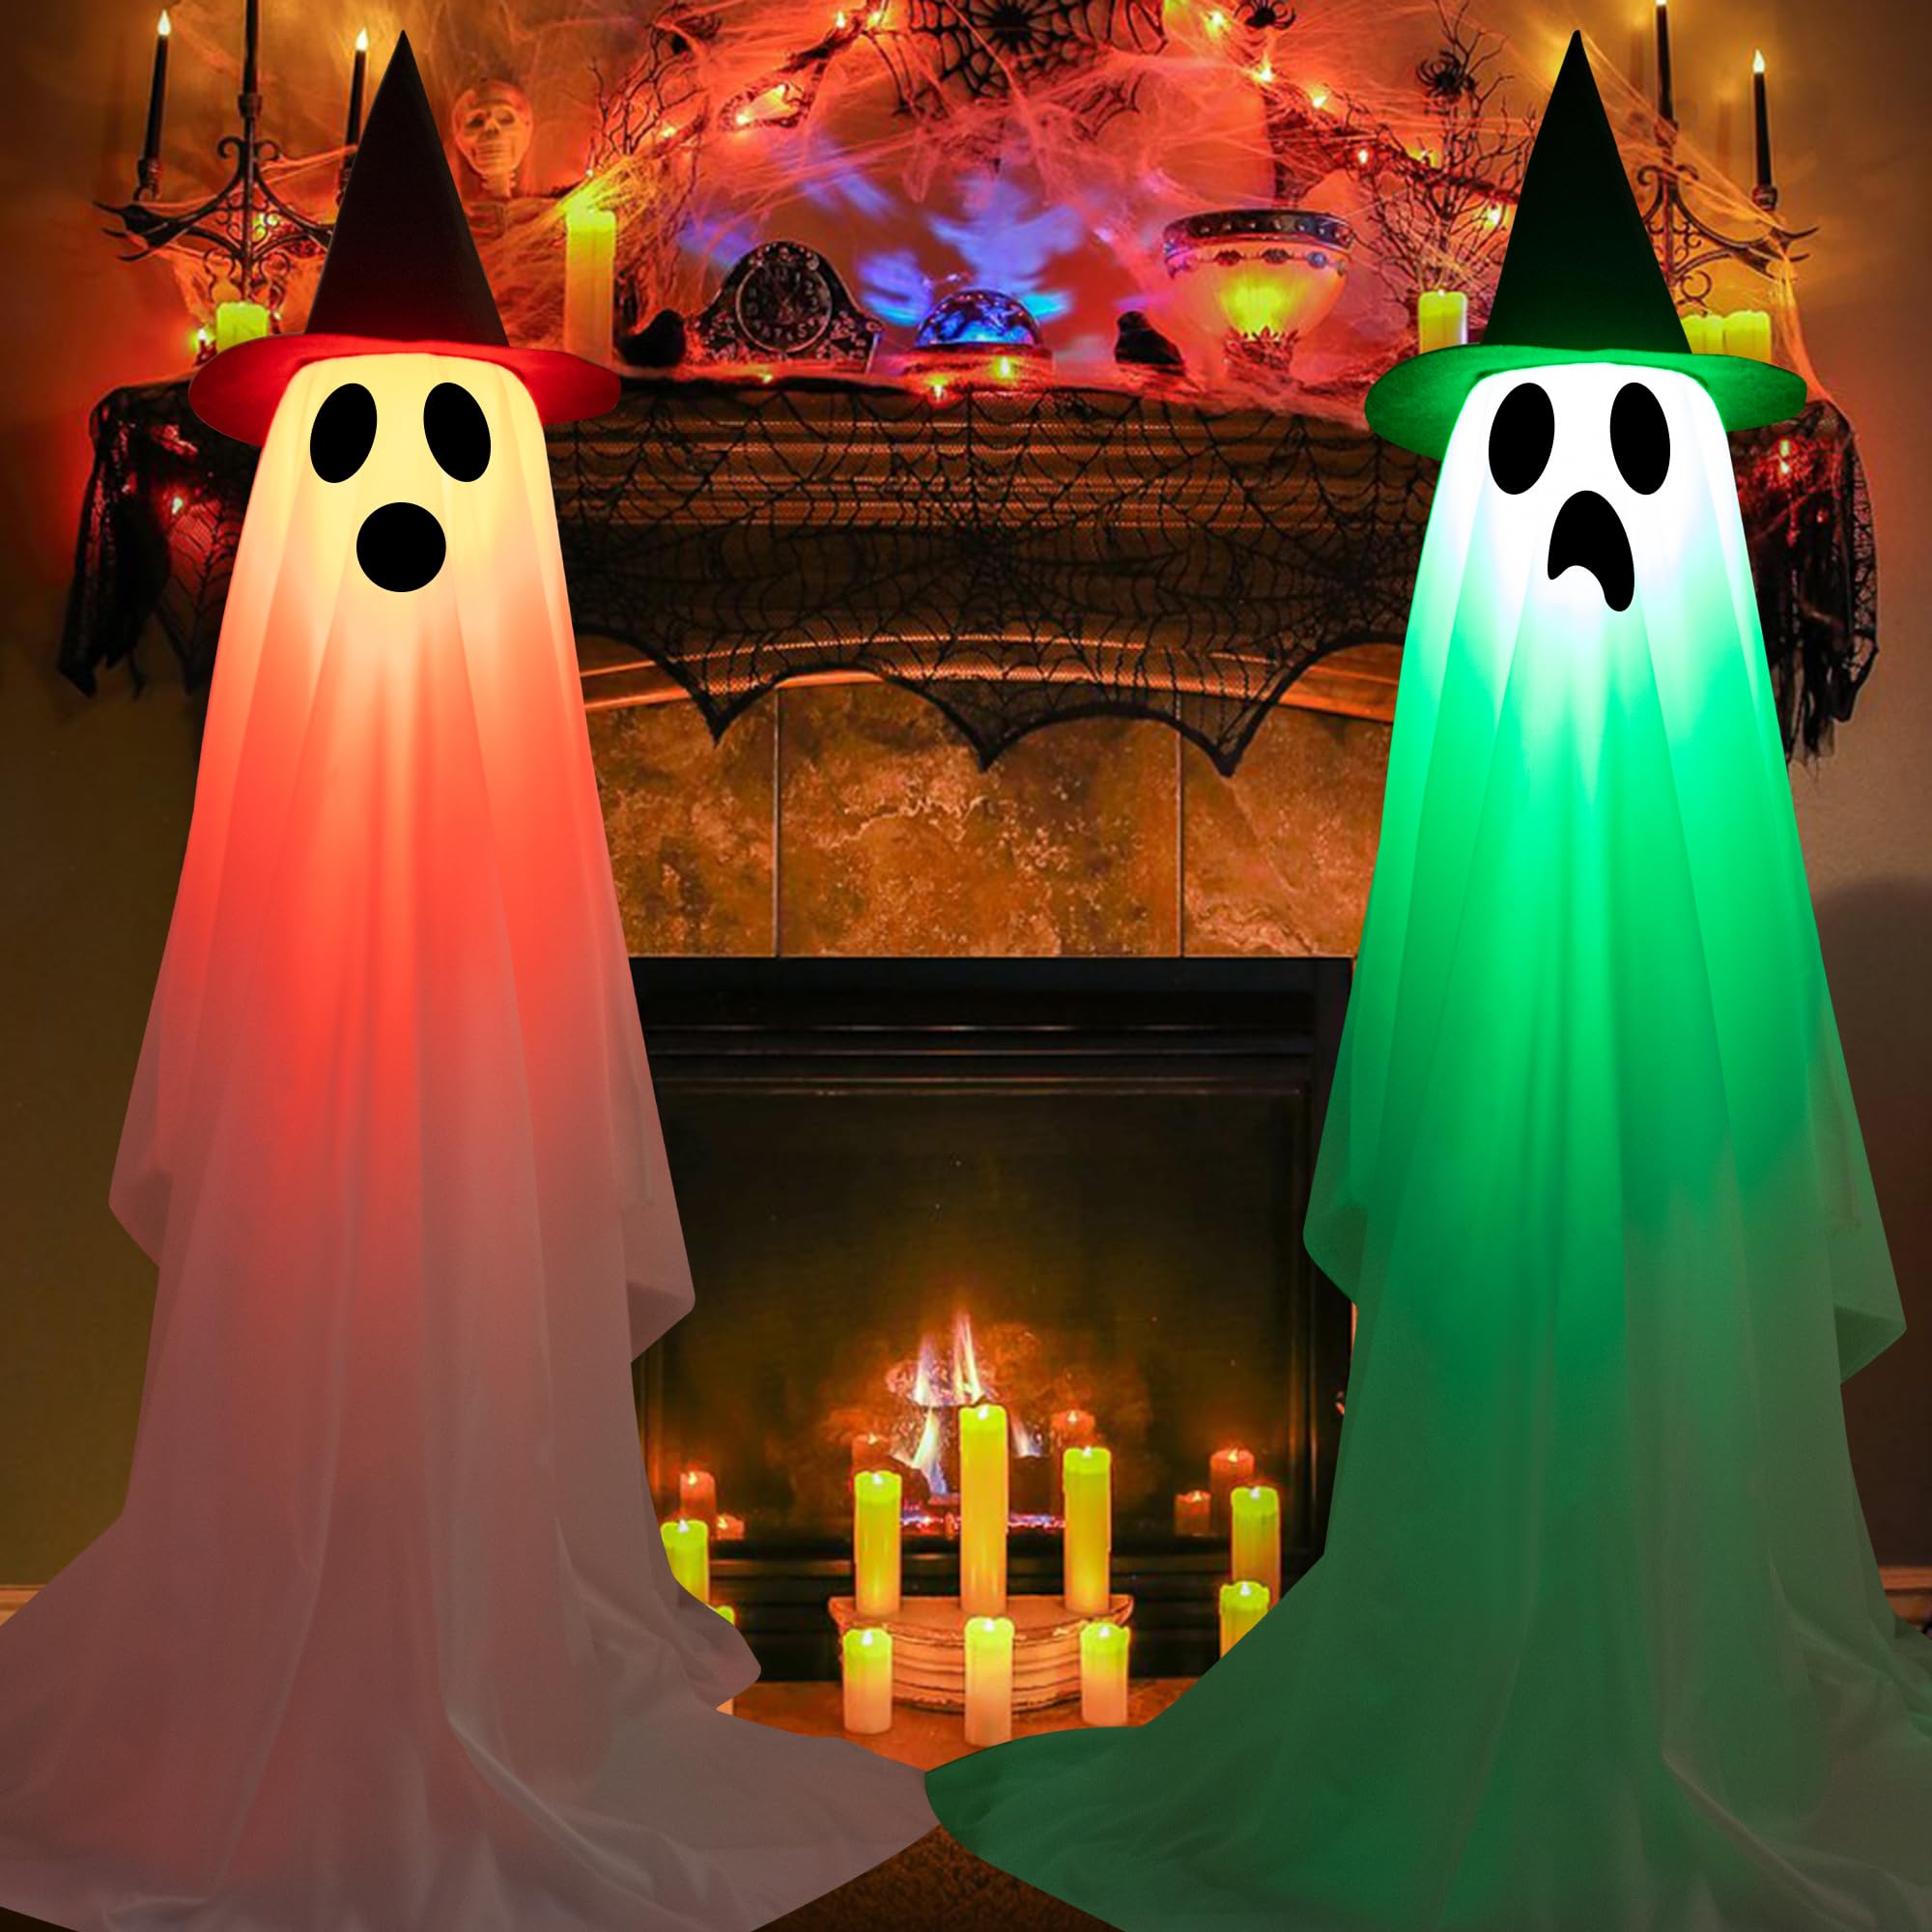
Lighting Suggestions
Lighting can turn your ghost from plain to spine-chilling. Soft, indirect lighting works best to give the ghost a glowing appearance without harsh shadows. Try placing a small LED spotlight or fairy lights around its base.
Experiment with colored bulbs—green or blue tones add an eerie vibe. Candlelight or flameless candles nearby can create flickering shadows that bring your ghost to life.
- Use motion-activated lights to surprise guests as they enter.
- Avoid overhead lights that flatten the ghost’s features.
- Consider adding a dimmer switch to control the brightness and mood.
Have you thought about how lighting changes throughout the day affect your ghost’s appearance? Try checking your setup at different times to find the spookiest effect. Your entryway can be more than just an entry—it can be a memorable part of your Halloween story.
Credit: www.lemon8-app.com
Safety Considerations
Creating a standing child ghost decor for your entryway is a fun way to celebrate the spooky season. However, safety should always be a top priority. Paying attention to the materials you use and where you place your decoration can prevent accidents and keep everyone happy.
Material Safety
Choose materials that are non-toxic and safe to handle, especially if children will be around your decor. Avoid sharp edges or small parts that could become choking hazards. Soft fabrics like felt or fleece work well for the ghost’s body and are gentle to touch.
Also, think about flame resistance. If you plan to use lights nearby, pick materials that won’t easily catch fire. It’s better to use battery-operated LED lights instead of candles or open flames to keep the setup safe.
Child-safe Placement
Where you put your standing child ghost matters. Place it somewhere visible but out of the way of heavy foot traffic to prevent tripping. Entryways can get crowded, so avoid narrow spaces where the ghost might be knocked over.
Consider anchoring the ghost securely if it’s tall or top-heavy. This keeps it stable and prevents falls that could hurt kids or damage your decor. Have you checked if your entryway floor is slippery? Adding a non-slip mat under the ghost can help keep it in place.
Frequently Asked Questions
What Materials Are Needed For A Standing Child Ghost Decor?
You need white fabric, a wire hanger, stuffing, black marker, and glue. These materials are affordable and easy to find. They create a lightweight, spooky ghost perfect for entryway decoration.
How Do You Shape The Ghost’s Body For Stability?
Form a wire hanger into a child-sized frame. Stuff with lightweight materials to keep it upright. This ensures the ghost stands firmly without tipping over.
What Techniques Make The Ghost’s Face Spooky Yet Friendly?
Use a black marker to draw simple eyes and a mouth. Keep features rounded for a childlike, friendly look. This balances spooky with inviting, ideal for entryway decor.
Can I Customize The Ghost For Different Themes?
Yes, add accessories like hats or scarves. Use fabric paint to change colors. Customizing makes your ghost unique and fits various Halloween styles and preferences.
Conclusion
Creating a standing child ghost decor adds fun to your entryway. This simple craft brings a spooky touch without much effort. Use easy materials and follow the steps carefully. You can make it look cute or spooky, as you like.
It’s a great way to welcome guests during Halloween. Try making one yourself and enjoy the festive feel. Decorating can be simple and enjoyable for everyone. Give your entryway a unique and playful ghost this season.