
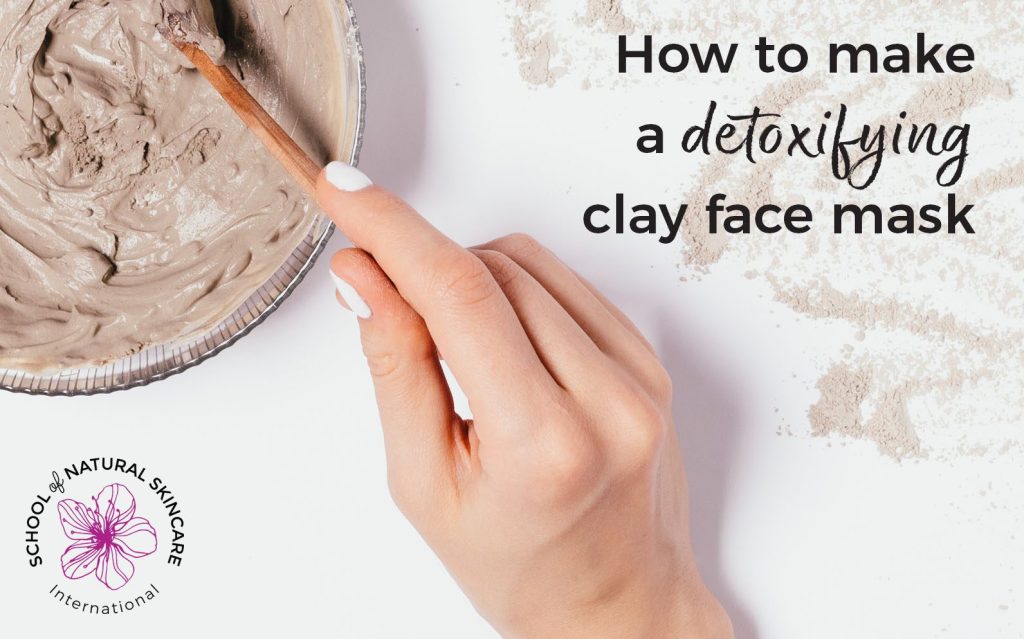
Imagine having the power to transform your skin with a few simple ingredients found right in your kitchen. If you’re tired of store-bought beauty products loaded with chemicals, why not try making your own clay mask at home?
It’s an easy, fun, and cost-effective way to pamper your skin. You’ll love how this natural remedy can cleanse, detoxify, and rejuvenate your skin, leaving it feeling soft and radiant. Plus, when you make your own mask, you know exactly what you’re putting on your face.
Curious to learn how to create this skincare magic? Keep reading, because we’re about to reveal a step-by-step guide to crafting the perfect clay mask tailored just for you.

Credit: www.nzherald.co.nz
Benefits Of Clay Masks
Clay masks offer many benefits for the skin. They help cleanse deeply by drawing out dirt and oils. This leaves the skin feeling fresh and smooth. Clay masks also tighten pores and reduce shine. They provide gentle exfoliation, removing dead skin cells for a brighter look. Using clay masks regularly can improve skin texture and tone.
Types Of Clay For Skin
- Bentonite Clay:Absorbs excess oil and impurities. Great for oily and acne-prone skin.
- Kaolin Clay:Gentle and suitable for sensitive skin. Cleanses without drying.
- French Green Clay:Detoxifies and stimulates circulation. Ideal for normal to oily skin.
- Rhassoul Clay:Rich in minerals. Softens and tightens skin.
- Fuller’s Earth:Lightens skin and reduces pigmentation.
Skin Concerns Clay Masks Address
- Acne and Blemishes:Removes bacteria and excess oil to reduce breakouts.
- Oily Skin:Controls shine by absorbing excess sebum.
- Dryness:Some clays gently exfoliate and improve moisture retention.
- Dullness:Removes dead cells and brightens skin tone.
- Large Pores:Tightens pores and smooths skin texture.
- Inflammation:Calms redness and soothes irritated skin.
Essential Ingredients
Creating a clay mask at home requires a few essential ingredients. These ingredients determine the mask’s benefits and how it feels on your skin. Knowing the right components helps you craft a mask that suits your skin type.
Start with a good base, then enhance it with natural additives. This way, your mask cleanses, soothes, and nourishes your skin effectively.
Choosing The Right Clay
Different clays serve different skin needs. Pick one based on your skin type and goals.
- Bentonite Clay:Absorbs oil and impurities. Great for oily and acne-prone skin.
- Kaolin Clay:Gentle and mild. Suitable for sensitive or dry skin.
- French Green Clay:Detoxifies and tightens pores. Ideal for normal to oily skin.
- Rhassoul Clay:Rich in minerals. Helps soften and smooth skin.
Natural Additives For Boosting Effects
Add natural ingredients to improve your mask’s benefits and texture.
- Honey:Moisturizes and has antibacterial properties.
- Aloe Vera:Soothes irritation and hydrates skin.
- Tea Tree Oil:Fights acne-causing bacteria. Use sparingly.
- Yogurt:Contains lactic acid that gently exfoliates.
- Rose Water:Refreshes and tones the skin.
Preparing Your Workspace
Preparing your workspace is a key step for making a clay mask at home. A clean, organized area helps you work safely and easily. It also prevents dirt and germs from mixing into your mask. Setting up well saves time and keeps everything within reach.
Clear a flat surface, like a kitchen counter or table. Good lighting helps you see your ingredients clearly. Lay out all tools and ingredients before starting. Keep a towel or paper towels nearby for quick cleanups.
Tools Needed
- Mixing bowl (glass or ceramic works best)
- Measuring spoons for accuracy
- Wooden or plastic spatula for mixing
- Small whisk or spoon
- Clean container or jar for storing leftover mask
- Brush or applicator for applying the mask
Sanitizing Tips
- Wash hands thoroughly before starting
- Clean all tools with hot soapy water
- Rinse tools well and dry completely
- Wipe the workspace with disinfectant or rubbing alcohol
- Use clean towels or disposable paper towels
- Sanitize containers before storing leftover mask
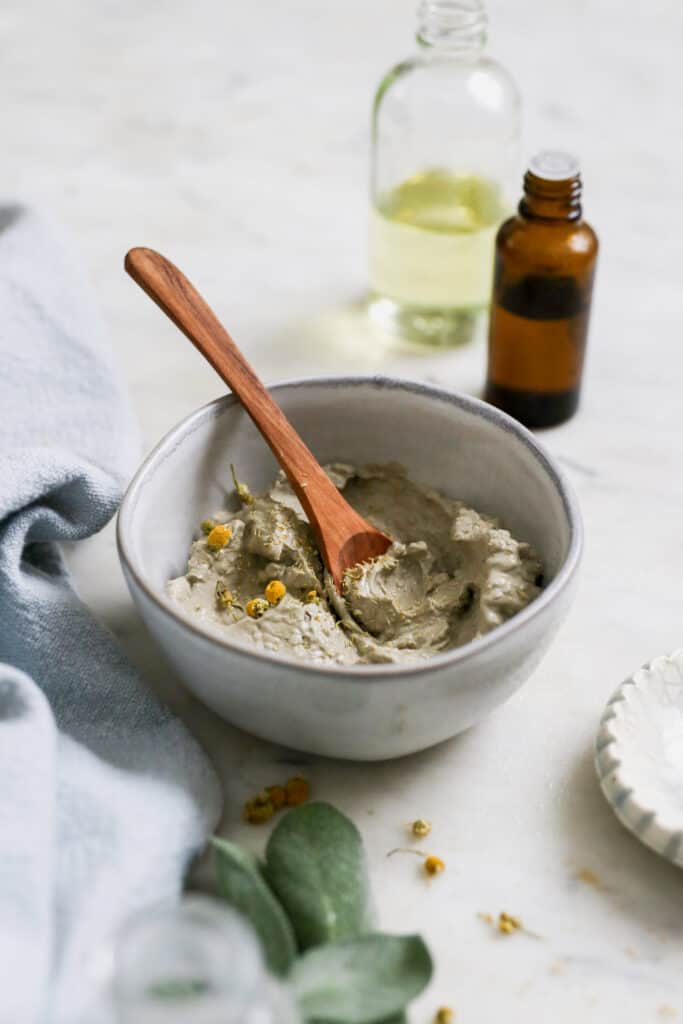
Step-by-step Clay Mask Recipe
Creating your own clay mask at home is easier than you might think. With just a few simple ingredients and the right approach, you can craft a mask that suits your skin perfectly. Let’s walk through the process together, focusing on getting the measurements right, mixing thoroughly, and adjusting the texture to fit your needs.
Measuring Ingredients
Precision matters when measuring your clay mask ingredients. Start with about two tablespoons of clay powder as your base. Adding too much liquid at once can make the mixture runny, so pour in small amounts gradually.
Consider these common ingredients and their typical measurements:
| Ingredient | Amount | Notes |
|---|---|---|
| Clay Powder (bentonite, kaolin, etc.) | 2 tablespoons | Base of your mask |
| Liquid (water, rose water, or aloe vera juice) | 2-3 tablespoons | Adjust based on desired consistency |
| Optional Add-ins (honey, essential oils) | 1 teaspoon or drops | Enhance benefits and scent |
Mixing Techniques
Use a non-metal bowl and a wooden or plastic spoon to mix your ingredients. Metal can react with the clay and reduce its effectiveness. Stir gently but thoroughly to avoid lumps.
Try mixing in a circular motion, scraping the sides often. This keeps the ingredients well combined and prevents dry patches of clay. How smooth your mixture feels can indicate how well you’ve mixed it.
Adjusting Consistency
Your mask should spread easily but not drip. If it’s too thick, add a few drops of your chosen liquid, stirring after each addition. Too thin? Sprinkle in a little more clay powder.
Think about how you like your mask to feel on your skin—some prefer it creamy and soft, while others like it thicker for a more intense effect. Testing a small amount on your hand can help you find the perfect texture before applying it to your face.
Application Tips
Applying a clay mask correctly can make all the difference in how your skin feels and looks afterward. The way you spread the mask and avoid common slip-ups can boost its effectiveness and comfort. Let’s dive into practical tips to get the best results from your homemade clay mask.
How To Apply Evenly
Start with a clean, dry face to help the mask stick better and work more evenly. Use a flat brush or your fingers to spread the clay in a thin, uniform layer. Think of it as painting a canvas—cover every area but keep it light enough to dry comfortably without cracking.
Pay special attention to areas like your forehead, nose, and chin where pores tend to be larger. Avoid piling on too much clay in one spot; this can cause uneven drying and patchiness. If you notice clumps, gently smooth them out rather than rubbing vigorously.
Avoiding Common Mistakes
One common error is applying the mask too thickly, which can lead to excessive drying and irritation. Another is leaving the mask on for too long—once it starts cracking, it’s time to rinse. Over-drying can pull moisture from your skin, defeating the mask’s benefits.
Also, avoid applying the mask around your eyes and lips, as these areas are sensitive and prone to dryness. Rushing through the application often results in missed spots or uneven layers, so take your time. Have you ever felt your skin tight and uncomfortable after a mask? That’s usually a sign the mask stayed on too long or was too thick.
Credit: helloglow.co
Mask Removal And Aftercare
Removing a clay mask properly is essential for healthy skin. Harsh removal can irritate and dry out your face. Gentle techniques help keep your skin calm and smooth.
After taking off the mask, the skin needs care to stay soft and hydrated. Moisturizing locks in moisture and supports skin repair. This step is key for a fresh, glowing look.
Gentle Removal Methods
- Use lukewarm water to soften the clay before removal.
- Apply a soft, damp washcloth and wipe gently in circular motions.
- Avoid scrubbing or pulling the skin.
- Rinse thoroughly to remove all residue.
- Pat the face dry with a clean towel instead of rubbing.
Moisturizing Post-mask
- Choose a gentle, fragrance-free moisturizer.
- Apply moisturizer while skin is still slightly damp.
- Use small, upward strokes to spread the cream evenly.
- Consider adding a hydrating serum for extra moisture.
- Repeat moisturizing twice daily for best results.
Customizing Masks For Skin Types
Clay masks work best when tailored to your skin type. Customizing your mask helps target your skin’s needs. Choose ingredients that nourish and balance your skin. This way, you avoid irritation and get better results.
Different clays and additives suit dry, oily, or sensitive skin. Here are simple variations to try at home.
Dry Skin Variations
Use clay that gently cleanses without stripping moisture. Try white kaolin clay, known for its mild effect.
- Mix with honey for extra hydration.
- Add aloe vera gel to soothe and calm skin.
- Use a few drops of rosehip oil for softness.
These ingredients keep dry skin smooth and refreshed.
Oily Skin Variations
Choose clay that absorbs excess oil and clears pores. Bentonite clay is ideal for oily skin types.
- Add lemon juice for natural astringent effects.
- Include tea tree oil to fight bacteria.
- Mix with green tea for antioxidants and calmness.
This blend helps control shine and prevent breakouts.
Sensitive Skin Variations
Pick a gentle clay that soothes irritation. White kaolin or French green clay works well.
- Add oatmeal powder to reduce redness.
- Mix in chamomile tea for calming properties.
- Use a small amount of jojoba oil for moisture.
These ingredients protect and calm sensitive skin safely.
Storage And Shelf Life
Storing your homemade clay mask properly keeps it fresh and effective for longer. Knowing the shelf life helps avoid using a mask that may irritate your skin. Proper care preserves the mask’s natural ingredients and texture.
Proper Storage Tips
- Use a clean, airtight container to keep out air and moisture.
- Store the mask in a cool, dry place away from sunlight.
- Keep the container sealed tightly after each use.
- Label the container with the date you made the mask.
- Refrigerate the mask to extend its shelf life, especially if it contains fresh ingredients.
Signs Of Expired Masks
- Change in color or texture, such as separation or dryness.
- Unpleasant or sour smell indicating bacterial growth.
- Presence of mold or unusual spots on the surface.
- Skin irritation or redness after using the mask.

Credit: essentiallynatural.co.za
Frequently Asked Questions
What Ingredients Are Needed For A Homemade Clay Mask?
You need natural clay powder, water or aloe vera gel, and optional additives like honey or essential oils. These ingredients nourish and detoxify your skin effectively.
How Long Should I Leave A Clay Mask On?
Leave the clay mask on your skin for 10 to 15 minutes. Avoid drying it completely to prevent skin dryness or irritation.
How Often Can I Use A Clay Mask Safely?
Use a clay mask 1 to 2 times per week. Overuse may cause dryness or sensitivity, especially for sensitive skin types.
Can I Customize My Clay Mask For Different Skin Types?
Yes, add soothing ingredients like honey for dry skin or tea tree oil for oily skin. Customize to target your skin’s needs.
Conclusion
Making a clay mask at home is simple and fun. You control the ingredients and avoid harsh chemicals. Use fresh, natural items for the best results. Apply the mask gently and rinse with warm water. Your skin will feel clean and refreshed afterward.
Try different recipes to find what suits your skin. Homemade masks save money and support healthy skin care. Give it a try and enjoy the natural glow. Taking care of your skin can be easy and relaxing. Your skin deserves this simple treat.