
Ready to transform your kitchen and add value to your home? Installing cabinets might sound tricky, but with the right steps, you can do it yourself and save money.
Imagine opening your kitchen doors to neat, sturdy cabinets that perfectly fit your space. This guide will walk you through each step clearly and simply, so you won’t feel overwhelmed. By the end, you’ll have the skills to install cabinets that look professional and last for years.
Let’s get started and make your kitchen the heart of your home!

Credit: www.create-enjoy.com
Preparing The Kitchen
Preparing your kitchen is a vital first step before installing cabinets. It ensures the process goes smoothly and avoids unnecessary problems. Taking time to clear, measure, and gather tools sets a strong foundation for success.
Clearing The Area
Remove all items from countertops, shelves, and cabinets. Clear the floor space where you will work. This prevents damage to belongings and creates room for tools and materials. Cover appliances and surfaces with protective sheets. A clean, empty space makes installation easier and safer.
Measuring Space
Measure the walls carefully where the cabinets will go. Note the height, width, and depth of the area. Check for obstacles like pipes, outlets, or vents. Write down all measurements clearly. Accurate measuring helps cabinets fit perfectly and avoids costly mistakes.
Gathering Tools And Materials
Collect all necessary tools before starting. Common tools include a drill, level, tape measure, stud finder, and screwdriver. Prepare screws, brackets, and anchors. Having everything ready saves time and reduces interruptions. Organize tools in a toolbox or tray for easy access.
Marking Cabinet Placement
Marking cabinet placement is a crucial part of installing kitchen cabinets that often gets overlooked. It sets the foundation for a smooth installation and ensures your cabinets fit perfectly in the space. Taking time to measure, mark, and plan will save you headaches and adjustments later on.
Locating Studs
Before you hang anything, find the studs in your kitchen walls. Cabinets need to be anchored securely, and studs provide the strongest support.
Use a stud finder and slowly move it across the wall. Mark each stud location clearly with a pencil line at the top and bottom of where the cabinets will go.
If you don’t find studs where you need them, plan to use heavy-duty anchors or add blocking behind the drywall. Missing this step can cause your cabinets to loosen or fall over time.
Marking Wall Lines
Once your studs are marked, draw vertical lines on the wall where each cabinet edge will be. This helps keep your cabinets aligned and prevents gaps or overlaps.
Double-check measurements by comparing the wall lines to your cabinet dimensions. If you’re installing multiple cabinets side by side, make sure the lines create a continuous, even line across the wall.
Use a level or laser level to keep these lines straight. Straight lines mean your cabinets will sit flush and look professional.
Setting Height Levels
Decide the height at which your upper cabinets will hang. Most kitchen cabinets are installed 54 inches from the floor to the bottom of the upper cabinets, but this can vary based on your countertop height and personal preference.
Draw a horizontal line around the room at this height using a level. This line will guide where the bottom edges of the upper cabinets should sit.
Don’t forget to mark the height for base cabinets too, especially if you’re installing a countertop after. Keeping these height lines consistent ensures your kitchen will look balanced and function well.
Installing Base Cabinets
Installing base cabinets forms the foundation of your kitchen setup. These cabinets support countertops and hold heavy items. Proper installation ensures stability and a neat look. Follow clear steps for positioning, securing, and leveling base cabinets carefully.
Positioning Cabinets
Start by placing the cabinets along the wall. Use a measuring tape to check distances and spacing. Leave room for appliances and doors to open easily. Place cabinets close to the floor, but allow a small gap for the toe kick. Arrange cabinets in the order you will install them.
Securing To Wall
Find wall studs using a stud finder. Mark stud locations lightly on the wall. Drill pilot holes through the cabinet back into the studs. Use long screws to fasten cabinets firmly to the wall. Avoid over-tightening screws to prevent cabinet damage.
Aligning And Leveling
Place a level on top of each cabinet to check alignment. Adjust cabinet height by adding shims under the base if needed. Make sure cabinets are flush with each other. Tighten screws only after confirming cabinets are level and aligned perfectly.

Credit: www.youtube.com
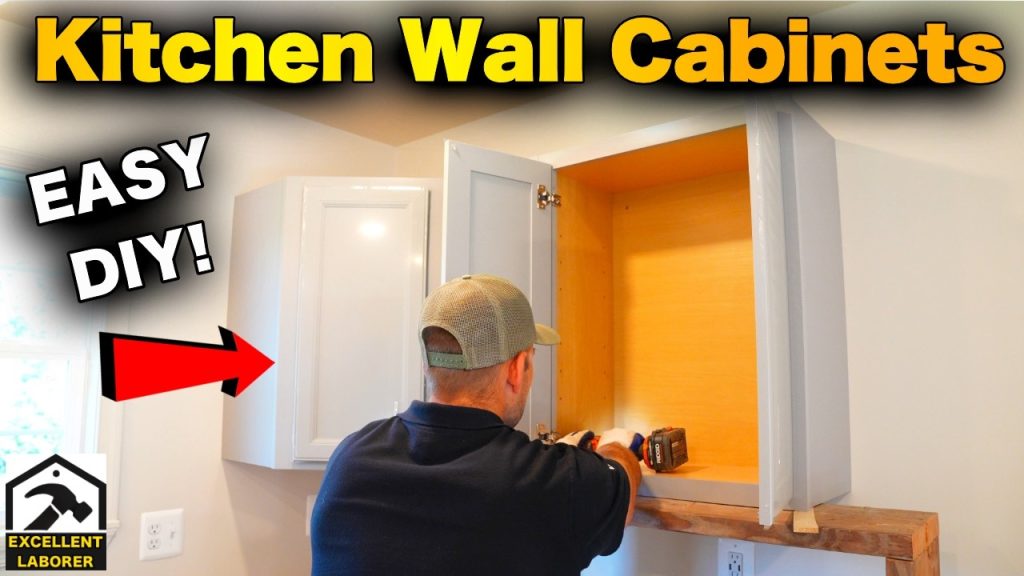
Installing Wall Cabinets
Installing wall cabinets can dramatically change the look and functionality of your kitchen. It requires precision and patience to ensure they are secure and level. Getting the basics right will save you from future headaches and give your kitchen a professional finish.
Using A Ledger Board
A ledger board acts as a temporary support to hold your cabinets while you secure them to the wall. Attach a straight piece of wood along the wall at the height where the bottom of your cabinets will sit. This keeps everything level and frees your hands to work on mounting the cabinets safely.
Check the ledger board with a level to make sure it’s perfectly horizontal. If it’s off by even a little, your cabinets will hang crooked. Have you ever struggled to keep heavy cabinets steady while trying to screw them in? The ledger board solves that problem effortlessly.
Mounting Cabinets
Start by locating the wall studs with a stud finder—these provide the strongest anchor points. Align the cabinet with the ledger board and press it against the wall. Use long screws through the cabinet’s back panel into the studs to secure it firmly.
Work with a helper if possible; one person can hold the cabinet while the other drives in screws. Don’t overtighten screws as this can damage the cabinet or wall. Instead, tighten them snugly and check the cabinet’s alignment regularly.
Checking Stability
Once mounted, gently shake the cabinet to test its firmness. It should feel rock solid with no movement. If it wobbles, check that screws are anchored into studs and tighten any loose screws.
Also, open and close the cabinet doors to ensure smooth operation. Are the doors aligned evenly and not scraping the frame? Small adjustments now prevent bigger problems later. Your wall cabinets should feel like a permanent, sturdy part of your kitchen.
Connecting Cabinets
Connecting cabinets is a crucial part of installing your kitchen setup. It ensures stability and a polished look by holding the units firmly together. This part can be tricky if you don’t have the right techniques, but a few smart moves can make it smoother than you expect.
Clamping Cabinets Together
Before drilling, clamp the cabinets tightly to keep them from shifting. Use bar clamps or C-clamps to hold the edges flush. This prevents gaps and helps maintain a straight line between the cabinets.
Make sure the clamps don’t cause dents or marks by placing scrap wood between the clamp and cabinet surface. Have a helper hold the cabinets steady if you’re working alone. This step saves you from frustration later when screws don’t line up properly.
Drilling And Screwing
Drill pilot holes through the cabinet frames where they meet. This reduces the risk of wood splitting and makes inserting screws easier. Use a drill bit slightly smaller than your screws to ensure a tight fit.
Choose screws that are long enough to secure the cabinets firmly but not so long they poke through the other side. Drive the screws in slowly, checking alignment as you go. If you feel resistance, stop and adjust before forcing the screw.
Ensuring Seam Alignment
Once screwed together, check that the seams between cabinets are perfectly aligned. Use a straightedge or level along the joint to spot any unevenness. Even a small gap or misalignment can catch dust and ruin the kitchen’s clean look.
If you find gaps, loosen the screws slightly and adjust the cabinets by hand or with a rubber mallet. Tighten the screws again only after the seams sit flush. Have you ever noticed how a small misalignment can make a whole wall of cabinets look off? Paying attention here saves you from that.
Adding Finishing Touches
Ensure all cabinet doors and drawers open smoothly by adjusting hinges and slides. Install handles or knobs for easy use and a polished look. Finally, check for any gaps or uneven edges and fill or sand them for a neat finish.
Adding those final touches to your kitchen cabinets can make all the difference between a standard installation and a masterpiece. It’s where your personality and style come to life. This phase involves precision and attention to detail, ensuring everything aligns perfectly and functions smoothly. Let’s dive into the specifics of this crucial step.Installing Doors And Drawers
The first task is to get the doors and drawers in place. Begin by aligning the doors with the cabinet frames. Use a level to ensure they hang straight. For drawers, make sure they glide smoothly by checking the rails and adjusting them if necessary. A tip from my own experience: always double-check the alignment before securing them in place. It saves time and prevents future headaches.Attaching Hardware
Now it’s time to add the hardware. Handles and knobs not only serve a functional purpose but also add to the kitchen’s aesthetic. Choose pieces that complement your kitchen’s style. Start by marking the spots on your doors and drawers where the hardware will go. Using a template can help maintain consistency and precision. Remember, even a slight misalignment can be noticeable, so take your time.Sealing Gaps And Edges
Sealing gaps and edges is essential for a polished look. Use silicone caulk to fill any gaps between the cabinets and walls or countertops. This not only improves the appearance but also prevents dust and moisture from seeping in. Smooth out the caulk with a damp finger or a specialized tool for a clean finish. Don’t underestimate this step; it ties everything together and enhances durability. By focusing on these finishing touches, you’re ensuring a kitchen that is not only functional but also inviting. What details will you add to make your kitchen uniquely yours?Troubleshooting Common Issues
Common problems like uneven walls or misaligned cabinets can cause installation issues. Checking measurements twice and using a level helps fix most mistakes quickly. Simple adjustments keep cabinets sturdy and looking good.
Installing kitchen cabinets can sometimes bring unexpected challenges. These issues might seem daunting, but with a few tips, you can resolve them. Below are some common problems and their solutions.Fixing Uneven Cabinets
Uneven cabinets can disrupt the look of your kitchen. First, check if the floor is level. Use shims under the cabinet base for adjustments. These small wedges can help align cabinets properly. Ensure each cabinet is securely fastened to the wall. This prevents future misalignment. Use a level tool frequently during installation. Consistent checks can save time and effort.Dealing With Wall Irregularities
Walls are rarely perfect. Gaps between cabinets and walls may appear. Use filler strips to bridge these gaps. Trim them to fit snugly. If the wall bulges, scribe the cabinet to match. A scribe tool helps trace the wall shape onto the cabinet. Sand the edges for a seamless fit. Paint the filler strips to match cabinet color. This creates a polished look.Adjusting Doors And Drawers
Misaligned doors and drawers can be frustrating. Start by checking the hinges. Tighten or loosen screws to adjust the door position. If doors still misalign, adjust the hinge plates. This allows for more precise alignment. For drawers, ensure the slides are even. Adjust the screws holding the slides if needed. Test the movement by opening and closing multiple times. Smooth operation indicates correct alignment.
Credit: www.youtube.com
Frequently Asked Questions
How Do I Prepare The Kitchen For Cabinet Installation?
Start by clearing the area and removing old cabinets. Measure walls accurately and mark stud locations. Ensure plumbing and electrical setups are complete before installation.
What Tools Are Needed To Install Kitchen Cabinets?
Essential tools include a drill, level, stud finder, tape measure, screwdriver, and clamps. Having these ready ensures a smooth and efficient installation process.
How Do I Ensure Cabinets Are Level During Installation?
Use a level to check the cabinet’s alignment continuously. Shim cabinets at the base if needed to maintain perfect leveling.
Can I Install Kitchen Cabinets Alone Or Need Help?
While small cabinets can be installed solo, larger ones require at least one helper for safety and accuracy.
Conclusion
Installing kitchen cabinets can be simple with the right steps. Measure carefully and use a level to keep cabinets straight. Secure each cabinet firmly to the wall for safety. Take your time to align doors and drawers properly. A well-installed cabinet improves your kitchen’s look and function.
Enjoy your new space and the work you did. Small efforts lead to big results. Keep practicing and your skills will grow.