
Is your kitchen faucet head looking dirty or clogged? A clean faucet head not only improves water flow but also keeps your kitchen hygienic.
You might not realize how much grime and mineral buildup can affect your daily tasks. But don’t worry—cleaning it is easier than you think. You’ll discover simple, effective steps to make your faucet head sparkle again. Keep reading to bring back that fresh, smooth water flow you deserve.
Tools And Supplies Needed
Before you start cleaning your kitchen faucet head, gathering the right tools and supplies is crucial. Having everything at hand makes the process smoother and more effective. You’ll avoid interruptions and get better results by using materials suited for the job.
Common Cleaning Materials
Most kitchen faucet heads respond well to basic cleaning materials that you probably already have at home. A soft cloth or sponge helps remove dirt without scratching the surface. An old toothbrush is perfect for scrubbing hard-to-reach spots around the aerator and nozzle.
Don’t forget rubber gloves to protect your hands from grime and water. A bowl or small container can hold water or vinegar for soaking parts. These simple items are the foundation for a thorough and gentle clean.
Specialized Cleaning Agents
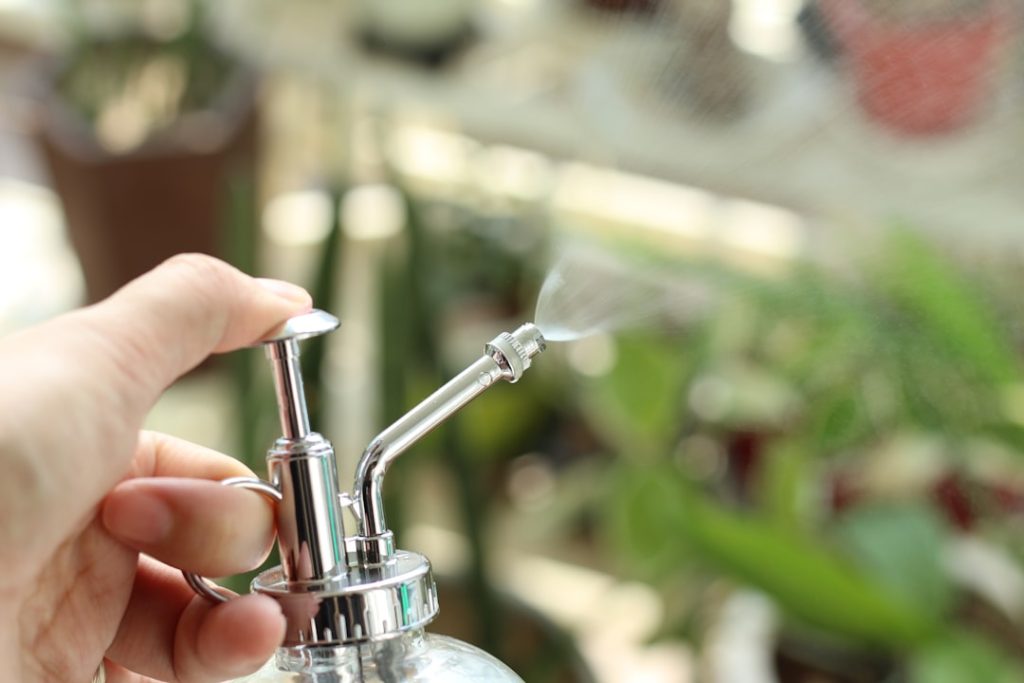
Sometimes common materials aren’t enough to tackle tough buildup like mineral deposits. That’s where specialized cleaning agents come in. White vinegar is a natural, affordable solution that dissolves lime and calcium effectively.
If vinegar isn’t strong enough, you might consider commercial descaling products designed specifically for faucets. Look for ones that are safe for your faucet’s finish to avoid damage. Do you know which cleaning agents work best with your faucet’s material? Testing a small area first can save you from unwanted surprises.

Credit: www.yahoo.com
Preparing The Faucet For Cleaning
Preparing the faucet for cleaning ensures a smooth process and protects your plumbing. Start by stopping the water flow to avoid leaks and spills. Then, carefully detach the faucet head to reach all the hidden dirt and buildup. These steps make cleaning easier and more effective.
Turning Off The Water Supply
Locate the shut-off valves under the sink. Turn each valve clockwise to close it. This stops water from flowing through the faucet. Open the faucet to release any remaining water. Closing the valves prevents mess and damage during cleaning.
Removing The Faucet Head
Check the faucet head for a retaining screw or collar. Use a screwdriver or wrench to loosen it gently. Twist the faucet head counterclockwise to remove it. Keep small parts safe to avoid losing them. Removing the head reveals clogged areas for deep cleaning.
Cleaning Techniques For Different Faucet Types
Different kitchen faucet types require unique cleaning approaches to keep them functioning smoothly and looking great. Understanding these variations helps you avoid damage and ensures thorough cleaning. Let’s look at how to handle two common types: aerator faucet heads and pull-down or pull-out faucets.
Cleaning Aerator Faucet Heads
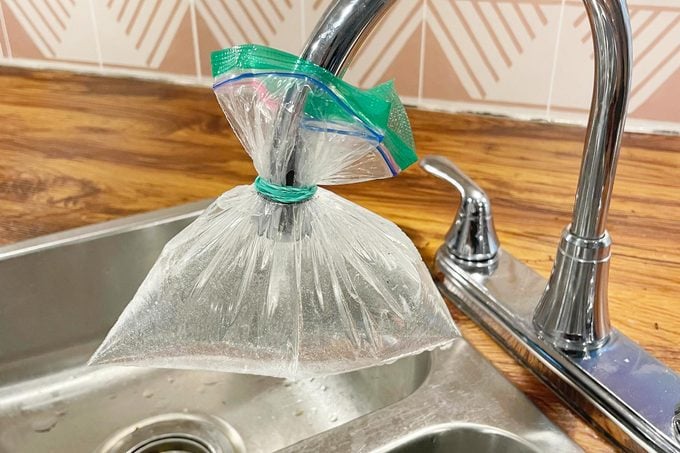
Aerator faucet heads often collect mineral buildup that reduces water flow. To clean them, start by unscrewing the aerator from the faucet; you might need pliers wrapped in a cloth to avoid scratching.
Soak the aerator parts in a mixture of equal parts white vinegar and water for about 30 minutes. This dissolves mineral deposits effectively.
Use an old toothbrush to scrub away any remaining debris gently. Rinse everything well before reassembling and screwing the aerator back on.
Cleaning Pull-down And Pull-out Faucets
These faucets have flexible hoses and spray heads that require extra care. Begin by detaching the spray head if your model allows it, following the manufacturer’s instructions.
Soak the spray head in vinegar to loosen buildup, but avoid soaking the hose itself to prevent damage. Use a soft brush to clean the spray holes carefully.
Check the hose for any dirt or grime and wipe it down with a damp cloth. Reattach the spray head securely and test the water flow to make sure everything works smoothly.
Credit: www.rd.com
Removing Mineral Deposits And Build-up
Mineral deposits and build-up can clog your kitchen faucet head. These deposits reduce water flow and affect the faucet’s performance. Regular cleaning keeps your faucet working smoothly and extends its life. Removing these deposits is simple with the right tools and methods. Focus on soaking and scrubbing to clear away the grime effectively.
Using Vinegar Soak
White vinegar is a natural cleaner that dissolves mineral deposits. Start by removing the faucet head if possible. Place it in a bowl filled with vinegar. Let it soak for at least 30 minutes, or overnight for heavy build-up. The vinegar breaks down the lime and calcium deposits gently. After soaking, rinse the faucet head with warm water. This step softens the deposits for easier removal.
Scrubbing With A Brush
Use a soft brush to scrub the faucet head after soaking. A toothbrush works well to reach small holes and crevices. Gently scrub the surface to remove loosened deposits. Avoid using hard brushes that can scratch the faucet. Focus on areas with visible build-up. Rinse the faucet head thoroughly to wash away any residue. Repeat the soak and scrub if needed for stubborn deposits.
Maintaining Faucet Cleanliness
Maintaining faucet cleanliness is essential for a healthy kitchen. A clean faucet head ensures better water flow and prevents bacteria growth. Dirt and mineral deposits can build up over time, affecting both the look and function of the faucet. Regular care keeps the faucet working smoothly and looking fresh.
Regular Cleaning Schedule
Set a weekly routine to clean the faucet head. Use a soft cloth and mild soap to wipe the surface. Remove mineral deposits by soaking the faucet head in vinegar for a few minutes. Rinse well with water to avoid residue. Dry the faucet with a clean towel to prevent water spots.
Preventing Future Build-up
Use a water softener to reduce mineral deposits. Avoid harsh chemicals that can damage the faucet finish. Wipe the faucet dry after each use to stop water spots. Check the faucet head regularly for signs of build-up. Replace the aerator screen if clogged to maintain good water flow.

Credit: www.yahoo.com
Frequently Asked Questions
How Often Should I Clean My Kitchen Faucet Head?
You should clean your kitchen faucet head every 1-2 months. Regular cleaning prevents mineral buildup and keeps water flow smooth. Frequent cleaning also reduces bacteria and grime, ensuring a hygienic kitchen environment.
What Household Items Clean Faucet Heads Effectively?
White vinegar and baking soda clean faucet heads well. Vinegar dissolves mineral deposits, while baking soda scrubs away grime. Use a soft brush or cloth for best results without damaging the faucet surface.
Can I Remove The Faucet Head For Cleaning?
Yes, most faucet heads can be removed for thorough cleaning. Unscrew it gently using pliers if needed. Soak the head in vinegar solution to dissolve buildup before rinsing and reinstalling.
How Do I Prevent Mineral Buildup On Faucet Heads?
Prevent buildup by wiping the faucet head dry after use. Regularly clean with vinegar or mild soap solution. Installing a water softener also reduces mineral deposits in hard water areas.
Conclusion
Cleaning your kitchen faucet head keeps water flowing smooth and fresh. Regular care stops buildup and extends faucet life. Simple steps like soaking and scrubbing work well. A clean faucet looks nice and helps prevent germs. Try to clean it every few weeks for best results.
A little effort saves you from costly repairs later. Enjoy a cleaner, healthier kitchen with this easy routine. Small actions make a big difference over time. Keep your faucet fresh and working great!