
Are you ready to transform your home into a cozy, glowing haven? Attaching string lights to your house can instantly add charm and warmth, whether it’s for a special occasion or everyday ambiance.
But how do you do it safely and neatly, without damaging your walls or struggling with tangled wires? In this guide, you’ll discover simple, step-by-step tips that anyone can follow to hang string lights like a pro. Keep reading to learn how to brighten up your space effortlessly and enjoy the magical glow every night.
Choosing The Right String Lights
Choosing the right string lights can make a huge difference in how your house looks and how long the lights last. Picking the right type means you won’t have to replace them often or worry about damage from weather. Let’s break down what you need to consider before hanging those beautiful lights.
Types Of String Lights
String lights come in many styles, each designed for different effects and spaces. Classic globe lights add a warm, cozy glow, perfect for patios or porches. Mini lights are great for outlining windows or railings with a delicate sparkle.
There are also curtain lights that create a wall of twinkle, and rope lights that are flexible for shaping around corners. Think about where you want to place the lights and what mood you want to create. Are you going for festive cheer or subtle ambiance?
Led Vs. Incandescent
LED lights use less energy and last much longer than incandescent bulbs. They stay cooler, which makes them safer to touch and reduces fire risk. On the downside, some people feel LED lights don’t have the same warm glow as traditional bulbs.
Incandescent lights offer that classic warmth but burn out faster and consume more power. If you plan to leave your lights on for many hours, LEDs save money and hassle. What matters more to you: energy efficiency or that nostalgic look?
Weather Resistance
Weatherproof lights are crucial for outdoor use, especially if your house faces heavy rain or snow. Look for lights labeled as waterproof or weather-resistant with a good IP rating (at least IP44). This rating means they can handle splashes and dust without failing.
Check the quality of the wiring and plugs too, because cheap materials can crack and expose wires. Have you ever experienced lights shorting out after a storm? Choosing durable lights helps you avoid that frustration and keeps your display shining longer.

Credit: www.youtube.com
Planning Your Design
Planning your design is the foundation for a beautiful and safe string light setup on your house. Thoughtful preparation saves time and prevents common mistakes like uneven spacing or weak attachment points. Taking a moment to visualize your design ensures your lights will shine exactly how you want them.
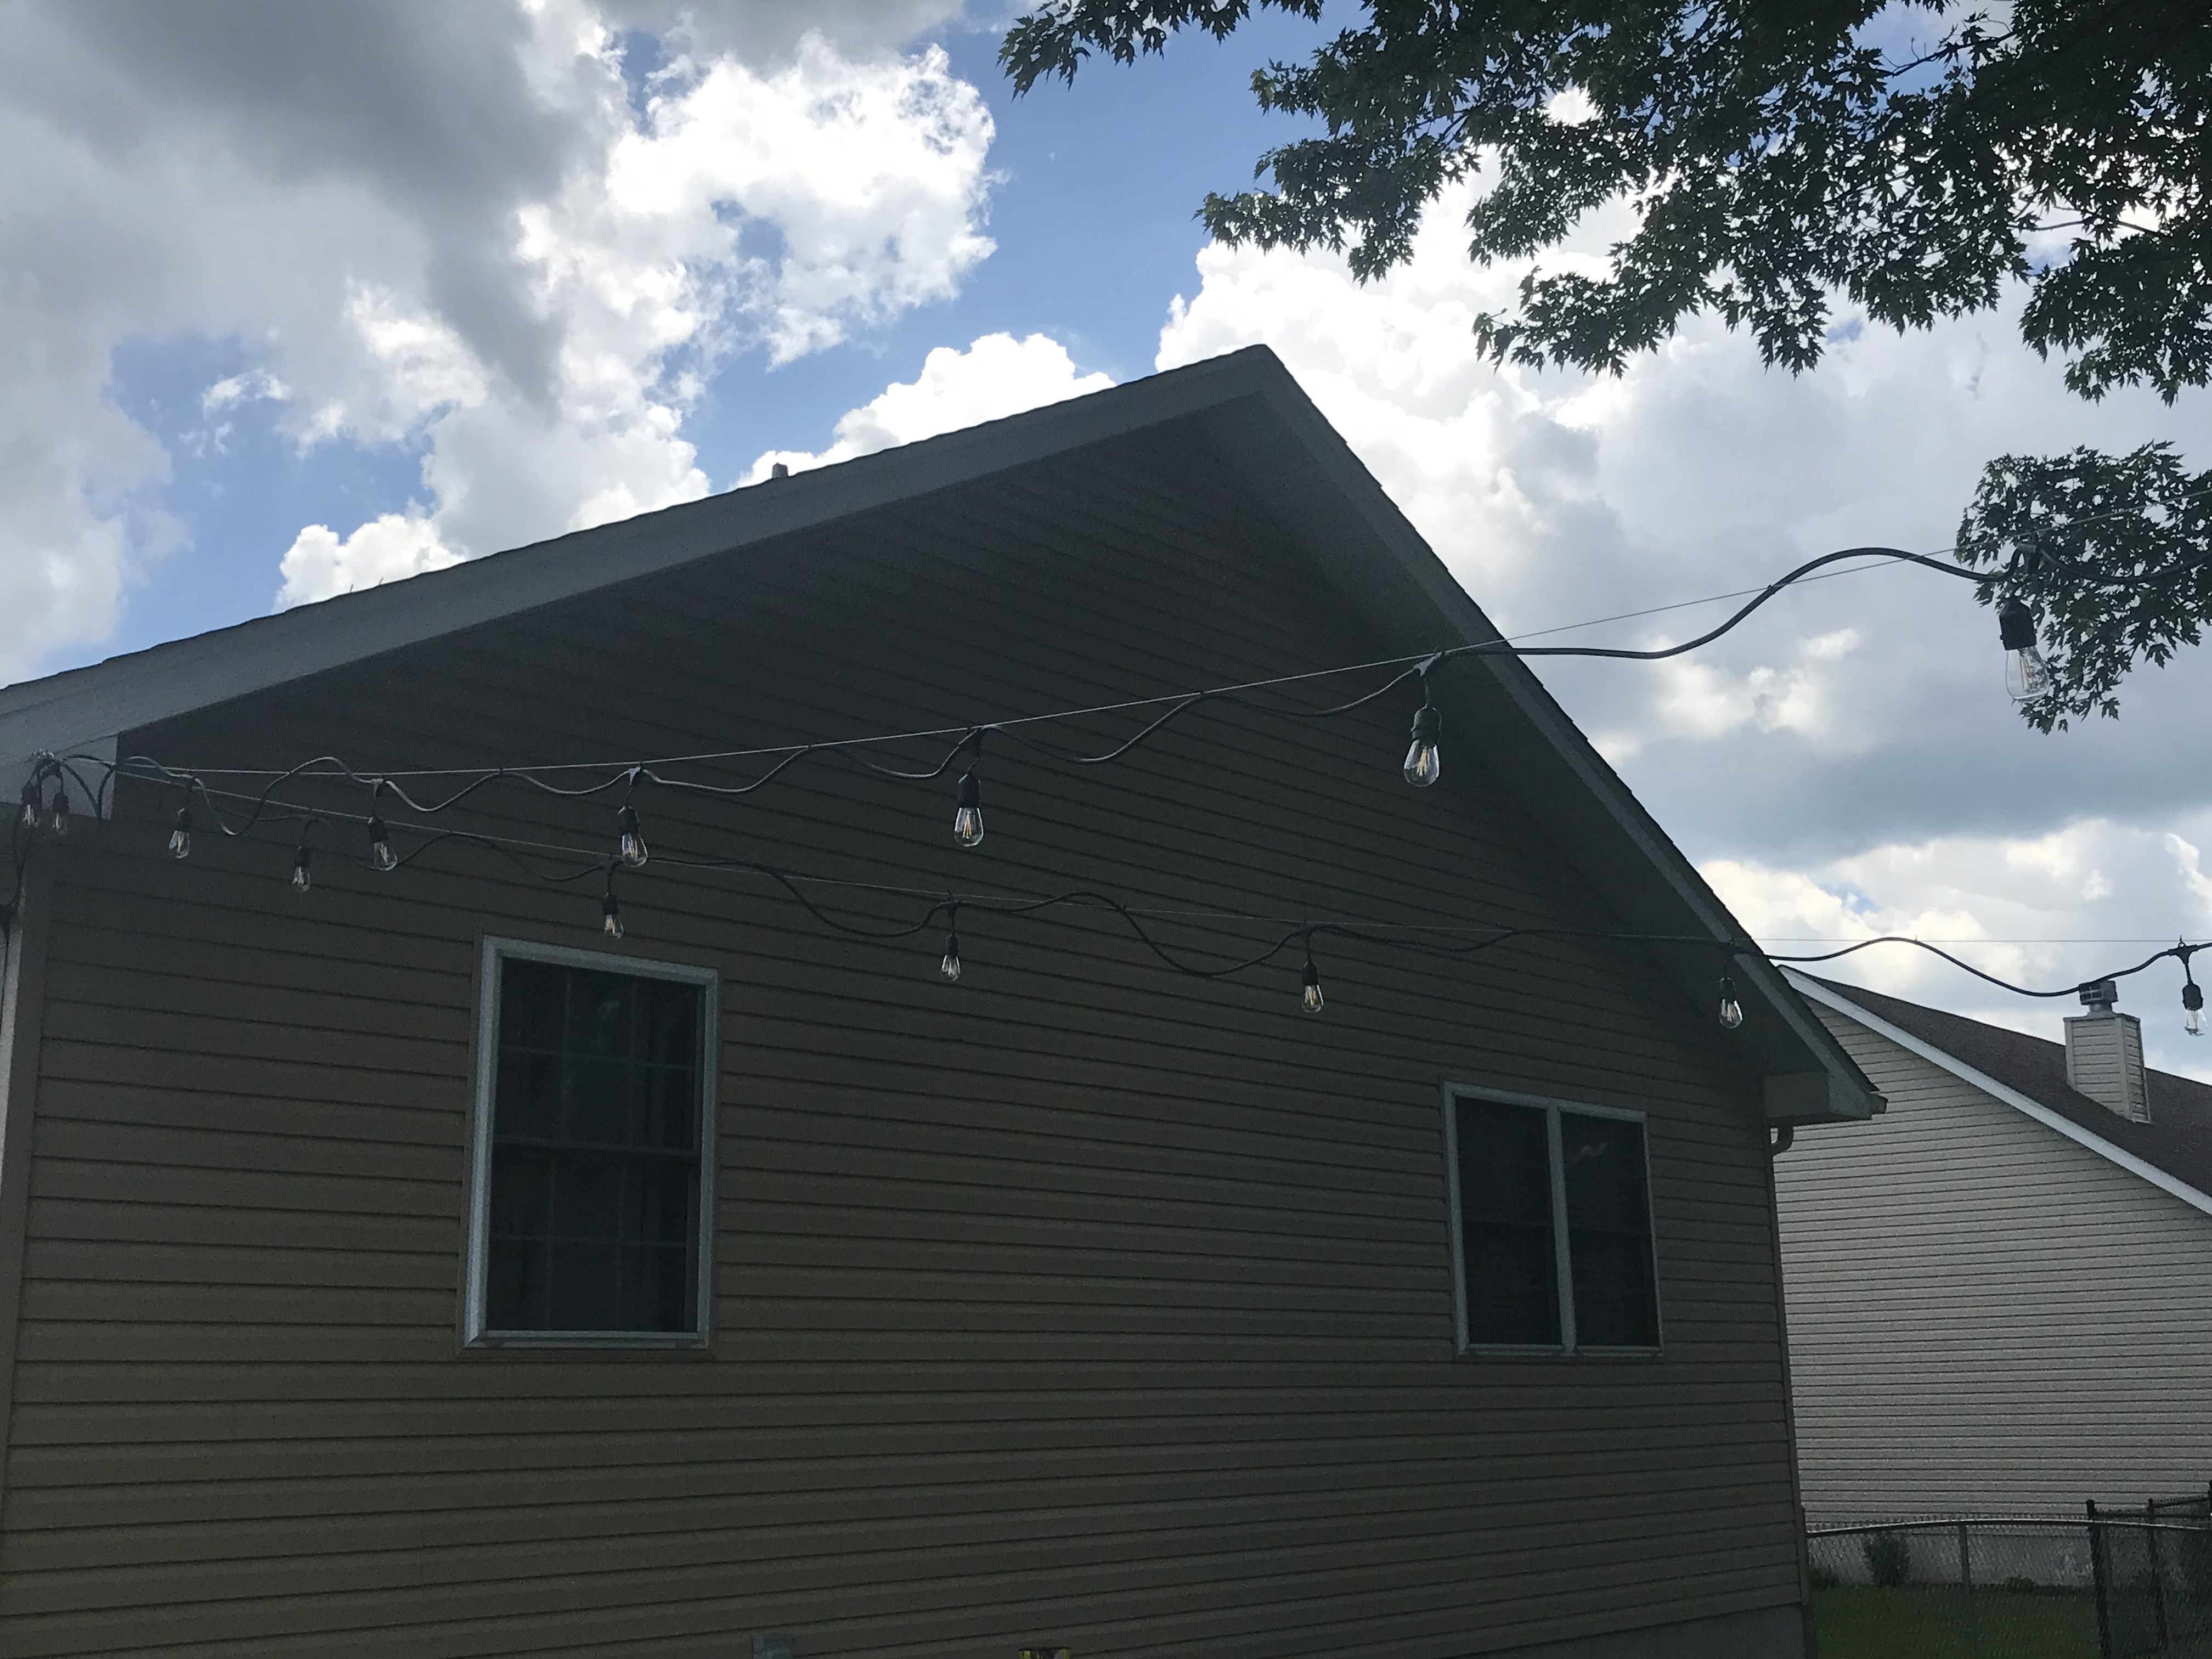
Mapping Out Placement
Start by walking around your house and deciding where you want the lights to go. Think about highlighting architectural features like eaves, windows, or porch railings. Sketch a simple layout on paper or use a digital app to mark these spots.
Ask yourself: Do you want the lights to frame your roofline or cascade down a fence? Will you need to avoid areas with heavy foot traffic or obstacles? Clear mapping helps you avoid surprises during installation.
Choosing Attachment Points
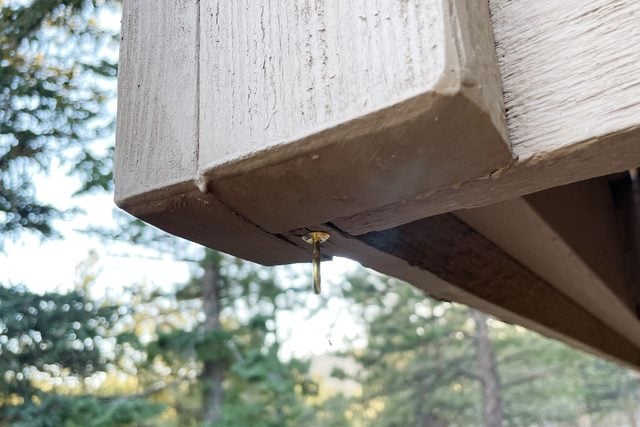
Next, identify sturdy spots to attach the lights. Look for hooks, gutters, or trim that can hold the weight without damage. Avoid delicate surfaces like loose siding or fragile wood that might crack.
Consider using adhesive hooks for smooth surfaces or screw-in hooks for more permanent support. Remember, reliable attachment points keep your lights secure in wind and rain.
Measuring Lengths
Measure the total distance your string lights will cover by using a tape measure or a long piece of string. Add extra length for slack and connecting plugs. This step helps you buy the right amount of lights without costly overruns or shortages.
Break down the measurements into sections between attachment points to plan for power sources and avoid stretching your lights too tight. Accurate measuring makes your setup look polished and professional.
Necessary Tools And Materials
Before you start hanging string lights on your house, gathering the right tools and materials makes all the difference. Having everything prepared not only saves time but also ensures a neat and safe installation. Let’s take a look at what you absolutely need to get the job done effectively.
Essential Tools
You’ll need a few basic tools to secure your string lights properly. A sturdy ladder is a must, especially if you’re working on a two-story home or higher. Keep a tape measure handy to space the lights evenly and avoid guesswork.
Other useful tools include:
- Hammer or rubber mallet:For tapping in hooks or nails gently.
- Power drill with screwdriver bits:Helps if you need to install screws or anchors.
- Wire cutters:To trim excess wire safely if needed.
- Gloves:Protect your hands from sharp edges or rough surfaces.
Safe Materials
Choosing materials that protect both your lights and your home is crucial. Use outdoor-rated string lights designed to handle weather exposure. Indoor lights may look similar but typically don’t have the durability needed for outside use.
For hanging, opt for clips and hooks made from rust-resistant materials like stainless steel or heavy-duty plastic. Avoid metal fasteners that can corrode and damage your lights over time. Command hooks designed for outdoor use are a great alternative if you want to avoid drilling holes.
Avoiding Damage To Surfaces
Preserving your home’s exterior is just as important as securing your lights. Instead of nails or screws, consider using adhesive hooks or clips that won’t leave marks. If you must use nails, place them in less visible areas like under eaves or behind gutters.
Have you thought about how removing lights might affect your paint or siding? Using materials that are easy to remove can save you from costly repairs later. Test a small area first to check that adhesives won’t peel paint or damage wood.
Safety Precautions
Attaching string lights to your house adds charm and warmth, but safety should never take a backseat. Taking the right precautions protects you from accidents and ensures your decorations shine brightly without interruption. Let’s look at key safety areas you must keep in mind before hanging those lights.
Avoiding Electrical Hazards
Electrical safety is crucial when handling string lights. Always check that your lights are rated for outdoor use to prevent short circuits or shocks. Avoid overloading outlets by plugging too many strings together; instead, use a power strip with a built-in circuit breaker.
Inspect all cords for frayed wires or broken bulbs before use. Never connect lights with damaged insulation—this can spark dangerous fires. Consider using LED lights, which generate less heat and reduce the risk of overheating.
Working With Heights
Getting up on ladders or roofs can be risky if you’re not prepared. Use a sturdy ladder placed on a flat surface and have someone hold it steady for you. Avoid leaning too far to one side; move the ladder instead to keep your balance.
Wear shoes with non-slip soles and avoid working on wet or icy surfaces. If you feel uncomfortable or unsafe, it’s better to ask for help or hire a professional. Your safety is more important than a perfectly hung string of lights.
Weather Considerations
Weather can change quickly, so plan your decorating during dry, calm conditions. Wind can cause you to lose balance or tangle lights, while rain or snow increases electrical risks. Check the forecast before you start, and avoid working outside if storms are expected.
After installation, secure your lights well to withstand wind and rain. Use waterproof clips and cover plugs with protective covers. How do you ensure your decorations stay safe and intact through harsh weather?
Installing Lights On Gutters
Installing string lights on your gutters is a smart way to highlight your home’s outline and create a cozy atmosphere. Gutters offer a natural ledge that makes hanging lights easier and more organized. However, securing your lights properly is key to keeping them in place through wind and weather.
Using Clips
Plastic or metal clips designed for gutters are your best friends here. They snap easily onto the edge without needing nails or adhesives. This means you can avoid damaging your gutters while still holding your lights firmly.
Look for clips labeled as weather-resistant for durability. Some have built-in hooks or loops that perfectly fit standard string light wires, making installation quick and painless. Using clips also helps you space your lights evenly, which improves the overall look.
Ensuring Secure Attachment
Don’t just rely on one clip every few feet. Place clips every 12 to 18 inches to prevent sagging or drooping lights. If your lights are heavy or you’re in a windy area, add even more clips for extra support.
After clipping, gently tug on the string to check if it holds tight. If you feel any looseness, add more clips or adjust their positions. This simple test can save you from having to redo your work after a storm shakes things up.
Avoiding Gutter Damage
It’s tempting to use nails or staples, but avoid them at all costs—they can puncture your gutters and cause leaks. Also, avoid heavy adhesives that may peel paint or leave sticky residue.
Keep your gutters clear of debris before attaching lights. Leaves and dirt can make clips slip and cause damage over time. Protect your gutters by choosing clips that fit well and removing them carefully when the season ends.
Credit: www.familyhandyman.com
Attaching Lights To Shingles
Attaching string lights to shingles requires care to protect your roof and keep the lights secure. Shingles are delicate, and using the right tools helps avoid damage. Proper attachment also keeps lights in place during wind or rain.
Special Clips For Shingles
Use clips designed for shingles to hold lights safely. These clips fit under shingles without lifting or breaking them. They grip the shingles gently but firmly. Plastic or vinyl clips work well and resist weather damage. Avoid nails or staples that can puncture shingles.
Preventing Roof Damage
Protect shingles by avoiding sharp or heavy fasteners. Slide clips under shingles carefully to prevent cracks. Check shingles for damage before attaching lights. Do not pull or force clips too tightly. Keep wires loose enough to allow movement with wind.
Removing Lights Safely
Remove clips and lights slowly to avoid tearing shingles. Lift each clip gently without prying under shingles too hard. Store clips and lights properly after removal for reuse. Inspect shingles for any damage and repair if needed. Cleaning the roof after removal helps maintain its condition.
Decorating Railings And Fences
Decorating railings and fences with string lights brings a warm and inviting glow to any home. Lights add charm and highlight architectural details. They create a cozy atmosphere for evenings outside. String lights are easy to install and remove, making them perfect for seasonal decoration. Careful placement ensures safety and durability through all weather. Use simple tools and materials for a neat finish.
Using Zip Ties
Zip ties hold string lights securely without damaging surfaces. They are strong, weather-resistant, and easy to use. Simply loop a zip tie around the railing or fence post. Then, thread the string light wire through the tie. Pull tight but avoid crushing the wire. Trim the excess zip tie for a clean look. Zip ties work well on metal, wood, and plastic surfaces.
Creating Symmetrical Designs
Symmetry makes the lighting look balanced and professional. Plan your design before attaching lights. Measure the length of the railing or fence first. Divide the space evenly for light placement. Use equal spacing between light bulbs or clusters. Symmetrical patterns such as straight lines or gentle curves are appealing. This method improves the overall visual impact of your lights.
Enhancing Curb Appeal
Lights on railings and fences boost your home’s curb appeal instantly. They highlight entryways and pathways clearly. Soft lighting invites guests with a friendly glow. Use warm white or soft yellow bulbs for a classic look. Combine string lights with plants or seasonal decorations for extra charm. Well-lit railings increase safety and make your home stand out.
Enhancing With Additional Decor
Adding string lights to your house is just the beginning of creating a warm and inviting atmosphere. Enhancing your setup with additional decor can make your outdoor space truly stand out. Simple touches can turn your lighting into a beautiful, cohesive display that reflects your style and personality.
Adding Greenery
Greenery complements string lights perfectly by adding texture and natural beauty. You can weave ivy, eucalyptus, or faux garlands along the light strands for a fresh, organic look.
Try hanging lights around window boxes filled with plants or drape them over shrubs. This combination softens the brightness and creates a cozy, garden-like feel that invites you to spend more time outside.
Using Timers For Convenience
Timers take the hassle out of managing your lights. Imagine never having to remember to turn them on or off—your lights will do it for you automatically.
Set your lights to turn on at dusk and off at bedtime. This saves energy and ensures your home always looks welcoming without any extra effort.
Incorporating Color Themes
Choosing a color theme for your lights can dramatically change the mood of your outdoor space. Whether you prefer classic warm white, vibrant multi-colors, or soft pastels, sticking to a palette creates a polished look.
Consider matching your lights with other decor elements like cushions, planters, or outdoor rugs. This harmony makes your setup feel intentional and stylish, rather than random or cluttered.
Troubleshooting Common Issues
String lights add charm and warmth to any home, but issues can arise during installation or use. Troubleshooting common problems helps keep your lights bright and safe. Understanding simple fixes saves time and effort.
Many problems come from burnt-out bulbs, loose connections, or weather damage. Each issue needs a clear approach for effective repair. Regular checks prevent bigger problems later.
Fixing Burnt-out Bulbs
Burnt-out bulbs cause dark spots on your string lights. Check each bulb carefully to spot any that are not glowing. Replace bulbs with exact matches to avoid electrical issues. Make sure lights are unplugged before replacing bulbs. Test the string after replacement to confirm all bulbs work.
Addressing Loose Connections
Loose connections cause flickering or partial lighting. Inspect plugs and sockets for tight fits. Push connectors firmly together to restore contact. Use electrical tape to secure loose wires. Avoid pulling on the cords to prevent damage.
Handling Weather Damage
Weather can harm string lights, especially in rain or wind. Look for cracked bulbs or exposed wires. Replace damaged parts quickly to avoid hazards. Use outdoor-rated lights and waterproof connectors for protection. Store lights indoors during harsh weather to extend their life.
Credit: www.acupfullofsass.com
Frequently Asked Questions
How Do I Attach String Lights Without Damaging Walls?
Use adhesive hooks or clips designed for string lights. Avoid nails or staples to prevent wall damage. These hooks hold lights securely and can be removed easily without leaving marks.
What Is The Best Way To Hang Outdoor String Lights?
Use weatherproof clips or hooks rated for outdoor use. Secure lights to gutters, eaves, or sturdy surfaces. Ensure connections are waterproof to protect against rain and moisture.
Can I Use Nails To Hang String Lights On My House?
Nails can damage siding and are not recommended. Use adhesive hooks or clips instead for a secure, damage-free installation. This method is safer and preserves your home’s exterior.
How Far Apart Should String Lights Be Spaced?
Space string lights about 12 to 18 inches apart for even coverage. Adjust spacing based on light size and desired brightness to create a balanced look.
Conclusion
Attaching string lights to your house can brighten any space. Use the right tools for a safe and neat setup. Secure the lights firmly to avoid damage or accidents. Take your time to plan the layout before starting. Enjoy the warm glow and festive feel they bring.
With simple steps, anyone can create a cozy, inviting home. Keep safety in mind and have fun decorating. Your house will look charming and welcoming all year round.