

Are you ready to transform your home into a cozy, glowing haven with string lights? Attaching string lights to your house siding might seem tricky, but with the right tips, you can do it quickly and safely.
Imagine your porch or backyard lighting up perfectly, creating the warm atmosphere you’ve been dreaming of. In this guide, you’ll discover simple, effective ways to hang your lights without damaging your siding or struggling with complicated tools. Keep reading to learn how to make your space shine effortlessly!
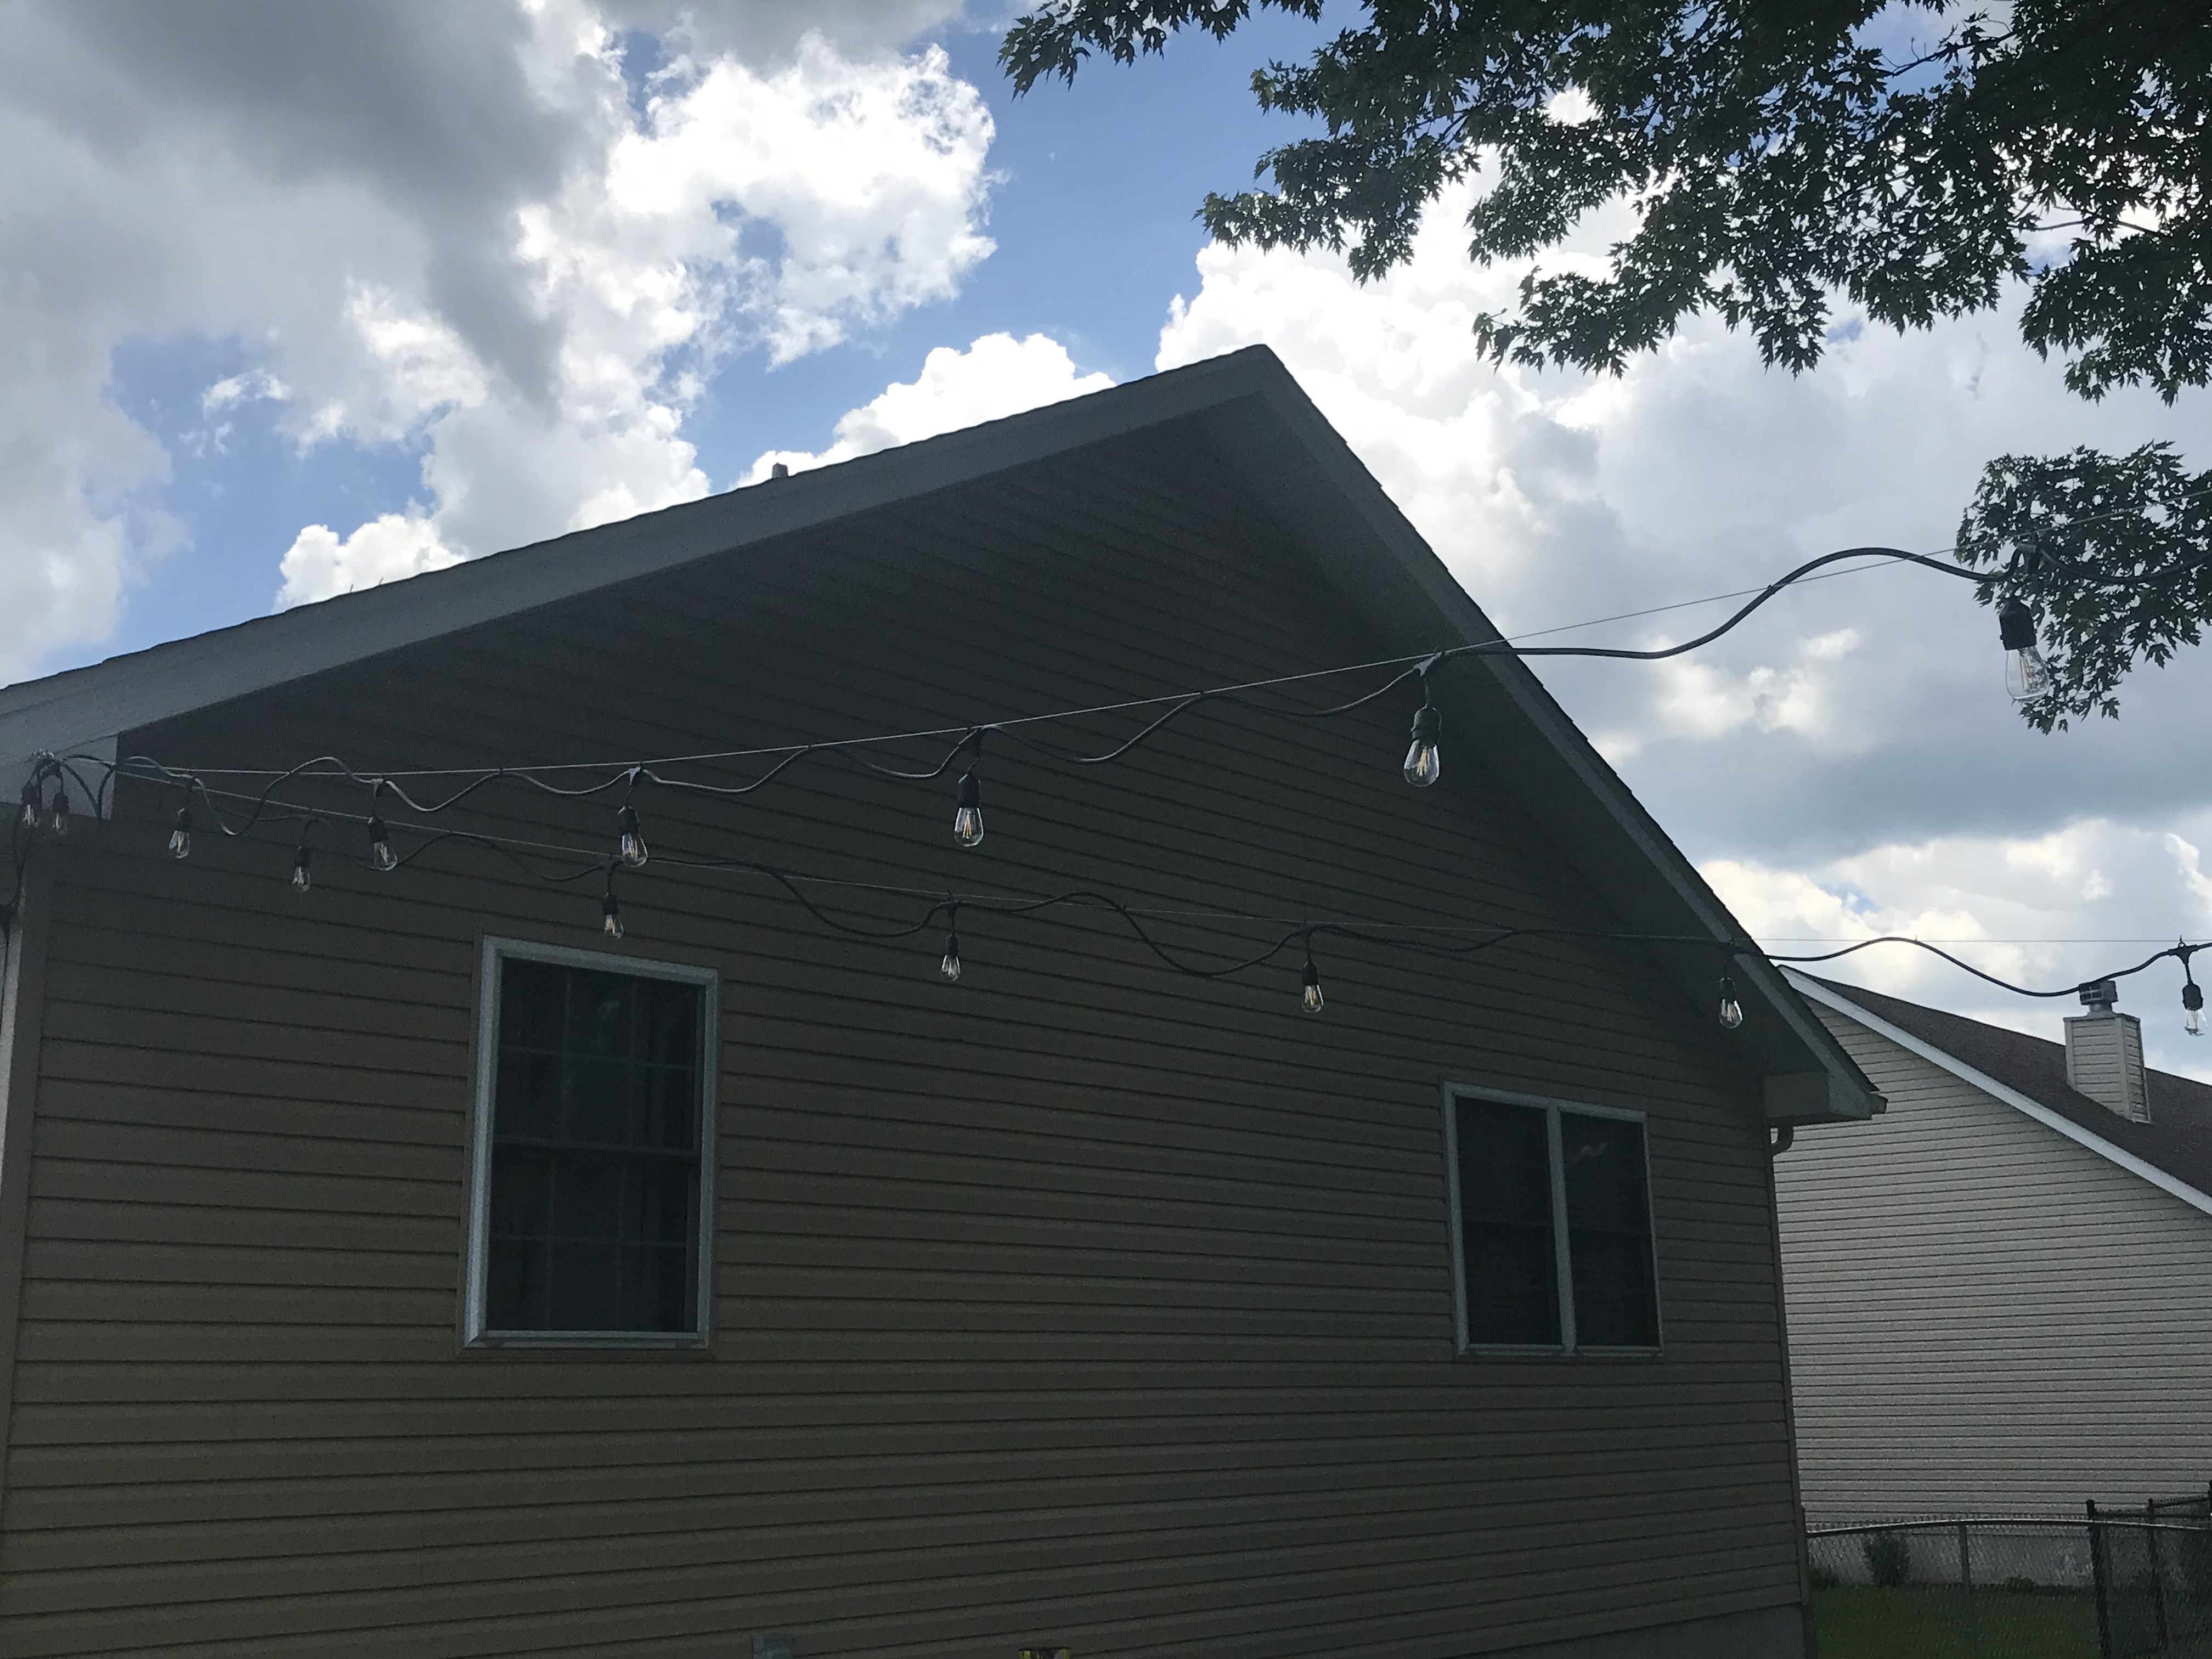
Credit: www.acupfullofsass.com
Choosing The Right String Lights
Picking the right string lights can make all the difference in how your home looks and feels after dark. Not all lights are built for every surface or weather condition, so understanding your options helps you avoid damage and frustration. Let’s break down what to look for, so your lights shine bright and last long on your house siding.
Types Of String Lights
String lights come in many styles, each suited for different moods and uses. Classic incandescent bulbs give a warm glow but can get hot and use more energy. LED lights stay cool, last longer, and offer a variety of colors and brightness levels.
You might also find globe lights, fairy lights, or icicle lights. Globe lights create a vintage vibe, while fairy lights add a delicate sparkle. Consider what look you want before choosing the style.
Considerations For Outdoor Use
Outdoor string lights need to handle weather changes and moisture without failing. Look for lights labeled as weatherproof or waterproof to ensure they withstand rain, snow, or wind. Check the IP rating—higher numbers mean better protection from dust and water.
Also, pay attention to the cord quality. Thick, durable cords resist cracking and damage better than thin ones. Are your lights safe to leave on all night? Confirm they’re rated for continuous outdoor use to avoid hazards.
Energy Efficiency Options
Energy efficiency isn’t just good for the planet—it saves you money too. LED lights use up to 80% less energy than traditional bulbs, which can add up if you light your home every evening. Solar-powered string lights offer a plug-free alternative, charging during the day and glowing at night.
Timers and smart plugs can also help control when your lights turn on and off, reducing unnecessary electricity use. Have you thought about how long you want your lights to stay lit? Setting limits can cut your energy bill while keeping your home festive.
Essential Tools And Materials
Attaching string lights to house siding requires the right tools and materials. Using proper equipment makes the job easier and protects your home. Preparing well helps avoid damage and ensures lights stay secure. Gather everything you need before starting your project.
List Of Required Tools
- Measuring tape – to measure the length of siding
- Hammer – for nails or clips
- Outdoor-rated string light clips – safe for siding
- Ladder – to reach high places safely
- Extension cord – if power outlets are far
- Utility knife – to trim packaging or tape
- Power drill with screwdriver bit – for screw-in hooks
- Weatherproof tape – for extra security on wires
Safety Gear And Precautions
- Wear gloves to protect your hands
- Use safety glasses to shield your eyes
- Choose a sturdy ladder and place it on flat ground
- Check weather conditions before starting work
- Avoid hanging lights during rain or strong wind
- Inspect electrical cords for damage before use
- Turn off power supply when connecting plugs
Preparing Your House Siding
Getting your house siding ready is a crucial step before hanging string lights. If the surface isn’t clean or has hidden damage, your lights won’t stay up long, and you might even harm your siding. Taking a little extra time now saves frustration later.
Cleaning The Surface
Start by removing dirt, dust, and grime from your siding. Use a gentle detergent mixed with water and a soft brush or cloth to scrub the area where you plan to attach the lights. Avoid harsh chemicals—they can discolor or damage the siding.
Rinse thoroughly with a garden hose to wash away any soap residue. Let the siding dry completely before moving on. Have you noticed how even a small amount of dust can prevent hooks or clips from sticking? That’s why this step matters more than you might think.
Inspecting For Damage
Check your siding closely for cracks, loose panels, or signs of rot. Damaged siding won’t support the weight of string lights and might get worse if you add pressure. Run your hand along the surface and look for any irregularities.
If you find weak spots, fix or replace them before hanging lights. This prevents future headaches and keeps your home safe. Do you really want your festive display to come crashing down because of a small oversight?
Methods For Attaching String Lights
Attaching string lights to your house siding can transform your outdoor space with a warm, inviting glow. Choosing the right method ensures your lights stay secure without damaging your home’s exterior. Here are practical ways to get those lights up quickly and safely.
Using Adhesive Hooks
Adhesive hooks offer a simple, no-drill solution for hanging string lights. These hooks stick directly to your siding and hold lightweight strings firmly in place.
Look for hooks with strong, weather-resistant adhesive to withstand rain and wind. I once used adhesive hooks for holiday lights, and they stayed put even through a windy night—no marks left behind either.
Before sticking, clean the siding surface to improve adhesion. Press firmly and wait at least an hour before hanging your lights for the best hold.
Installing Gutter Clips
Gutter clips are designed to snap onto gutters without causing damage, making them perfect if your string lights run along roof edges. These clips hold the lights securely and keep them neatly aligned.
They’re easy to install and remove, which is great if you want to change or take down your lights seasonally. I’ve found that gutter clips save time and prevent the hassle of tangled wires compared to other methods.
Make sure your gutters are clean and free of debris before clipping. This helps the clips grip properly and reduces slipping.
Utilizing Vinyl Siding Clips
Vinyl siding clips hook into the seams of vinyl siding without causing holes or damage. They’re an excellent choice if you want a secure hold that won’t harm your siding’s appearance.
These clips are designed to hold string lights tightly, even in windy conditions. I used vinyl siding clips last summer, and they kept my lights perfectly aligned through several storms.
Install them by gently snapping the clip into the siding seam and then attaching the light string. This method works best with narrow light cords for a neat finish.
Arranging And Securing The Lights
Arranging and securing string lights on house siding requires careful planning and execution. Proper arrangement enhances the home’s appearance and ensures the lights stay safe. Secure attachment prevents damage to the siding and keeps the lights stable during wind or weather changes.
Follow these tips to create a beautiful and lasting display.
Design Patterns And Ideas
Choose a design that matches your home’s style. Simple straight lines create a neat look. Zigzag patterns add excitement and depth. Frames around windows or doors highlight architectural features. Wrap lights around porch columns for a cozy feel. Mix warm and cool white lights for contrast. Use colored bulbs for holiday themes or parties.
Ensuring Even Spacing
Even spacing makes the lights look professional. Measure the length of the area to cover. Divide the total length by the number of bulbs. Mark spots lightly with chalk or tape. Keep bulbs about 6 to 12 inches apart for balance. Avoid bunching bulbs together or leaving large gaps. Check spacing from a distance to confirm visual appeal.
Tightening And Securing
Start attaching lights from the power source end. Use clips or hooks designed for siding to avoid damage. Secure each marked spot firmly but gently. Pull the string tight enough to prevent sagging. Leave a little slack near corners to avoid stress on wires. Check all attachments after securing to ensure stability. Use waterproof tape on plugs and connectors to protect from rain.

Credit: www.msn.com
Powering The String Lights
Powering your string lights effectively is key to creating a stunning display without hassle. Choosing the right power source impacts both the ease of setup and the safety of your installation. Let’s look at practical options and essential safety tips to keep your lights shining bright and worry-free.
Extension Cord Use
Using an extension cord is often the simplest way to power string lights attached to your siding. Make sure to select an outdoor-rated extension cord designed to handle the electrical load of your lights. Avoid running cords through windows or under doors where they can get pinched or damaged.
Keep the cord elevated or secured to prevent tripping hazards and water exposure. If your display is far from an outlet, consider a heavy-duty cord with a longer length to maintain safety and functionality. Have you checked if your outlet is grounded? Using a grounded outlet adds an extra layer of protection.
Solar Power Options
Solar-powered string lights offer a wireless and energy-efficient alternative, especially if you want to avoid cords altogether. Place solar panels in a spot that receives plenty of direct sunlight during the day to ensure your lights stay bright after dark. Some models come with rechargeable batteries that store energy for nighttime use.
Solar lights can be a great choice if your house siding is far from power sources or if you want a more eco-friendly setup. Consider how weather conditions might affect the solar panel’s exposure and plan your installation accordingly. How much sunlight does your home’s exterior get daily?
Safety Tips For Wiring
Safety should always come first when wiring string lights on your house. Use outdoor-rated lights and cords to prevent electrical shorts caused by moisture. Inspect all wiring for damage before installation and replace any frayed or cracked pieces.
Install a ground fault circuit interrupter (GFCI) outlet or use a GFCI adapter to reduce the risk of electric shock. Never overload your circuits by connecting too many strands together; check the manufacturer’s recommendations for maximum connections. Have you tested your setup with a GFCI outlet? It can save you from potential hazards.
Maintenance And Troubleshooting
Keeping your string lights bright and secure on your house siding means staying on top of maintenance and troubleshooting. Regular care prevents small issues from turning into big headaches, saving you time and effort later. Let’s look at how you can keep your lights shining beautifully all season long.
Regular Inspection
Check your string lights frequently, especially after storms or strong winds. Look for loose clips, frayed wires, or bulbs that flicker or don’t light up at all. Taking a few minutes to inspect can help you spot problems early before they cause bigger damage.
Ask yourself: are all the connections tight and secure? Are the lights evenly spaced and properly attached to the siding? Addressing these points keeps your display safe and attractive.
Replacing Damaged Lights
Damaged bulbs or broken sections don’t just look bad—they can also be a safety hazard. Keep spare bulbs and light strings on hand so you can swap out faulty parts quickly. Use replacement bulbs that match the original type and wattage to avoid electrical issues.
If a whole section is damaged, consider replacing that segment rather than trying to fix it temporarily. This ensures consistent brightness and reduces the risk of shorts or outages along the line.
Addressing Common Issues
Sometimes, string lights may flicker, fail to turn on, or blow fuses. Check the power source and ensure plugs are fully inserted. If a fuse blows, replace it with the one recommended by the manufacturer—using a different type can cause further problems.
Water can also cause issues, especially on siding exposed to rain. Ensure your lights and connections are rated for outdoor use and are properly sealed. If you notice corrosion or water damage, clean the affected areas and replace any compromised components.
Have you ever found a stubborn light that just won’t work? Try swapping it with a bulb you know is good. Sometimes, simple troubleshooting like this saves the whole setup without hassle.

Credit: www.thisoldhouse.com
Frequently Asked Questions
How Do I Safely Attach String Lights To House Siding?
Use plastic clips or adhesive hooks designed for siding. Avoid nails or staples that can damage the siding. Ensure clips fit the light string and siding type securely for safety and durability.
What Is The Best Way To Hide Light Cords On Siding?
Run cords along seams or corners of the siding. Use clips or cord covers that match the siding color. This keeps cords neat and less visible, enhancing the overall look.
Can I Use Nails To Hang String Lights On Siding?
No, nails can damage and create holes in the siding. Use non-invasive options like clips or hooks to prevent siding damage and maintain its integrity.
How Do I Prevent String Lights From Falling Off Siding?
Secure clips firmly and space them evenly along the string. Check clips regularly for wear or loosening, especially after harsh weather, to keep lights securely in place.
Conclusion
Attaching string lights to house siding can brighten any space easily. Use the right tools and follow safety tips. Choose clips that fit your siding type well. Avoid nails or staples that can cause damage. Plan your design before hanging the lights.
Take your time for a neat, secure look. Enjoy the warm glow of your new decoration. Simple steps make a big difference in the end. Ready to light up your home?