
Are you ready to make your home shine bright and stand out in the neighborhood? Attaching lights to your house might seem tricky, but with the right steps, you can do it quickly and safely.
Whether it’s for the holidays, a special event, or just to add charm, knowing how to hang lights the right way can save you time and frustration. Keep reading, and you’ll discover simple tips and tricks that will help you transform your home into a glowing masterpiece without any hassle.
Your perfect lighting setup is just a few easy steps away!
Choosing The Right Lights
Choosing the right lights for your house is key to creating a beautiful look. The lights you pick affect the style, safety, and energy use of your home. Picking lights that match your needs and climate will make your outdoor space shine all year.
Types Of Lights For Home
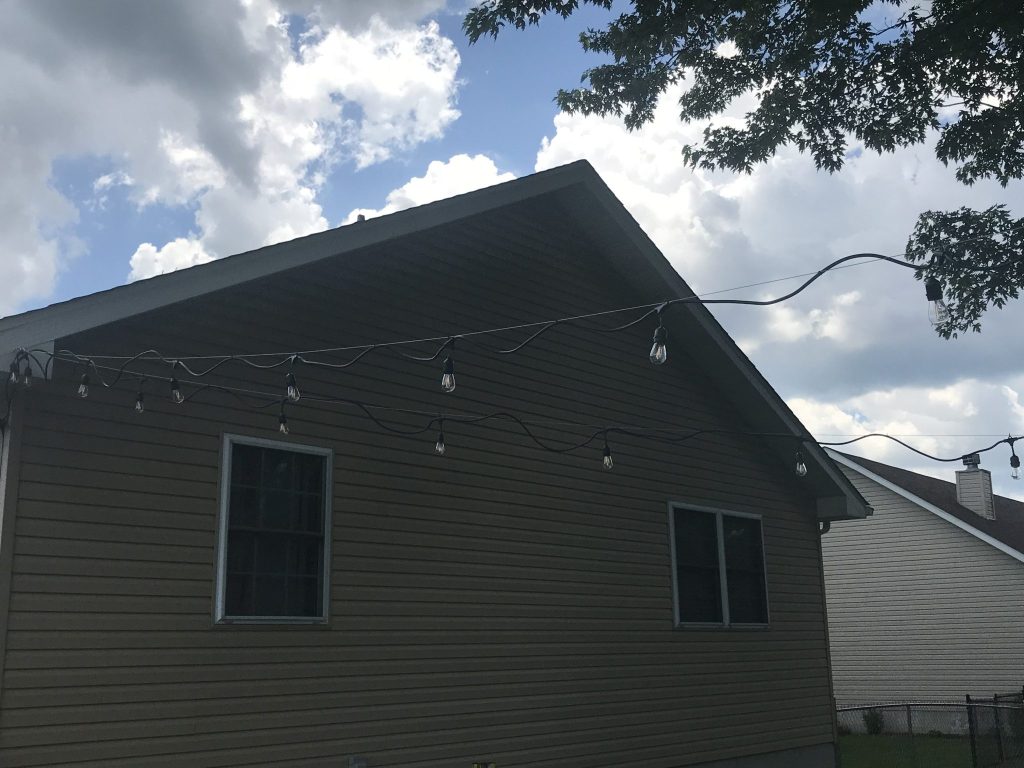
Several light types suit home decoration. String lights add charm and warmth. Floodlights give bright, wide coverage for security. Spotlights highlight specific areas like trees or pathways. Solar lights charge during the day and glow at night without wires.
Energy Efficiency Considerations
Energy-saving lights cut electric bills and help the environment. LED bulbs use less power and last longer than traditional bulbs. Solar-powered lights need no electricity at all. Choose lights with low wattage but good brightness for best results.
Weather-resistant Options
Outdoor lights must resist rain, snow, and heat. Look for waterproof and rustproof materials. Lights with an IP rating above 65 are ideal for heavy weather. Durable wiring and sealed bulbs ensure your lights stay safe and bright.
Gathering Necessary Tools
Before you start hanging lights on your house, gathering the right tools is key to making the process smooth and safe. Having everything ready saves time and prevents frustration during installation. It also helps you avoid unnecessary trips to the store, keeping your project on track.
Essential Tools Checklist
Make sure you have these basic tools on hand before you begin:
- Ladder:Choose a sturdy ladder that reaches all the areas where you want to hang lights.
- Measuring Tape:Measure your rooflines and windows to know how many lights you’ll need.
- Outdoor Extension Cord:Ensures your lights can reach power sources safely.
- Light Clips or Hooks:Designed specifically for hanging lights without damaging surfaces.
- Hammer and Nails or Screwdriver and Screws:Depending on your mounting method.
- Wire Cutters:For trimming or fixing broken wires.
- Zip Ties:Helpful for securing lights to railings or gutters.
Have you checked if your lights come with clips? Sometimes the right clips are included, but if not, buying compatible ones is worth the effort. Using the correct clips prevents damage and keeps your lights secure.
Safety Equipment And Gear
Safety should never take a back seat during your decorating project. Wearing the right gear protects you from falls, electrical shocks, and other hazards.
- Non-slip Shoes:Keep your footing steady on ladders and slippery surfaces.
- Gloves:Protect your hands from sharp edges and cold weather.
- Safety Glasses:Guard your eyes when climbing or handling tools.
- Electrical Tester:Verify that your outdoor outlets are safe before plugging in lights.
- Spotter or Helper:Having someone nearby adds a layer of safety, especially when working on ladders.
Think about the last time you worked on your roof or near electrical outlets. Did you have all the safety gear? If not, it might explain why the task felt riskier. Preparing properly reduces stress and keeps you injury-free.
Planning Your Lighting Design
Planning your lighting design sets the foundation for a beautiful and safe display on your house. Taking time to think about where each light will go and how it will function can save you hassle later. It’s not just about hanging lights; it’s about creating an experience that shines both day and night.
Mapping Out Light Placement
Start by walking around your house and noting key areas where lights would make the most impact. Focus on entryways, windows, rooflines, and landscaping features that deserve a highlight. Sketching a simple map helps you visualize how the lights will flow and connect.
Think about the power sources nearby to avoid long extension cords or unsafe setups. Are there outdoor outlets near your chosen spots? Mark these on your map to plan your wiring efficiently.
Don’t forget to consider the height and angle of your lights. Placing them too low might cause glare, while too high might hide their effect. Testing a few spots with a temporary setup can give you a clearer idea before you commit.
Balancing Aesthetic And Functionality
Lights should look good and serve a purpose. Are you aiming for a cozy, warm glow or a bright, festive vibe? Choosing the right color temperature and brightness levels will help you achieve your mood.
Safety is another key factor. Lights placed along walkways or stairs help prevent trips and falls. Make sure these areas are well-lit without being overpowering.
Consider how your lighting will interact with the architectural features of your house. Too many lights can clutter the look, while too few might leave it feeling incomplete. Finding that sweet spot means your display will be both attractive and practical.

Credit: www.angi.com
Preparing The House Exterior
Getting your house exterior ready is a crucial step before attaching lights. A well-prepared surface ensures your lights stay secure and look great throughout the season. Skipping this step might lead to lights falling or damage to your home’s exterior.
Cleaning Surfaces
Start by removing dirt, dust, and debris from the areas where you plan to hang lights. Use a mild detergent mixed with water and a soft brush or cloth to scrub surfaces gently. Clean surfaces help adhesive hooks stick better and reduce the risk of damage.
Don’t forget to rinse off any soap residue and let the surfaces dry completely. Wet or dirty surfaces make it harder for clips or tape to hold. Have you noticed how even a little dust can cause hooks to slip off unexpectedly?
Inspecting For Damage
Take a close look at your house exterior for any cracks, loose siding, or peeling paint. Damaged areas may not support the weight of your lights and could worsen with added pressure. Fix small issues beforehand to avoid bigger problems later.
Also, check gutters and eaves for stability since these spots often hold lights. If you find weak spots, consider alternative attachment points or reinforce them. What would happen if a heavy strand of lights pulled down a loose gutter?
Attaching Lights Safely
Attaching lights safely protects your home and ensures a neat display. It prevents damage to surfaces and avoids electrical hazards. Using the right tools and techniques keeps lights secure without causing harm.
Using Clips And Hooks
Clips and hooks hold lights firmly without nails or tape. They fit gutters, eaves, and window frames easily. Use plastic clips made for outdoor lights to avoid damage. Attach clips spaced evenly for balanced support. Avoid forcing clips on surfaces that might crack.
Securing Wires And Cables
Keep wires tidy to prevent tripping and wear. Use cable ties or twist ties to bundle excess wire. Secure cables along walls or fences, away from footpaths. Check for sharp edges that could cut wires. Keep wires off the ground to avoid water damage.

Credit: www.youtube.com
Testing And Adjusting
After hanging your lights, the crucial phase of testing and adjusting begins. This step ensures that every bulb shines brightly and safely, giving your home a festive glow. Skipping this part can lead to dark spots, electrical issues, or even safety hazards.
Checking Electrical Connections
Start by plugging in the lights and observing if all sections illuminate properly. Flickering or unlit bulbs often signal loose connections or faulty wiring. Take a close look at each plug and socket, making sure they fit snugly without any exposed wires.
Have you ever noticed some lights dimming while others stay bright? This could mean overloaded circuits or poor contact points. Use a simple voltage tester to check if power flows evenly through the strands. Also, ensure your extension cords and outlets are rated for outdoor use to avoid surprises.
Making Necessary Adjustments
If you spot bulbs that won’t light up, replace them with spares before moving on. Tighten any loose clips or hooks to keep the lights secure against wind or rain. It’s easy to overlook the angle of your lights, but adjusting their position can create a more even and eye-catching display.
Sometimes, shifting a strand slightly or rerouting the cord away from sharp edges prevents damage and keeps your setup neat. Don’t hesitate to rearrange sections if certain areas look dull or cluttered. What small change could instantly improve your overall look?
Enhancing With Additional Features
Adding lights to your house is just the beginning. Enhancing your lighting setup with extra features can bring more convenience, control, and style to your home. These features allow you to customize how and when your lights shine, fitting perfectly with your lifestyle and preferences.
Incorporating Timers And Dimmers
Timers help you automate your lights, turning them on or off at specific times without lifting a finger. This not only saves energy but also gives your home a lived-in look when you’re away, boosting security.
Dimmers let you adjust the brightness to match the mood or activity, whether it’s a cozy evening or a lively gathering. You can easily change the ambiance without changing the bulbs.
- Set timers to mimic your daily routine for added comfort.
- Use dimmers to reduce glare and save electricity.
- Combine both for maximum flexibility in lighting control.
Integrating Smart Lighting Systems
Smart lighting systems let you control your house lights from anywhere using your phone or voice commands. Imagine turning your lights on before you arrive home or adjusting them while you’re in bed.
These systems often connect with other smart devices, creating a seamless home experience. You can set scenes, like a “movie night” mode, where lights dim and colors change instantly.
- Choose bulbs compatible with your preferred smart home platform (Alexa, Google Home, etc.).
- Explore scheduling options that adjust with seasons or special events.
- Think about security features like motion detection and automatic alerts.
Have you thought about how much easier your daily routine could be with smart lighting? Small upgrades like timers or smart controls can make a big difference in your home’s comfort and efficiency.

Credit: www.youtube.com
Maintenance And Safety Tips
Keeping your outdoor lights in top shape isn’t just about aesthetics; it’s about safety and longevity. Regular maintenance helps you avoid unexpected outages and potential hazards. Paying attention to simple checks can save you time, money, and even prevent accidents around your home.
Regular Inspection Routines
Check your lights every few weeks, especially after bad weather. Look for frayed wires, loose connections, or broken bulbs. These small issues can quickly become bigger problems if ignored.
Don’t forget to test the timers and sensors if your lights use them. Make sure they turn on and off at the right times. This keeps your lights energy-efficient and reduces wear and tear.
Have you ever noticed a light flickering or not shining as brightly? That’s a sign it needs attention. Taking a few minutes to inspect can prevent bigger repairs later.
Troubleshooting Common Issues
If your lights don’t turn on, start by checking the power source. Sometimes a tripped circuit breaker or a loose plug is the culprit. It’s easier to fix than replacing the entire setup.
Burnt-out bulbs are common and easy to replace. Use bulbs that match the recommended wattage to avoid overheating. Keeping a spare set handy saves you from scrambling in the dark.
Moisture can cause corrosion in light sockets. If you find rust or water inside, dry it out and apply dielectric grease to protect the connection. This simple step extends the life of your lights.
Have you tried cleaning the light covers? Dirt and debris reduce brightness and can hide damage. A quick wipe with a damp cloth can make a big difference.
Frequently Asked Questions
How Do I Safely Attach Lights To My House?
Use clips designed for your siding type to avoid damage. Avoid nails or staples. Secure lights firmly but gently. Check for electrical safety and use outdoor-rated lights only.
What Tools Do I Need To Attach House Lights?
You’ll need a ladder, light clips, measuring tape, and extension cords. Optionally, use a staple gun for secure attachment on wood. Always prioritize safety and use insulated tools.
Can I Attach Lights To Brick Or Stucco Walls?
Yes, use adhesive light clips or hooks designed for brick or stucco. Avoid drilling to prevent wall damage. Ensure clips can hold the light weight securely.
How Do I Prevent Light Cords From Tangling On My House?
Plan your light layout before attaching. Use clips to keep cords straight and separate. Secure excess cord length with zip ties or twist ties to avoid tangling.
Conclusion
Attaching lights to your house can brighten any space quickly. Use the right tools to keep lights secure and safe. Start with a clear plan to avoid mistakes. Take your time and work carefully for best results. Check your lights often to fix any issues.
Enjoy the cozy, festive look your lights create. Simple steps make decorating easy and fun. Now, you can light up your home with confidence.