
Are you ready to upgrade your kitchen with a new faucet but worried it might be too complicated? Installing a kitchen faucet yourself can save you money and give you a sense of accomplishment.
In this guide, you’ll discover simple, step-by-step instructions that anyone can follow. By the end, you’ll have a shiny new faucet working perfectly, making your kitchen look fresh and modern. Keep reading, and you’ll see just how easy it is to transform your space with your own hands.

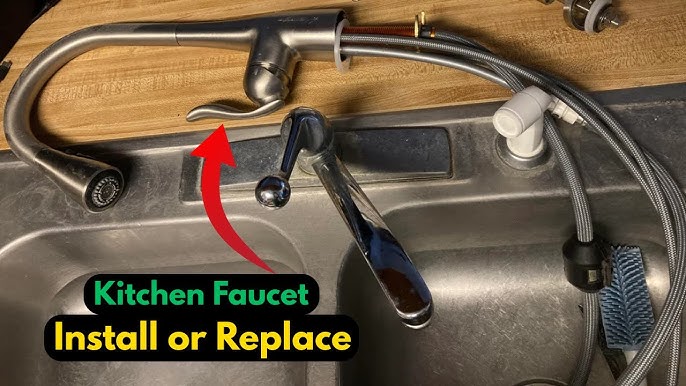
Credit: www.youtube.com
Tools And Materials Needed
Before you start installing your kitchen faucet, gathering the right tools and materials is crucial. Having everything ready saves time and prevents frustration mid-project. Let’s look at what you’ll need to make the installation smooth and efficient.
Essential Tools
Start with a good set of tools that fit the job. A basin wrench is a must-have; it helps you reach tight spots under the sink. Adjustable wrenches are also key for tightening connections without damaging them.
Other helpful tools include:
- Phillips and flathead screwdrivers for various screws
- Plumber’s tape (Teflon tape) to seal threaded connections
- A bucket to catch any water drips during disconnection
- A flashlight or headlamp for better visibility under the sink
Have you ever tried tightening a nut in a cramped space without a basin wrench? It’s frustrating and often leads to stripped threads.
Choosing The Right Faucet
Your faucet choice affects the installation process. Single-hole faucets are generally easier to install than those requiring three holes. Think about your sink configuration before buying.
Consider the faucet’s style and finish too. A faucet with flexible supply lines can save you from extra plumbing work. You want a faucet that fits your sink and matches your kitchen’s look.
Additional Supplies
Besides tools and the faucet, keep these supplies handy. Plumber’s putty or silicone sealant helps create a watertight seal around the faucet base. Without a proper seal, you risk leaks under your sink.
Extra supply lines might be necessary if your current ones don’t fit the new faucet. Also, have some rags or towels ready to wipe up any spills. It’s a small detail but keeps your workspace clean and safe.
Preparing The Work Area
Preparing the work area is a crucial part of installing a kitchen faucet. It sets the stage for a smooth, hassle-free process and helps you avoid unexpected problems. Taking time to organize your space and tools can save you frustration and ensure your installation goes as planned.
Turning Off Water Supply
Before you start, locate your home’s main water valve or the shut-off valves under the sink. Turning off the water supply prevents leaks and water damage while you work. Have a towel or small bucket ready to catch any leftover water in the pipes when you disconnect the old faucet.
Clearing The Sink Area
Remove everything from around and under the sink. This gives you enough room to move freely and access pipes without obstacles. Clearing the space also reduces the risk of accidentally damaging dishes, cleaning supplies, or other items during installation.
Gathering Tools And Parts
Make sure you have all necessary tools and faucet parts before you begin. Common tools include an adjustable wrench, plumber’s tape, a basin wrench, and a screwdriver. Double-check your new faucet’s instructions to confirm you have everything needed—missing a small part can delay your work and cause frustration.
Removing The Old Faucet
Removing the old kitchen faucet is the first task before installing a new one. It requires careful steps to avoid damage and leaks. Start by making sure the water supply is off. Then, follow the process to detach the faucet safely.
Disconnecting Water Lines
Locate the water supply valves under the sink. Turn them clockwise to close and stop water flow. Use a wrench to loosen the nuts connecting the water lines to the faucet. Carefully pull the lines away. Have a towel ready to catch any water drips.
Unscrewing Mounting Nuts
Look under the sink for the mounting nuts holding the faucet. These nuts secure the faucet to the sink. Use a basin wrench or an adjustable wrench to unscrew them. Hold the faucet from above while loosening the nuts. Once loose, lift the faucet out from the sink surface.
Cleaning The Sink Surface
After removing the faucet, clean the sink surface thoroughly. Remove old putty, grime, and mineral buildup. Use a sponge and mild cleaner for best results. A clean surface helps the new faucet seal properly. Check for any damage or rust before proceeding.
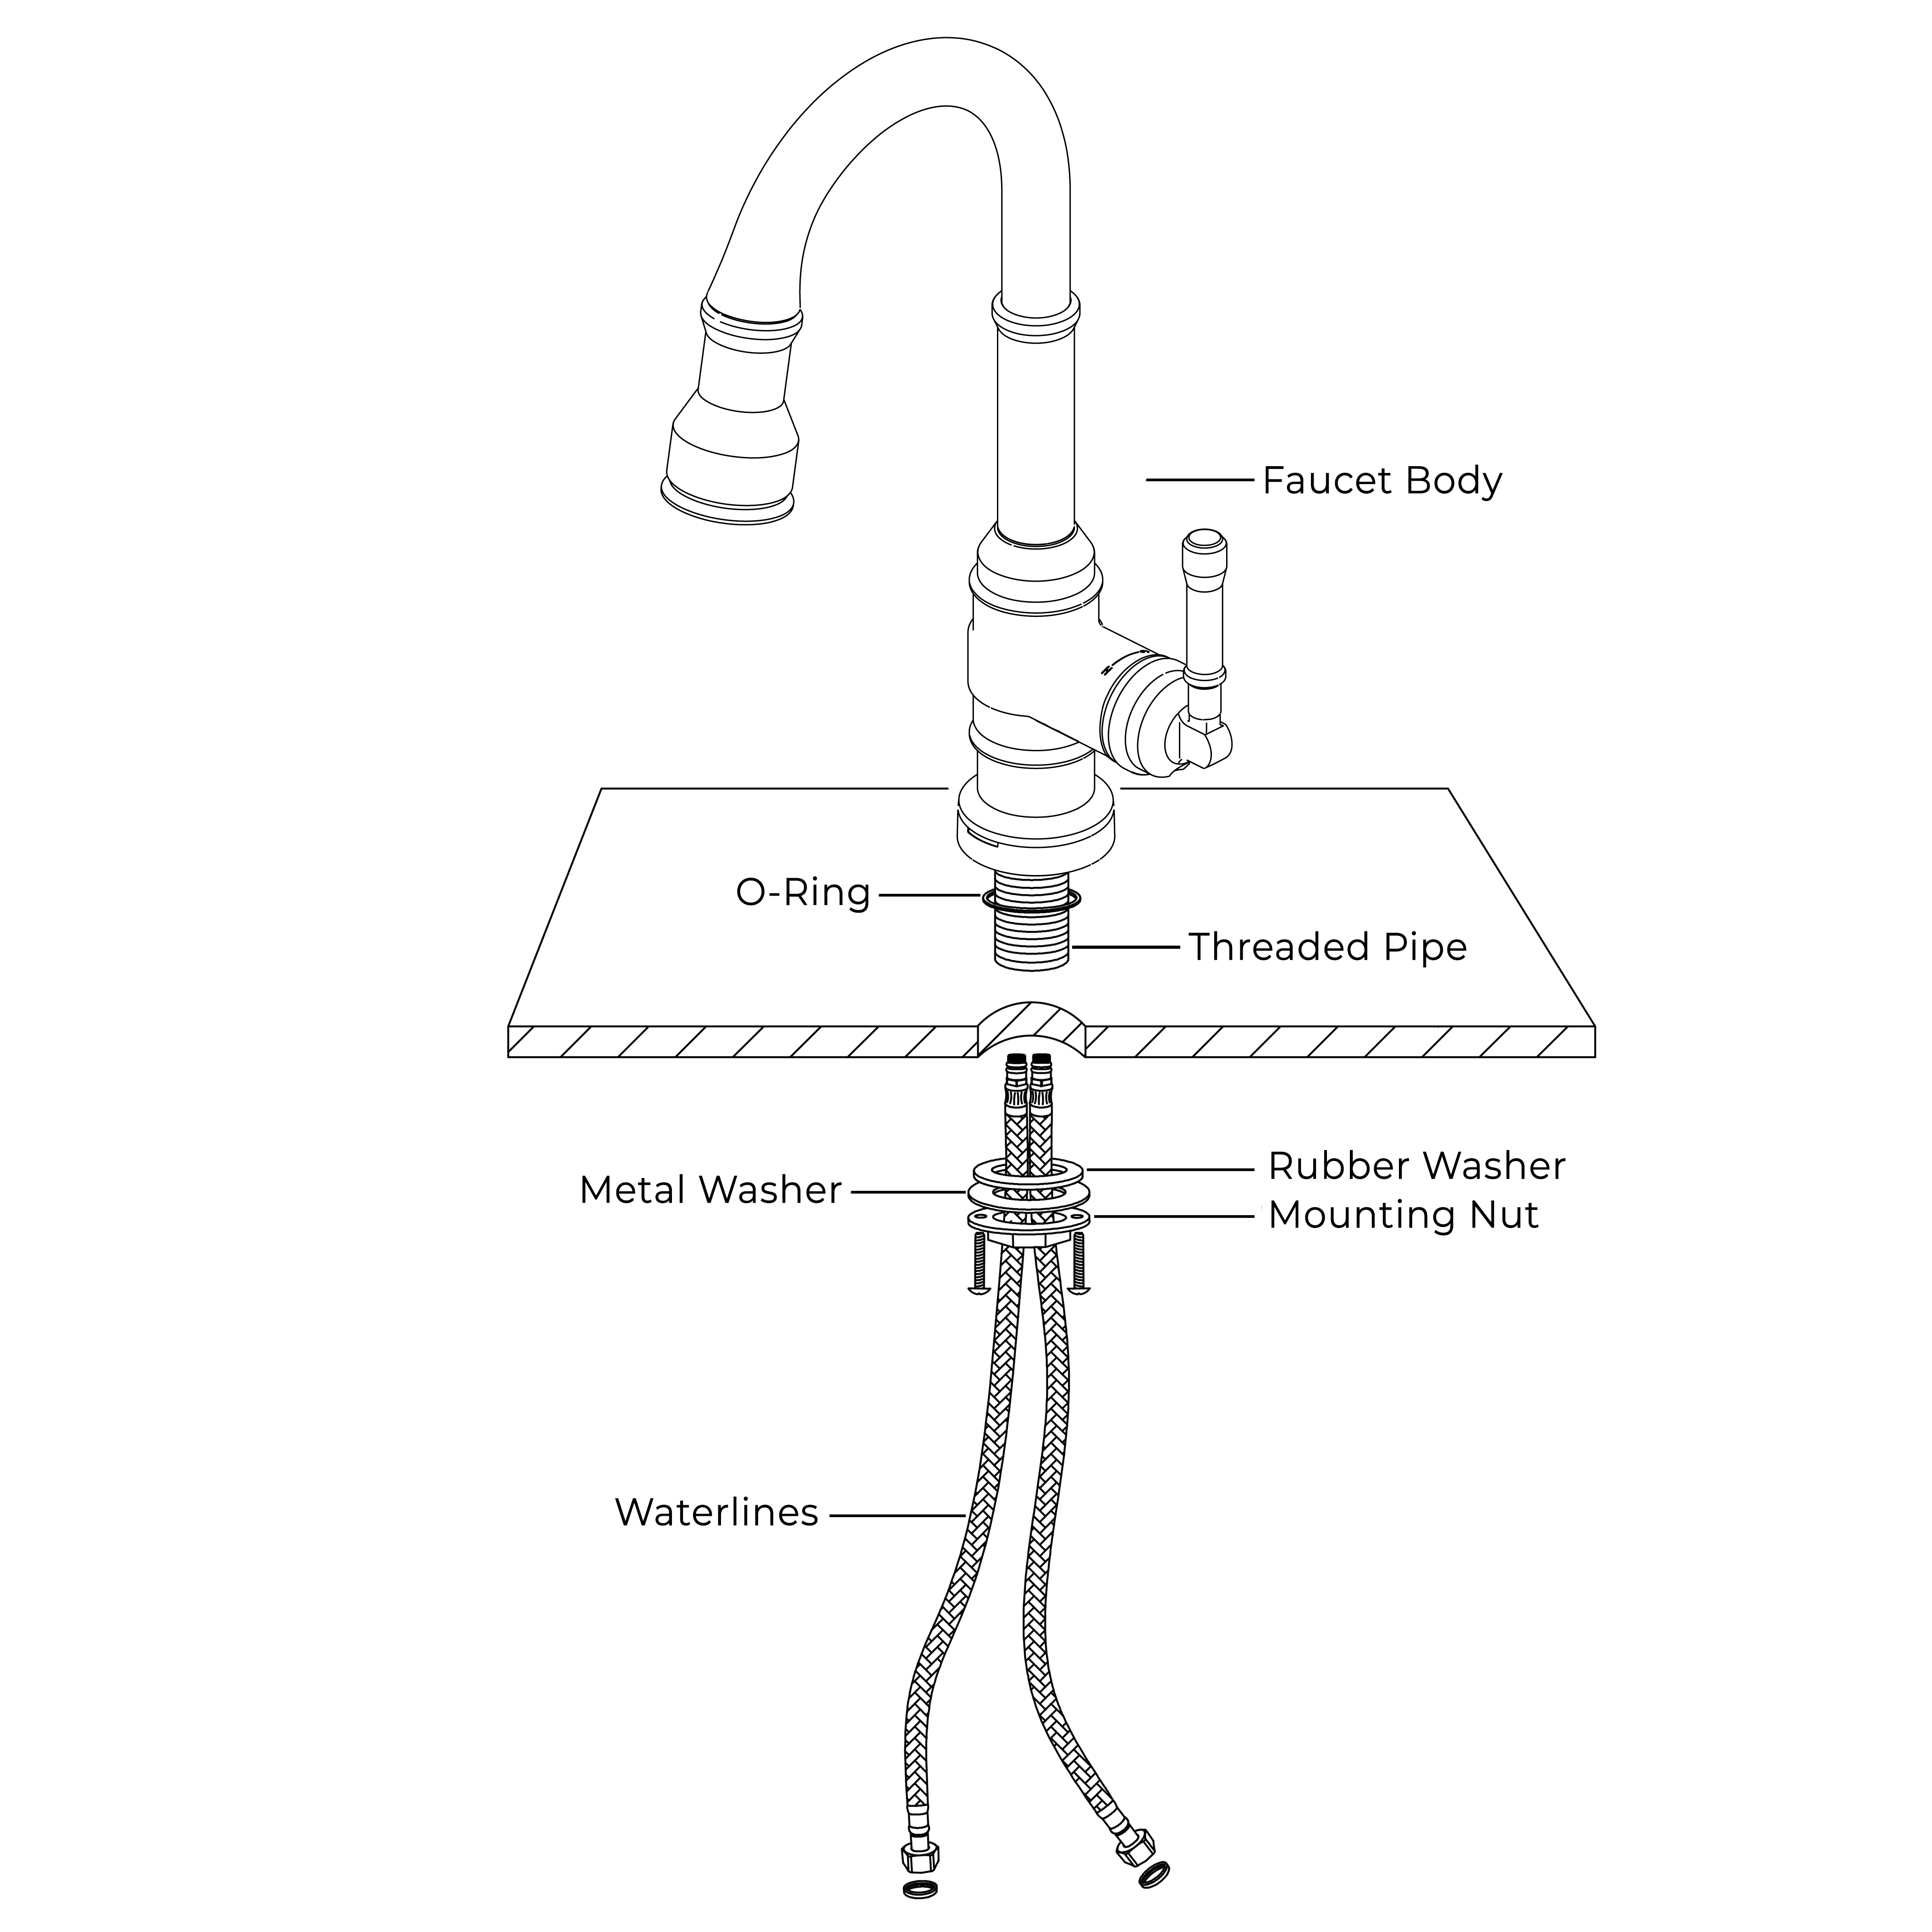
Credit: www.fontanashowers.com
Installing The New Faucet
Installing the new faucet is a key part of upgrading your kitchen. This task requires careful placement and secure connections. Follow these steps to ensure your faucet works perfectly and looks great.
Positioning The Faucet
Place the faucet into the sink holes carefully. Make sure the faucet sits straight and fits snugly. Align the handle for easy use. Check that the spout has enough clearance to move freely.
Securing Mounting Hardware
Attach the mounting hardware under the sink. Tighten the nuts by hand first. Use a basin wrench to secure them firmly. Avoid overtightening to prevent damage. Confirm the faucet does not wobble.
Connecting Water Lines
Connect hot and cold water lines to the faucet. Use Teflon tape on threaded connections to prevent leaks. Hand-tighten each connection, then finish with a wrench. Turn on the water supply slowly. Check for leaks and tighten if needed.
Testing And Adjustments
After installing your kitchen faucet, testing and adjustments are crucial. This step ensures everything works well. You avoid water damage and enjoy smooth operation.
Turning On Water Supply
Locate the shutoff valves under the sink. Slowly open both hot and cold water valves. Listen for any unusual sounds. Water pressure should increase steadily. Check that water flows from the faucet.
Checking For Leaks
Look closely at all faucet connections. Pay attention to joints and hoses. Use a dry cloth to spot wet areas. Tighten fittings gently if you see drips. Inspect the water supply lines and base of the faucet carefully.
Adjusting Water Flow
Test the faucet handles for smooth movement. Adjust the flow by turning the handles fully. Observe water speed and temperature balance. Clean or replace the aerator if the flow is weak. Make sure both hot and cold water mix properly.
Common Installation Issues
Installing a kitchen faucet can be a rewarding DIY project. Yet, some common issues may arise during installation. Addressing these problems early ensures your faucet works flawlessly.
Dealing With Leaks
Leaks often occur around connections and seals. Ensure all connections are tight and secure. Use plumber’s tape on threaded connections to prevent leaks. Check the rubber seals and replace them if worn out.
Fixing Loose Fixtures
Loose faucets can wobble and cause inconvenience. Tighten the mounting nuts under the sink using a basin wrench. Ensure the faucet base sits flush with the sink surface.
Handling Low Water Pressure
Low water pressure can stem from clogged aerators. Remove the aerator and clean any debris. Check the water supply valves to ensure they are fully open. Clean or replace the filter if necessary.
Tips For A Professional Finish
Ensure all connections are tight but not overdone to avoid leaks. Clean the area before installation for a smooth, neat look. Double-check water flow and seals for a flawless finish.
Installing a kitchen faucet can transform your space. For a sleek and polished look, follow these expert tips. A professional finish not only enhances appearance but also ensures lasting performance. Simple tools and careful techniques make a big difference.Using Plumber’s Tape
Plumber’s tape is essential for sealing connections. Wrap it tightly around threads before screwing them. This prevents leaks and ensures a snug fit. Use two or three layers for best results. Avoid over-wrapping, which can cause difficulty in screwing parts together.Tightening Without Damage
Use adjustable wrenches for tightening. Hand-tighten first to avoid over-tightening. Then, use the wrench to secure connections. Apply gentle pressure to prevent damage. Do not force parts; they should fit smoothly. Check alignment frequently during installation.Maintaining The Faucet
Regular cleaning keeps your faucet looking new. Use mild soap and water for daily cleaning. Wipe the faucet with a soft cloth to remove water spots. Check for leaks periodically. Tighten connections if needed. Replace worn-out seals promptly to prevent water damage.
Credit: www.youtube.com
Frequently Asked Questions
How Do I Prepare Before Installing A Kitchen Faucet?
Start by turning off the water supply below the sink. Remove the old faucet and clean the sink surface. Gather all necessary tools and new faucet parts to ensure a smooth installation process.
What Tools Are Needed To Install A Kitchen Faucet?
You typically need an adjustable wrench, basin wrench, plumber’s tape, and a screwdriver. Having a bucket and towels handy helps manage water spills during installation.
How Long Does It Take To Install A Kitchen Faucet?
Installing a kitchen faucet usually takes 30 to 60 minutes. Time varies depending on faucet type and your plumbing experience level.
Can I Install A Kitchen Faucet Without Professional Help?
Yes, many kitchen faucets are designed for DIY installation. Follow the manufacturer’s instructions carefully and take safety precautions with water lines.
Conclusion
Installing a kitchen faucet can be simple with clear steps. Gather your tools and follow the instructions carefully. Tighten connections to prevent leaks. Test the faucet to ensure water flows smoothly. Take your time and work patiently. A well-installed faucet improves your kitchen’s function and look.
Remember, small efforts bring big results. Enjoy your new faucet and a better kitchen experience.