
Are you ready to transform your kitchen but unsure how to install kitchen cabinets yourself? Installing cabinets might seem tricky at first, but with the right steps, you can do it confidently and save money.
Imagine opening your kitchen doors to a fresh, organized space you built with your own hands. This guide will walk you through every step, making the process simple and stress-free. Keep reading to discover how you can upgrade your kitchen quickly and easily—your dream kitchen is closer than you think!

Credit: www.familyhandyman.com
Preparing The Space
Preparing the space is a crucial part of installing kitchen cabinets. It sets the foundation for a smooth and successful installation. Proper preparation helps avoid mistakes and ensures the cabinets fit perfectly.
Start by making sure the area is clean and clear. Accurate measurements follow, as they guide the placement of each cabinet. Finding studs in the walls guarantees the cabinets are securely mounted and stable.
Clearing The Area
Remove all items from the kitchen workspace. Take out appliances, utensils, and furniture that may block access. Sweep the floor and wipe down surfaces to create a clean environment. A clear area reduces accidents and provides room to work freely.
Measuring Walls And Floor
Measure the length of each wall where cabinets will go. Note any doors, windows, or outlets that affect cabinet placement. Check the floor for levelness using a spirit level. Record all dimensions carefully to avoid errors during installation.
Locating Studs
Use a stud finder to locate wooden studs behind drywall. Mark each stud with a pencil at cabinet height. Studs provide strong support for heavy cabinets. Secure cabinets to studs to prevent them from falling or loosening over time.

Credit: www.youtube.com
Gathering Tools And Materials
Before you dive into installing kitchen cabinets, gathering the right tools and materials is crucial. Having everything at hand saves time and reduces frustration during the process. Missing even one essential item can stall your progress and impact the quality of your work.
Essential Tools List
Start by assembling a toolkit that covers measuring, cutting, fastening, and leveling. Here’s a list of tools you should have ready:
- Measuring Tape:Accurate measurements are the foundation of a perfect fit.
- Level:Ensures your cabinets are perfectly horizontal and vertical.
- Power Drill:Makes screwing and drilling quicker and easier.
- Screwdrivers:Both flathead and Phillips for various screws.
- Stud Finder:Helps you locate wall studs for secure mounting.
- Clamps:Hold cabinets in place while fastening.
- Shims:Small wedges to adjust cabinet alignment and level.
- Safety Gear:Gloves, goggles, and dust mask to protect yourself.
Think about your workspace too. Do you have enough room to maneuver large cabinet pieces? Setting up a clean, organized area will make your installation smoother.
Choosing The Right Cabinets
Choosing cabinets isn’t just about style or color—it’s about size, material, and functionality that fit your kitchen’s layout. Measure your kitchen space carefully before purchasing to avoid surprises.
Consider the cabinet construction material. Solid wood offers durability but can be expensive. MDF or plywood can be budget-friendly and still sturdy enough for most kitchens.
Ask yourself: How much storage do you need? Do you prefer adjustable shelves or fixed ones? These choices will affect your daily kitchen use and the installation process itself.
Remember, some cabinets come fully assembled, while others need assembly before installation. Knowing this ahead of time helps you prepare the right tools and set realistic expectations for your project timeline.
Removing Old Cabinets
Removing old kitchen cabinets is a crucial first step that sets the tone for your entire installation project. It requires patience and care to avoid damaging walls or plumbing. Taking your time here can save you from costly repairs later.
Disconnecting Plumbing And Electrical
Before you start pulling down cabinets, make sure to turn off water and power supplies. This prevents accidents and water damage during removal. Check under the sink for water lines and the outlet boxes for electrical connections.
Use a wrench to carefully disconnect water supply lines. Have a bucket ready to catch any drips. For electrical wires, unscrew outlet covers and gently pull out the wiring, but don’t cut anything until you’re sure power is off.
Have you ever started a project and realized halfway that you overlooked shutting off the water? It’s a headache you want to avoid here.
Detaching Cabinets Safely
Once plumbing and electrical are disconnected, focus on the cabinet fasteners. Cabinets are usually screwed into wall studs, so use a drill or screwdriver to remove these screws. Work slowly to keep the cabinet intact if you plan to reuse or sell it.
Support the cabinet from below as you remove the last screws. It might be heavy, so having a helper is a good idea. If the cabinet is stuck due to paint or caulk, gently pry it free with a putty knife to avoid wall damage.
Don’t forget to inspect the walls for damage once cabinets are off. Fixing small holes or dents now makes your new installation smoother and your kitchen look polished.
Marking Cabinet Layout
Marking the cabinet layout is a crucial step before installing kitchen cabinets. It ensures cabinets fit perfectly and align well. Accurate markings prevent costly mistakes and save time during installation.
Drawing Reference Lines
Start by drawing clear reference lines on the walls and floor. Use a level and a pencil for accuracy. Mark the cabinet height and depth on the wall. Draw a horizontal line where the bottom of wall cabinets will sit. Also, mark a vertical line to show cabinet edges and corners.
These lines guide the cabinet placement. Check for any uneven walls or floors and adjust lines accordingly. Use a chalk line to create straight, visible marks across longer distances.
Positioning Base And Wall Cabinets
Place the base cabinets along the floor lines you marked. Ensure they are level and square with the reference lines. Use shims to adjust for uneven floors. Align the cabinets tightly against each other.
Next, position the wall cabinets using the horizontal line as a guide. Keep them at a consistent height above the base cabinets. Check spacing between cabinets and corners carefully. Secure the cabinets temporarily to check fit before final installation.
Installing Base Cabinets
Installing base cabinets sets the foundation for your kitchen layout. Proper placement ensures stability and smooth cabinet alignment. Take time to prepare the space and gather necessary tools before starting.
Leveling And Shimming
Start by checking the floor for uneven spots. Use a level to find high and low areas. Place shims under the cabinet base to balance it perfectly. Adjust until the cabinet sits flat without rocking. This step prevents future problems with doors and drawers.
Securing Cabinets To Wall
Locate the wall studs using a stud finder. Align the cabinet back with the studs for strong support. Drill pilot holes through the cabinet frame into the wall. Use long screws to fasten the cabinet securely. Avoid over-tightening screws to protect the cabinet frame.
Connecting Adjacent Cabinets
Bring cabinets close together so edges meet evenly. Clamp the cabinets to hold them steady. Drill holes through the face frames where they join. Insert screws to pull the cabinets tightly together. Wipe away any excess glue or dust before moving to the next cabinet.
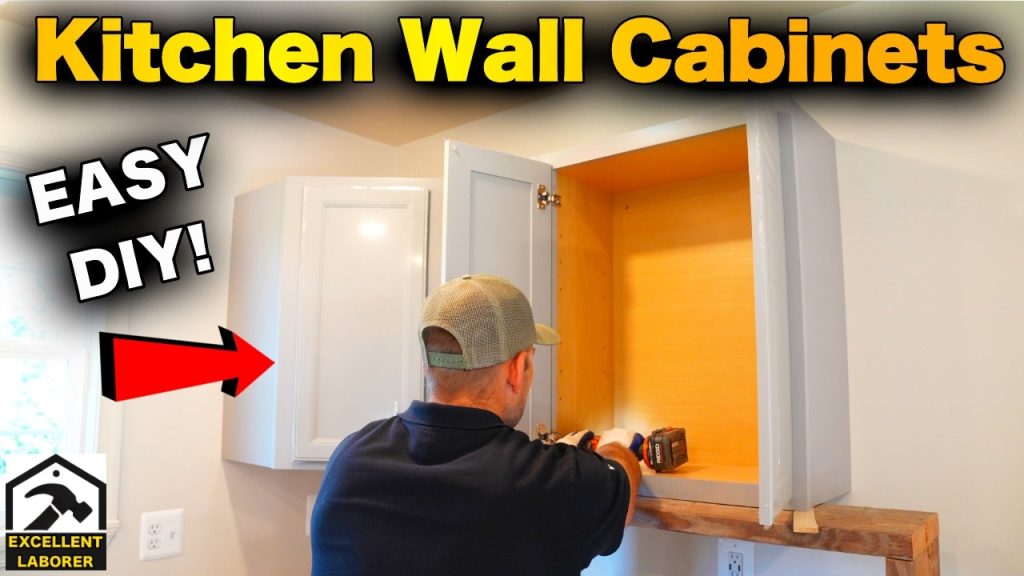
Installing Wall Cabinets
Start by locating and marking the wall studs to secure the cabinets firmly. Use a level to keep cabinets straight, then screw them into place carefully. Ensure all cabinets align properly for a neat kitchen look.
Installing wall cabinets can transform your kitchen space, providing both functionality and style. However, the process demands precision and attention to detail. Whether you’re a DIY enthusiast or a first-timer, understanding each step will ensure a successful installation. Let’s dive into the key aspects of installing wall cabinets.Ensuring Proper Height
The height at which you install your wall cabinets can make or break the usability of your kitchen. Start by measuring 54 inches from the floor to mark the bottom of the cabinets, ensuring they’re easily accessible and visually appealing. If you’re taller or have specific needs, adjust the height accordingly for convenience. Consider the space above your countertops; typically, you want about 18 inches of clearance. This allows enough room for small appliances and ensures comfortable cooking and preparation areas. Use a level to draw a straight line across your markings, providing a guide for cabinet placement.Attaching Cabinets To Studs
Securing your cabinets to the wall studs is crucial for stability and safety. Use a stud finder to locate the studs, marking them clearly on the wall. These marks will guide where you’ll screw the cabinets, preventing them from coming loose over time. Drill pilot holes into the studs to make the installation process smoother. This simple step can prevent the wood from splitting and ensures a snug fit for the screws. Use screws long enough to penetrate the cabinet back and enter the stud by at least 1.5 inches for a solid hold.Aligning And Securing Units
Alignment is key to a professional-looking installation. Begin by mounting the corner or end cabinet first, as it sets the precedent for the rest. Use clamps to hold the cabinets together, ensuring the faces are flush. Once aligned, secure the cabinets to one another by drilling through the frames. Use shims to level the cabinets if needed, avoiding any tilts or gaps. Constantly check with a level as you proceed, guaranteeing that each unit remains even and secure. Installing wall cabinets can seem daunting, but breaking it down into these manageable steps can make the task much more approachable. How will you ensure your cabinets are both functional and stylish?Adding Finishing Touches
Adding finishing touches to your kitchen cabinets is where everything comes together. This phase transforms the basic structure into a functional and stylish part of your kitchen. Paying attention to these details ensures a polished look and long-lasting performance.
Installing Cabinet Doors And Hardware
Start by attaching the cabinet doors carefully. Align the hinges with the pre-drilled holes and secure them tightly to avoid misalignment.
Next, add the hardware like handles or knobs. Choose hardware that matches your kitchen’s style and use a template to keep their placement consistent.
Have you ever noticed how uneven cabinet doors can ruin a kitchen’s look? Taking your time here avoids that common pitfall.
Sealing Gaps And Edges
After doors and hardware are in place, check for gaps between cabinets and walls or countertops. Use a high-quality caulk to seal these spaces, preventing dust and moisture buildup.
Don’t forget to smooth out the caulk with a damp finger or tool for a clean finish. This step not only improves appearance but also protects your cabinets over time.
Final Adjustments
Now, test each door and drawer to ensure smooth operation. Adjust hinges and slides as needed to fix any sticking or uneven gaps.
Look closely for any scratches or marks and touch them up with matching paint or stain. These small fixes can make a big difference in how professional your cabinets look.
Would you be surprised how a few careful tweaks at the end can elevate your entire kitchen renovation?
Common Mistakes To Avoid
Installing kitchen cabinets can be a rewarding DIY project. But without proper planning, it can also become a frustrating experience. Knowing common mistakes to avoid can save time and effort. Below are key pitfalls that many encounter during cabinet installation.
Ignoring Level And Plumb
Many people rush and skip checking levels. This mistake leads to uneven cabinets. Always use a level tool. Ensure the cabinets are both level and plumb. Uneven cabinets can cause doors to swing open or not close properly. Take your time to check and adjust. A small mistake here can lead to big issues later.
Skipping Stud Attachment
Attaching cabinets directly to drywall is a common error. This can lead to cabinets falling over time. Always locate the wall studs first. Use a stud finder to ensure accuracy. Secure the cabinets to the studs for strong support. This step ensures safety and durability. Skipping this can result in costly repairs.
Poor Measurement Practices
Incorrect measurements are a frequent problem. Measure your space accurately before purchasing cabinets. Double-check all dimensions. This includes width, height, and depth. Miscalculations can lead to ill-fitting cabinets. Consider door clearance and appliance space. Accurate measurements prevent expensive mistakes and ensure a smooth installation process.

Credit: www.create-enjoy.com
Frequently Asked Questions
How Do I Prepare Walls Before Cabinet Installation?
Clear the walls and remove any old fixtures. Check for studs using a stud finder. Ensure walls are clean and level. Mark stud locations for secure mounting of cabinets.
What Tools Are Needed To Install Kitchen Cabinets?
You need a drill, level, stud finder, measuring tape, screwdriver, and shims. A pencil for marking and clamps can also help during installation.
How Do I Align Kitchen Cabinets Properly?
Start by leveling the top cabinets first. Use a level and shims to adjust. Secure them to wall studs, then align lower cabinets with the upper ones.
Can I Install Kitchen Cabinets Alone?
Yes, but having a helper is recommended. Cabinets can be heavy and awkward to hold. Assistance ensures safety and accurate alignment during installation.
Conclusion
Installing kitchen cabinets can be simple with the right steps. Measure carefully and plan before you start. Use the correct tools and work slowly for best results. Secure cabinets firmly to the wall to keep them safe. Take your time adjusting doors and drawers for smooth use.
A well-installed cabinet changes your kitchen’s look and function. Enjoy your new space and the work you have done.