

Are you ready to transform your home into a cozy, inviting space with string lights? Hanging string lights on your house can instantly add charm and warmth, whether for a special occasion or everyday ambiance.
But if you’ve ever wondered how to do it right without a hassle, you’re in the right place. In this guide, you’ll discover simple steps and expert tips that make the process easy and safe. Keep reading, and soon your home will glow with beautiful, twinkling lights that everyone will admire.
Choosing The Right String Lights
Choosing the right string lights sets the tone for your outdoor space. The perfect lights brighten your home and create a cozy mood. Consider the style, brightness, and durability before buying. These factors ensure your lights look great and last long.
Types Of String Lights
String lights come in many styles. Classic globe bulbs offer a warm, soft glow. Fairy lights use tiny LED bulbs for a delicate twinkle. Edison bulbs have a vintage look with visible filaments. Curtain lights hang in strands for a waterfall effect. Net lights cover bushes or walls evenly.
Led Vs. Incandescent
- LED lights use less energy and last longer.
- They stay cooler and are safer to touch.
- Incandescent bulbs give a warmer, traditional light.
- They consume more power and burn out faster.
- LEDs are better for outdoor use and cost less over time.
Weather Resistance Features
Outdoor lights must handle rain, wind, and sun. Look for lights with waterproof ratings like IP65 or higher. Durable wiring and strong sockets prevent damage from weather. UV-resistant coatings stop fading and cracking. Weatherproof plugs and connectors keep electricity safe. These features protect your lights and your home.
Planning Your Lighting Layout
Planning your lighting layout is the first crucial step to ensure your string lights look stunning and function safely. Without a clear plan, you risk uneven lighting, tangled cords, or overloaded outlets. Taking time now saves frustration and extra work later.
Measuring The Area
Start by measuring the length and width of the space where you want to hang your lights. Use a tape measure or even a piece of string to map out edges, corners, and any obstacles like windows or doors.
Don’t forget to measure vertical distances if you plan to hang lights higher up on eaves or trees. Knowing these exact dimensions helps you choose the right length of string lights and prevents wasting money on extras or coming up short.
Identifying Power Sources
Locate all available outdoor power outlets near your lighting area. Count how many plugs you have and note their distance from your planned light installation.
If power sources are far, you may need heavy-duty outdoor extension cords or consider solar-powered options. Ask yourself: Can my outlets handle the wattage needed without tripping breakers? Safety matters here.
Designing The Arrangement
Think about the mood and effect you want to create with your lights. Do you prefer a straight line along the roof, a zigzag pattern across the porch, or a canopy effect overhead?
Sketch your ideas on paper or use a simple drawing app to visualize. Plan where each string will start and end, and how they connect to power. This step helps avoid last-minute adjustments and tangled cords.
Have you ever tried hanging lights without a plan and ended up frustrated? Take charge now and design a layout that makes your home shine beautifully and safely.
Gathering Necessary Tools
Gathering the right tools makes hanging string lights easier and safer. Preparation saves time and prevents frustration. Collect everything before starting to avoid interruptions. Proper tools ensure a neat, secure installation that lasts through seasons.
Essential Tools List
- String lights suited for outdoor use
- Measuring tape to mark distances
- Ladder for reaching high spots
- Hammer or drill for mounting hooks
- Hooks or clips designed for lights
- Extension cords if needed for power
- Zip ties or twist ties to secure wires
- Outdoor-rated electrical tape
Safety Equipment
- Work gloves to protect hands
- Non-slip shoes for stable footing
- Safety glasses to shield eyes
- Helmet if working on tall ladders
- Spotter to assist on ladder
- Flashlight if working in low light
Credit: www.acupfullofsass.com
Preparing The House Exterior
Before you string up those lights, your house exterior needs some serious attention. Proper preparation ensures your lights stay secure and your walls remain undamaged. Taking time now saves headaches later and keeps your display looking sharp.
Cleaning Surfaces
Dirty walls and gutters can prevent hooks or clips from sticking properly. Use a mild soap and water solution to scrub away dirt, dust, and cobwebs. Rinse thoroughly and let the surfaces dry completely before attaching anything.
Pay special attention to areas where you plan to place adhesive hooks or clips. Smooth, clean surfaces give these products the best grip. Have you ever seen lights droop because the surface was greasy or dusty? Avoid that by cleaning well.
Inspecting For Damage
Check your exterior for cracks, loose siding, or peeling paint. Lights hung on damaged spots might cause further harm or fall down unexpectedly. Fix any visible damage first, even small cracks can worsen under the weight of lights and weather.
Look at gutters, eaves, and trim closely. Are nails or fasteners loose? Tighten or replace them before hanging lights to provide a solid anchor. Taking these steps protects your home and makes your light display safer and more reliable.
Installing Hooks And Clips
Installing hooks and clips is essential for hanging string lights safely and neatly on your house. These fasteners keep the lights secure and prevent damage to your walls or eaves. Choosing the right hooks and clips and placing them correctly ensures your lights stay in place through wind and weather.
Choosing Suitable Fasteners
Select fasteners that match your house’s exterior and the string light type. Plastic clips are gentle on surfaces and work well for gutters and shingles. Metal hooks provide strong support for heavier lights or longer runs.
- Use adhesive clips for smooth surfaces like glass or painted wood.
- Choose screw-in hooks for sturdy holds on wood or siding.
- Opt for insulated clips to protect the wires from damage.
Check the weight rating of hooks to avoid sagging. Match clip size to the light cord thickness for a secure fit.
Proper Placement Techniques
Place hooks or clips evenly along the mounting surface. Space them about every 12 to 18 inches to support the lights well. Avoid placing fasteners too far apart to prevent sagging or pulling.
- Attach clips near corners and edges to guide the light path.
- Keep hooks away from sharp edges that may cut wires.
- Install fasteners just above gutters or trim for a clean look.
Align hooks in a straight line for a tidy appearance. Test the lights after hanging to ensure they hang securely and evenly.

Credit: us.govee.com
Hanging The String Lights
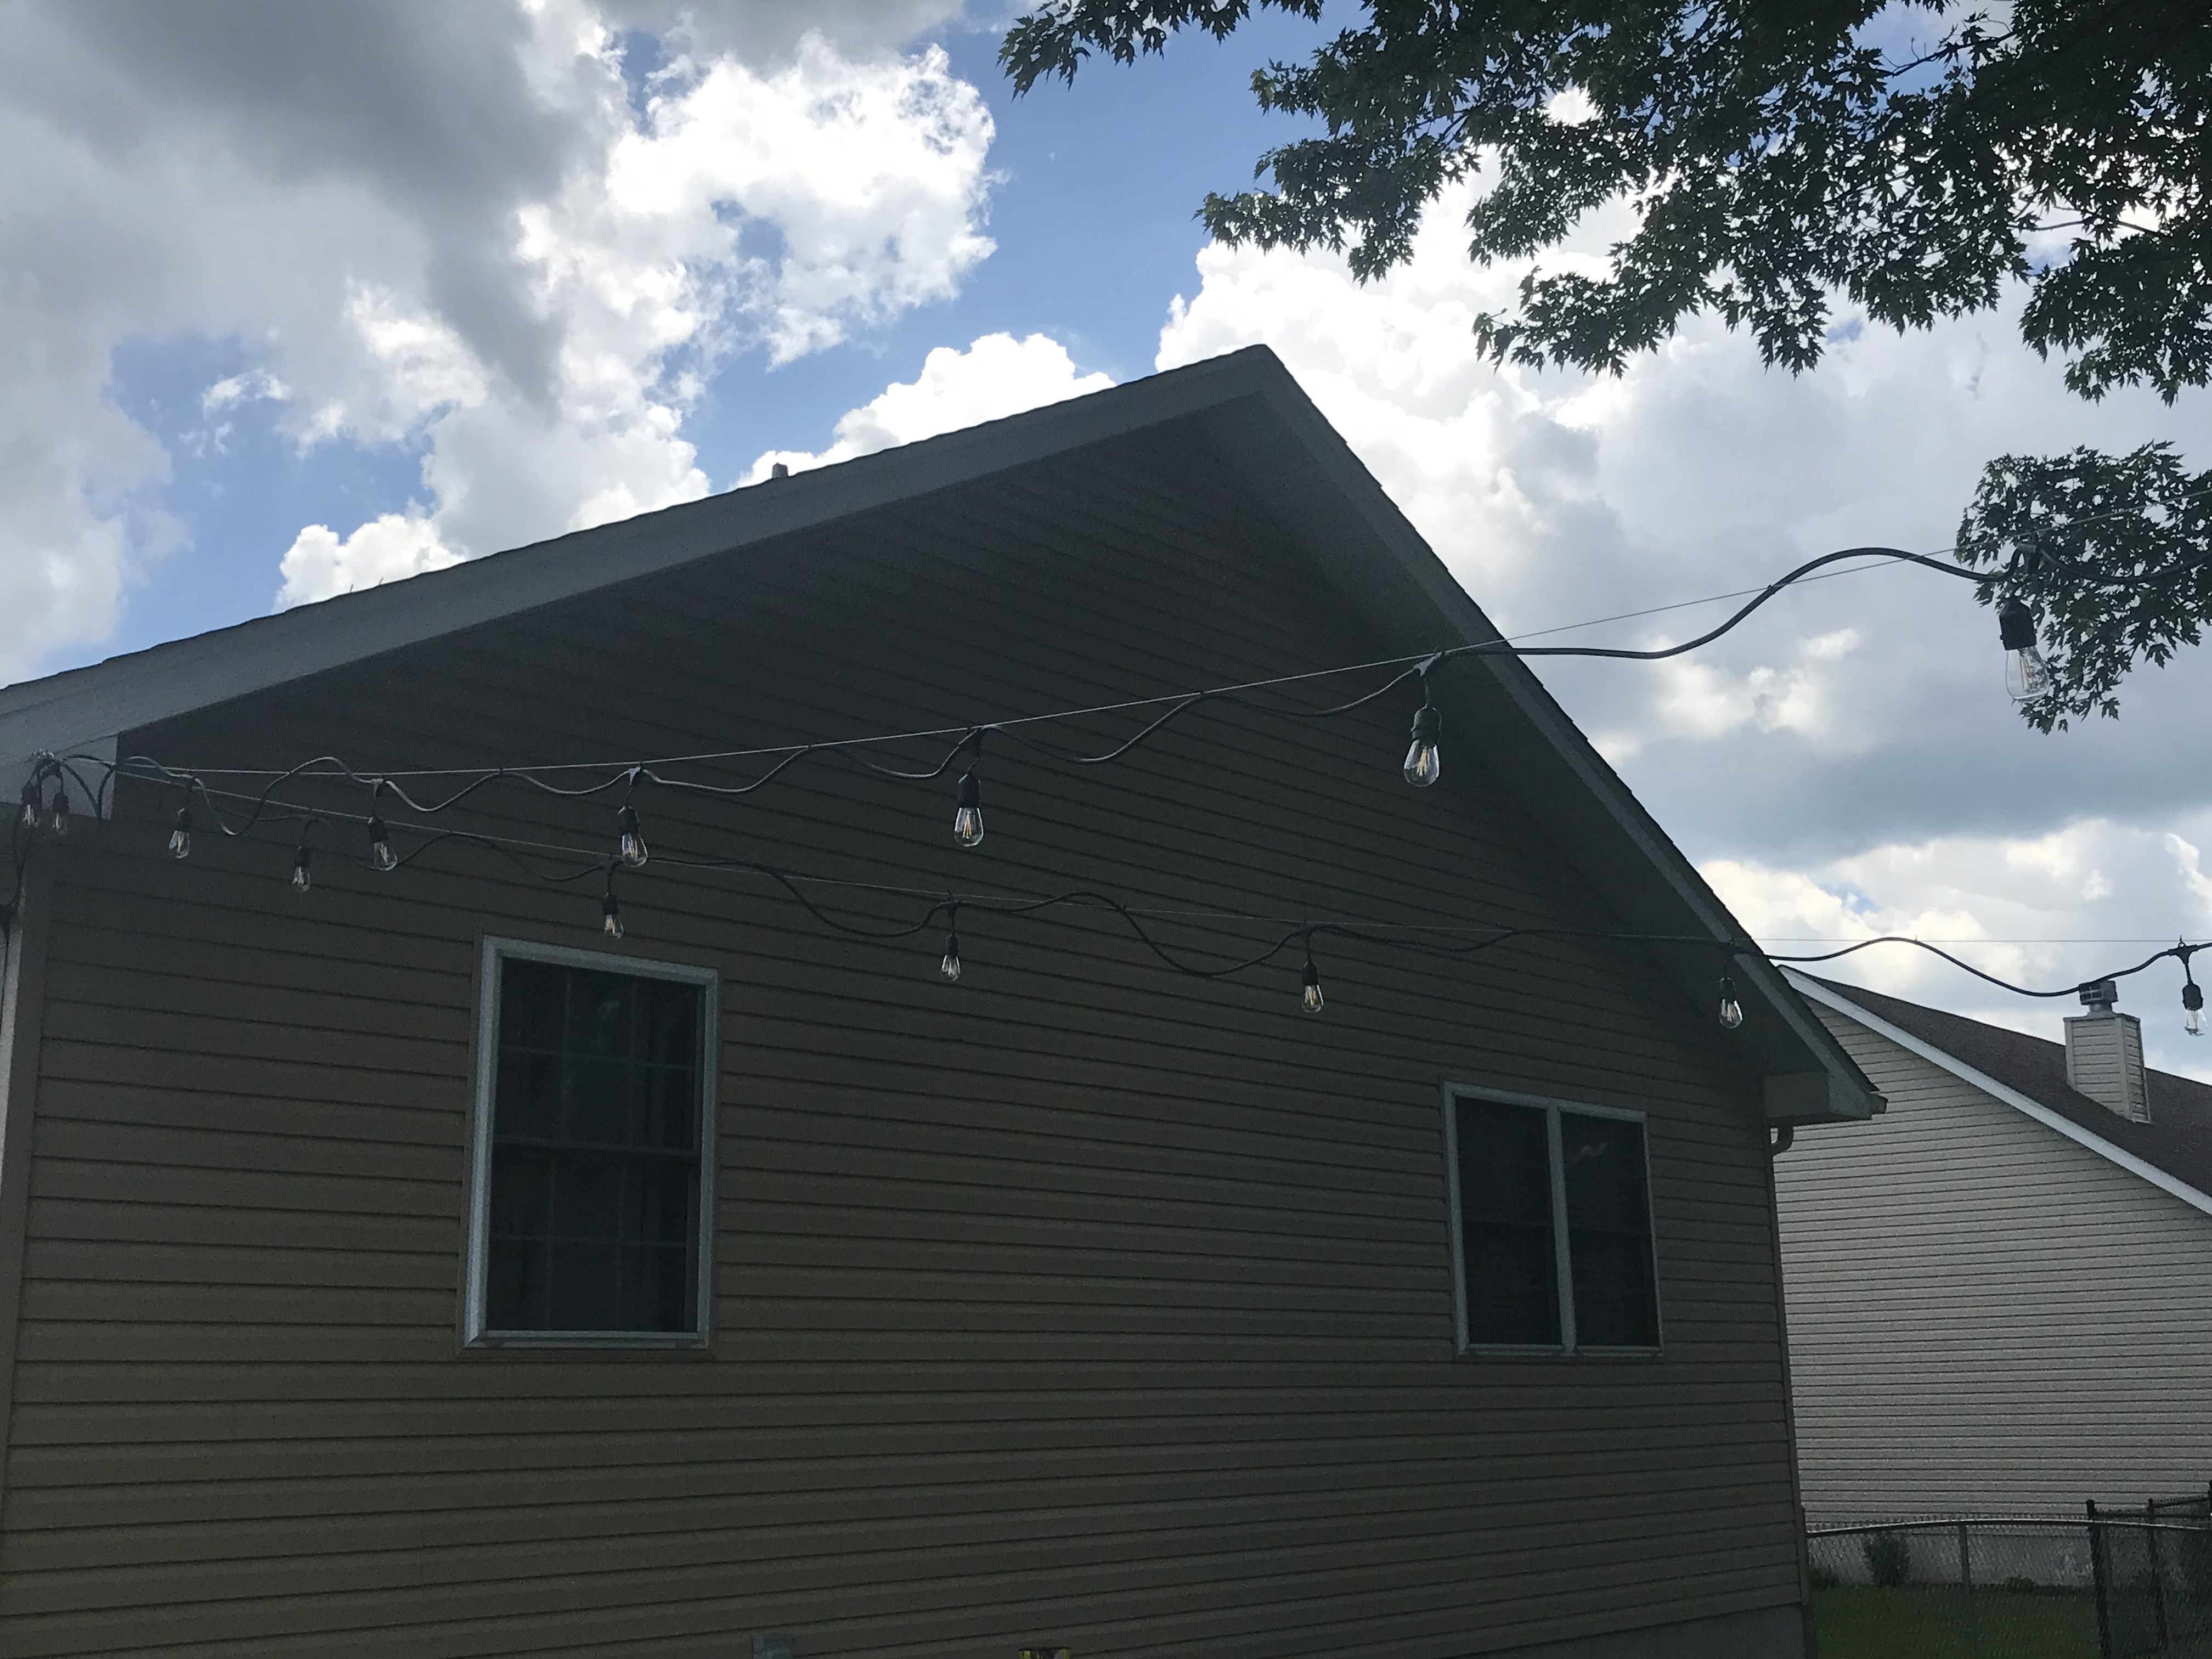
Hanging string lights on your house can transform your outdoor space into a warm, inviting area. The key to a beautiful setup is careful planning and precise execution. Let’s look at how you can hang your lights securely and neatly, starting from the power source and finishing with a perfect alignment.
Starting From The Power Source
Begin by locating your power outlet. It’s best to choose an outdoor outlet with a cover to protect against weather. If there isn’t one nearby, consider using an outdoor extension cord rated for exterior use.
Plug in your string lights and test them before hanging. This saves you from the hassle of taking them down to fix issues later. Also, think about how far the lights need to reach to avoid stretching or tension on the cords.
Securing The Lights
Use hooks, clips, or adhesive mounts designed specifically for hanging lights. These options prevent damage to your house and hold the lights firmly in place. Avoid nails or staples, as they can pierce the wiring and create a hazard.
Space your securing points evenly to support the lights without sagging. If your lights are heavy, add extra clips to distribute the weight. Remember, a steady hand during this step keeps your installation safe and long-lasting.
Checking Alignment
Step back frequently to check the alignment of your lights. Are they straight and evenly spaced? Small adjustments now will make a big difference in the final look.
Use a level or even a simple string line as a guide if you want perfect straight lines. Don’t hesitate to tweak the clips or reposition bulbs for a more balanced appearance. Your attention to detail here brings out the true charm of your string lights.
Testing The Lighting
Testing the lighting is a key part of hanging string lights on your house. It ensures the setup works well and looks great. Checking the lights before final installation saves time and avoids safety issues. This step helps spot faulty bulbs and connection problems early. It also allows you to adjust the lights for the best visual effect.
Ensuring Connectivity
Begin by plugging in the string lights to test power flow. Check each bulb to see if it lights up. Look for any flickering or dim spots along the string. Confirm that all connections are secure and weatherproof. Loose plugs or damaged wires can cause failure. Use outdoor-rated extension cords for safe power delivery. Ensure the power source can handle the lights’ electrical load.
Adjusting For Optimal Glow
Observe the light spread and brightness from different angles. Move bulbs slightly to avoid harsh shadows or dark patches. Space the lights evenly along eaves or railings for balance. Consider the surrounding colors and surfaces for reflection. Adjust the height to create a warm and inviting glow. Test the lights at night to see the true effect.

Credit: www.thisoldhouse.com
Enhancing With Additional Decor
Adding string lights to your house creates a warm, inviting atmosphere, but pairing them with extra decor can really make your space stand out. Small touches can transform simple lighting into a charming display that reflects your personality. Let’s look at some creative ideas to enhance your string lights and make your outdoor space truly yours.
Adding Lanterns Or Bulbs
Lanterns can add a cozy, vintage vibe alongside your string lights. You can hang paper lanterns or metal ones in varying sizes to create depth and interest. Clear or colored bulbs on your string lights also change the mood—try larger globe bulbs for a bistro feel or Edison bulbs for a rustic look.
Think about mixing different types of light sources to avoid a flat, one-dimensional effect. I once added small lanterns between my lights, and it instantly made the backyard feel more intimate and inviting. Do you prefer a soft glow or a brighter ambiance? Your choice will guide which lanterns or bulbs work best.
Incorporating Seasonal Elements
Seasonal decor can turn your string lights into a celebration. During fall, add small pumpkins or autumn leaves near the lights for a cozy harvest look. In winter, hanging pinecones or faux snowflakes can create a festive, wintry scene that feels magical.
Don’t forget to switch things up as the seasons change. This keeps your outdoor space fresh and exciting without needing a complete redesign. What seasonal touches speak to you? Finding decor that matches your personal style makes your string lights feel even more special.
Maintaining Your String Lights
Maintaining your string lights is key to keeping them bright and functional year after year. Proper care not only extends their lifespan but also ensures your outdoor space stays inviting and safe. Taking a little time to clean and store your lights correctly can save you from costly replacements and frustrating repairs.
Routine Cleaning Tips
Dust, dirt, and insects can dull the glow of your string lights. Gently wipe each bulb with a soft, damp cloth to remove grime. Avoid using harsh chemicals that can damage the bulbs or wiring.
Check for any loose connections or frayed wires as you clean. These small issues can turn into bigger problems if ignored. Have you noticed flickering lights? It might be time to tighten or replace a connector.
- Turn off the lights and unplug before cleaning to stay safe.
- Use a gentle brush for hard-to-reach areas.
- Inspect bulbs regularly and swap out any that are burnt out.
Storage Solutions
How you store your string lights during off-seasons affects their performance. Avoid tangling by wrapping them around a sturdy spool or a piece of cardboard. This simple step prevents knots and wire damage.
Keep your lights in a cool, dry place. Moisture can cause rust and electrical shorts. Using a labeled container helps you find your lights easily when it’s time to decorate again.
- Separate damaged bulbs or sections before storage.
- Consider storing with silica gel packs to reduce moisture.
- Use zip ties or twist ties to keep wires neat but avoid tightening too much.
Do you have a favorite cleaning or storage tip that makes your string lights last longer? Sharing your experience could help others get the most out of their outdoor lighting.
Frequently Asked Questions
How Do I Safely Hang String Lights On My House?
Use outdoor-rated lights and secure clips or hooks. Avoid nails to prevent damage. Always unplug lights before installation for safety.
What Tools Do I Need To Hang String Lights?
You need a ladder, measuring tape, hooks or clips, and outdoor string lights. Optionally, use zip ties for extra support.
Can I Hang String Lights Without Drilling Holes?
Yes, use adhesive hooks or clips designed for outdoor use. They hold lights securely and prevent damage to your house.
How Far Apart Should String Lights Be Spaced?
Space lights 6 to 12 inches apart for even coverage. Adjust spacing based on light size and desired brightness.
Conclusion
Hanging string lights on your house adds warmth and charm. Start with a clear plan and gather the right tools. Secure the lights tightly to avoid damage or accidents. Check the bulbs and connections before turning them on. Enjoy the cozy glow they bring to your space.
With care and patience, your home will look inviting at night. Simple steps make the process easy and fun. Brighten your evenings with beautiful string lights today.